Servicing my Hamilton 992B Railway Special - Model 2 - 1947 - Pt 2

Posts
17,465
Likes
36,611
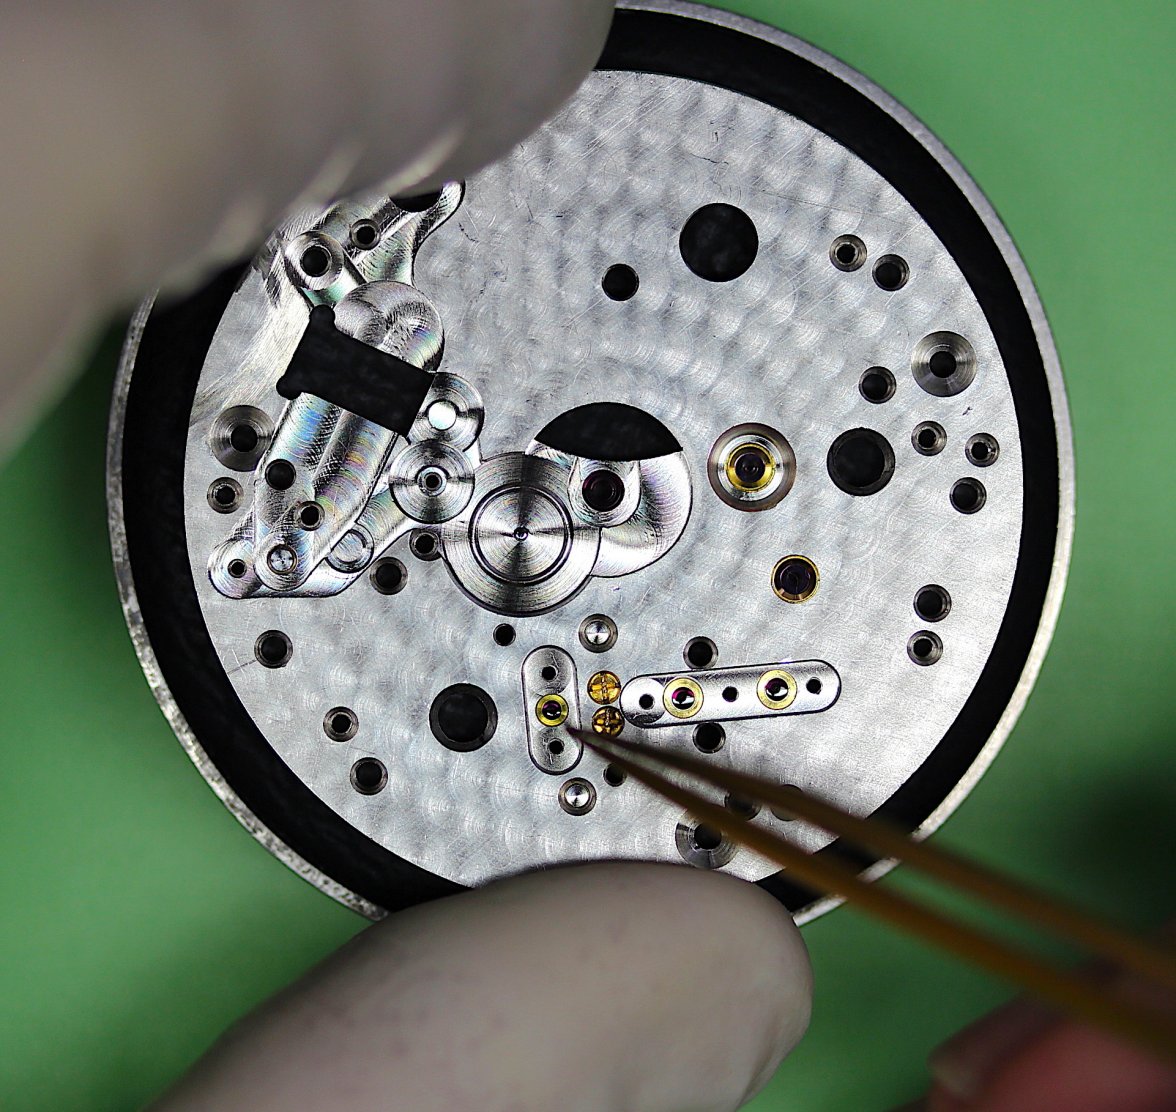
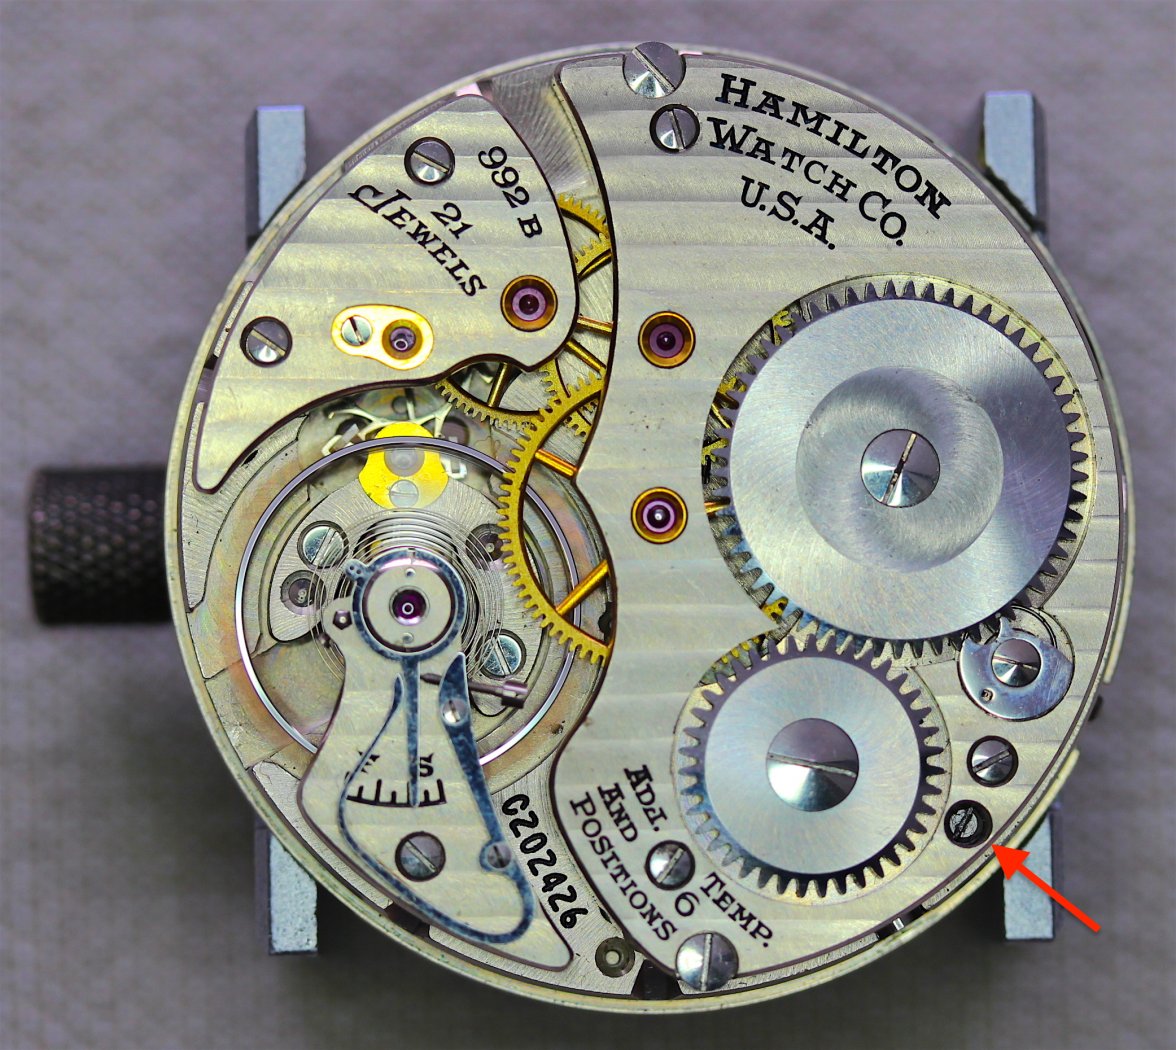
My replacement movement arrived from Denver yesterday and aside from a lot of dirt/fibres/old lube it appears to be in reasonable condition except for an incorrect setting lever screw (red arrow). The balance spins freely and has hardly any endshake or sideplay.


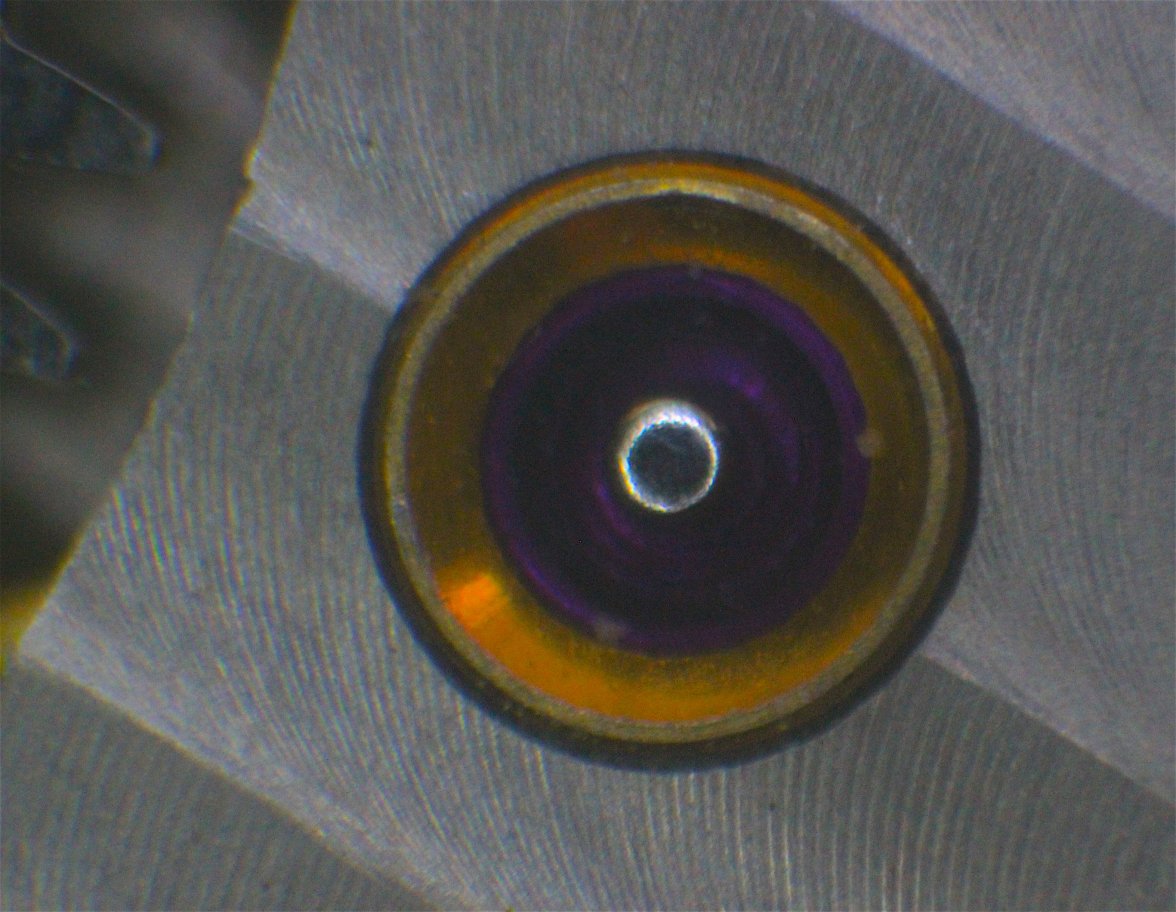
Jewels all look fine, although rather dirty and will need a good clean. The Centre Wheel jewel.


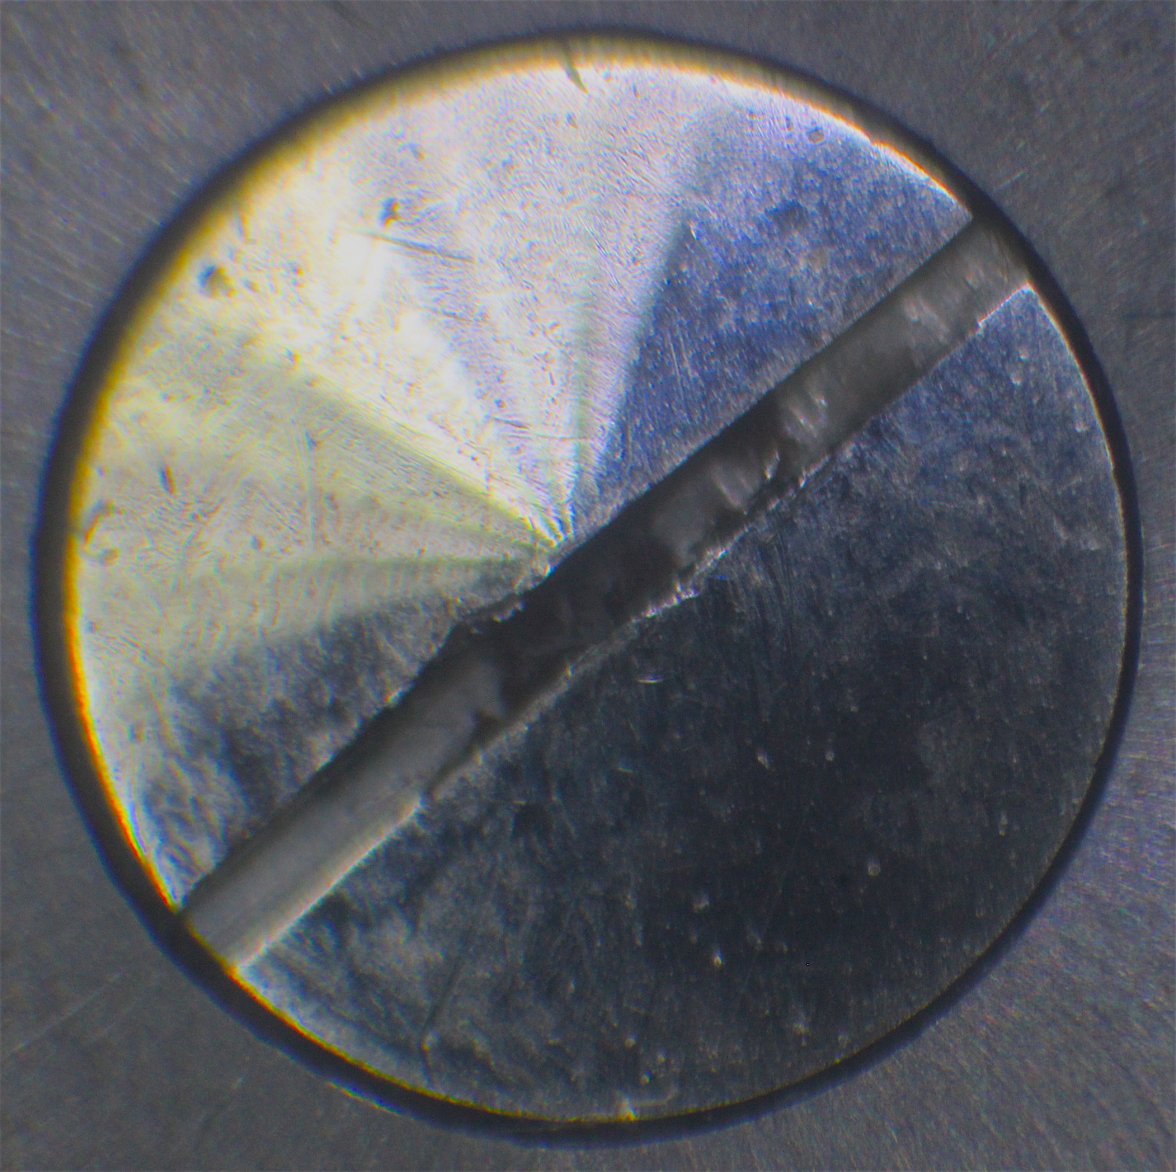
The screw heads are in good condition and show slight evidence of past work, and a lot of dirt. This is the ratchet wheel screw.


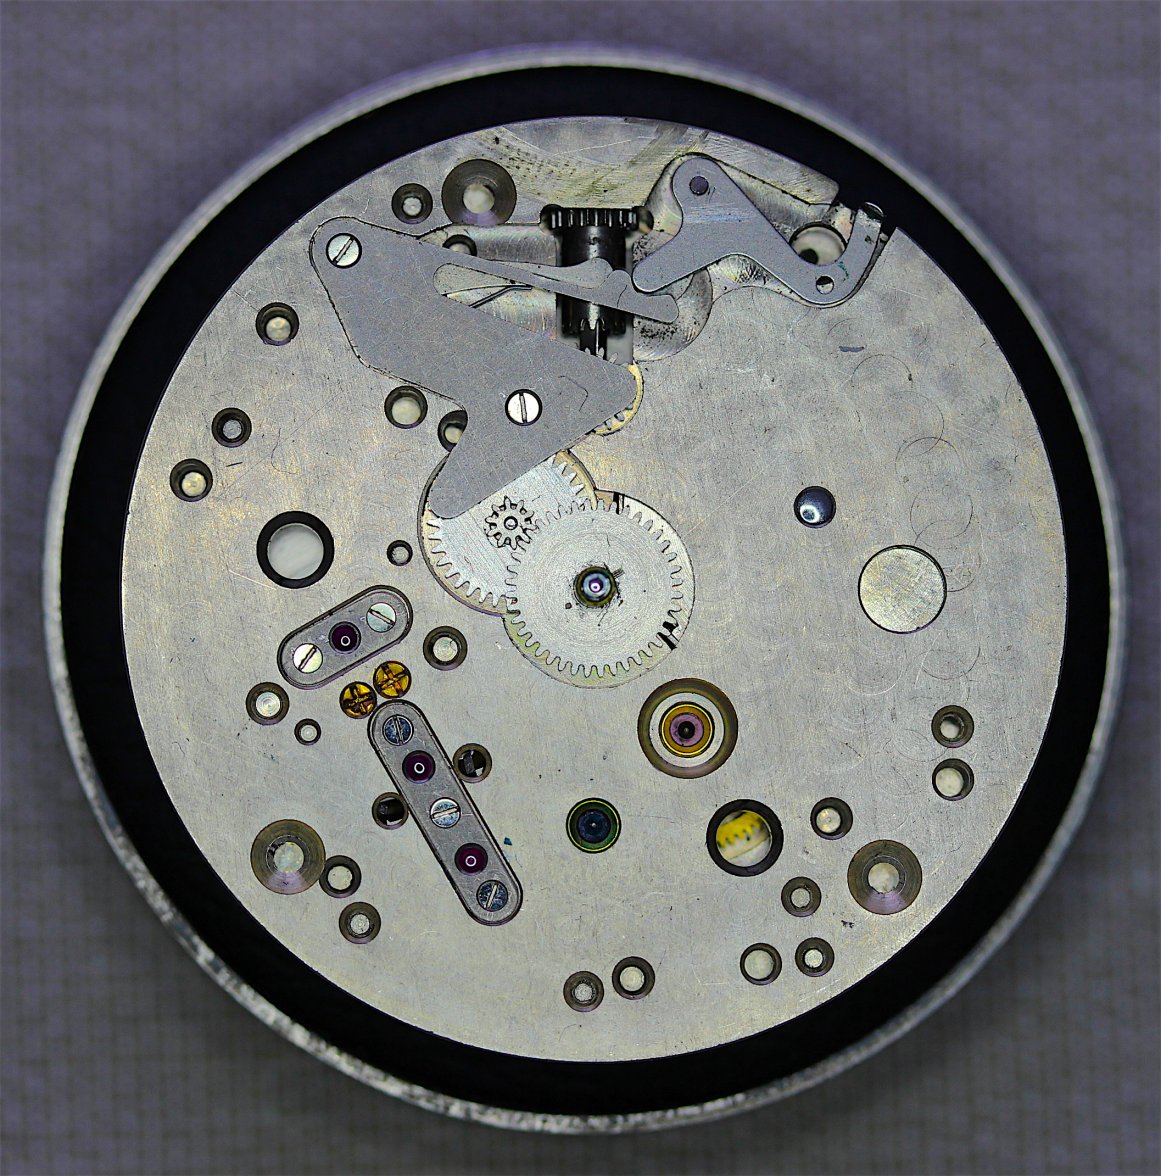
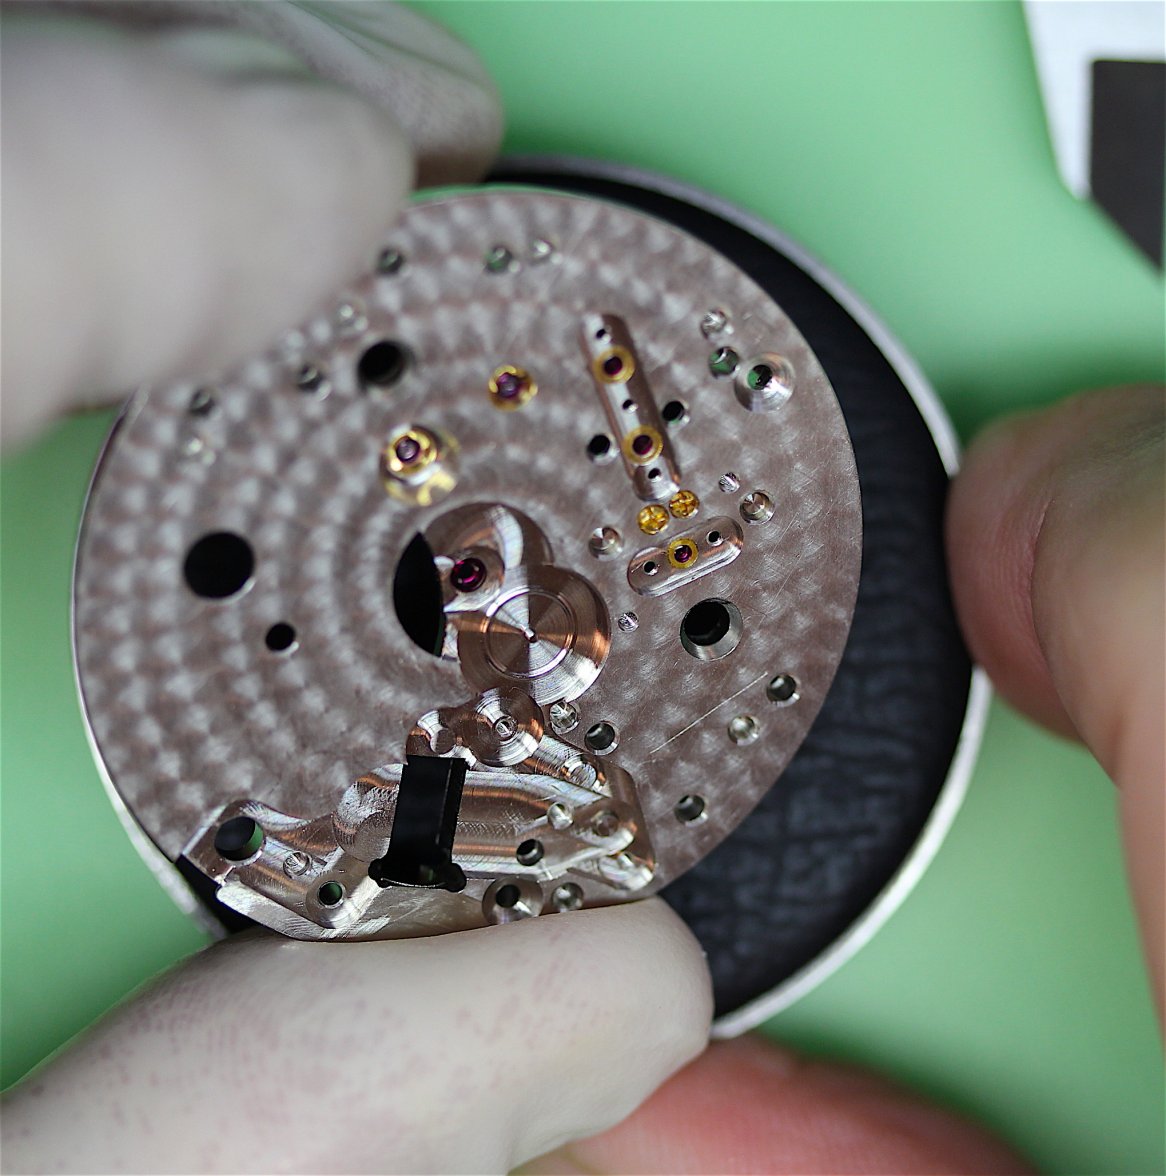
The dial side again shows a lot of dirt and old lube (or verdigris?)


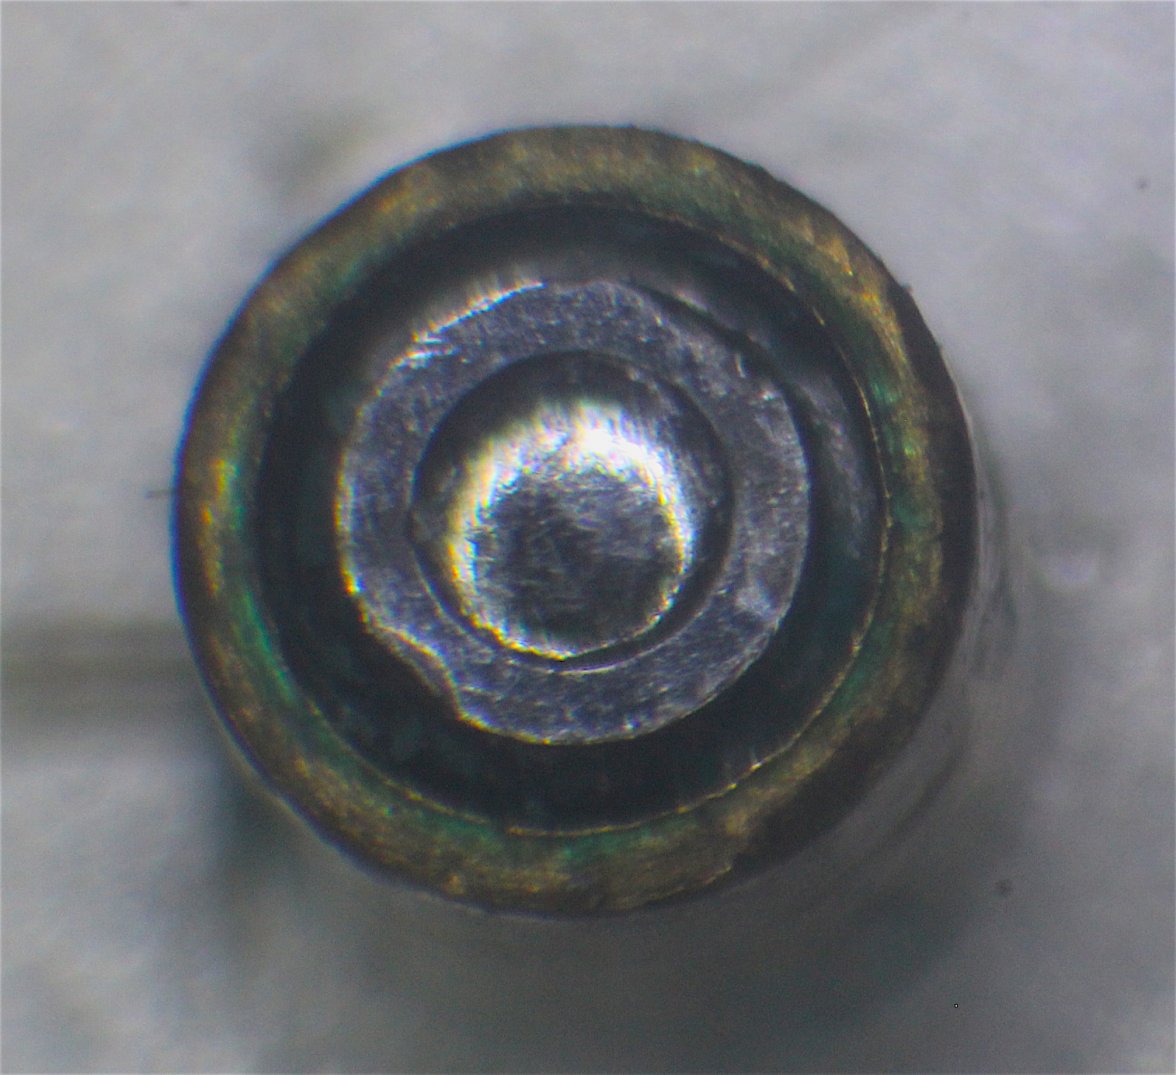
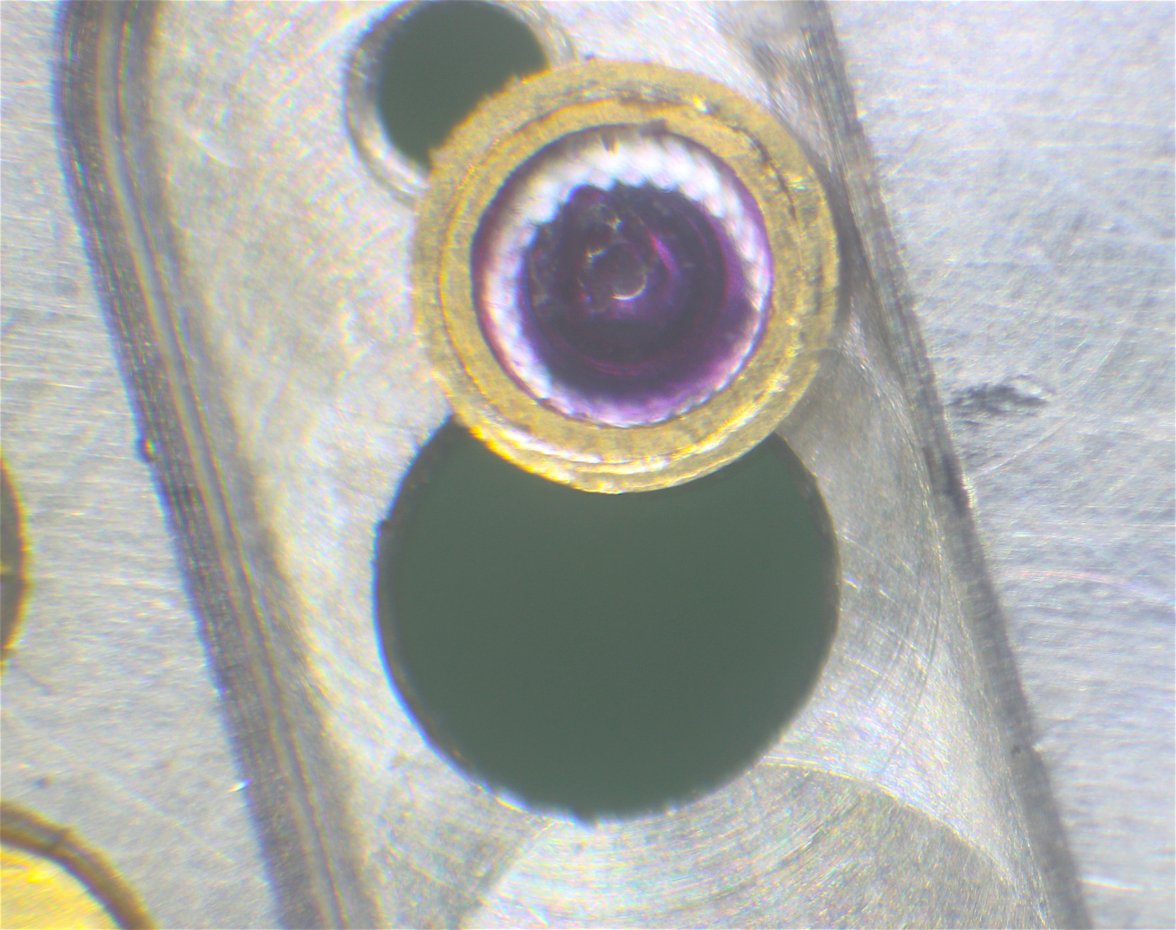
A close-up of the sub-seconds pivot and surrounds.


Next step is to put it on the timegrapher to see how it performs prior to servicing.

Does anybody know the lift angle for this caliber?

@Canuck ?
 
Posts
17,465
Likes
36,611
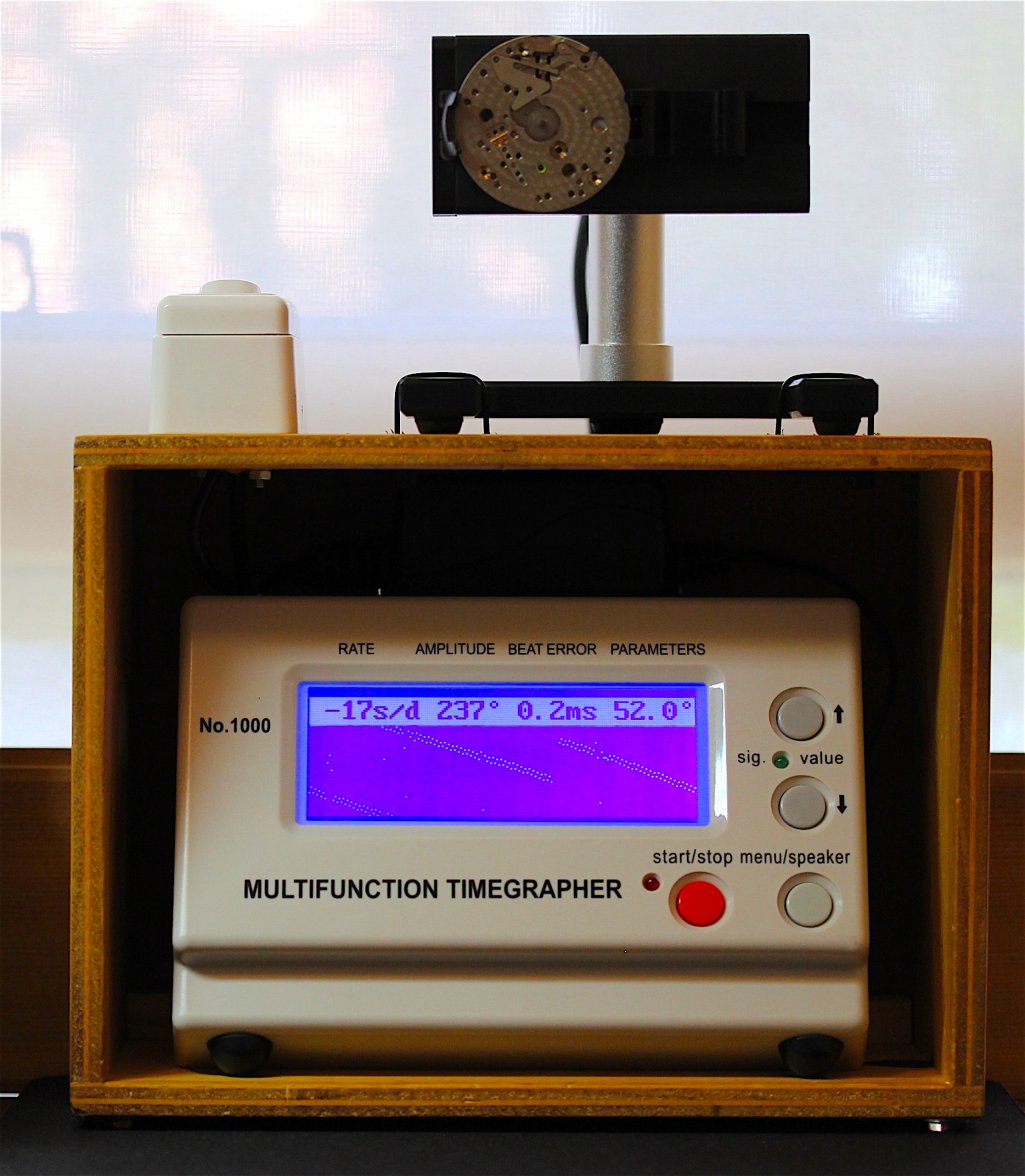
So a very basic timing test.

I'm only testing in one position, crown up, which I assume to be the normal state for a pocket watch.

Using the standard settings I see a bit of noise, decent amplitude, good beat error and losing 17
seconds+ per day.


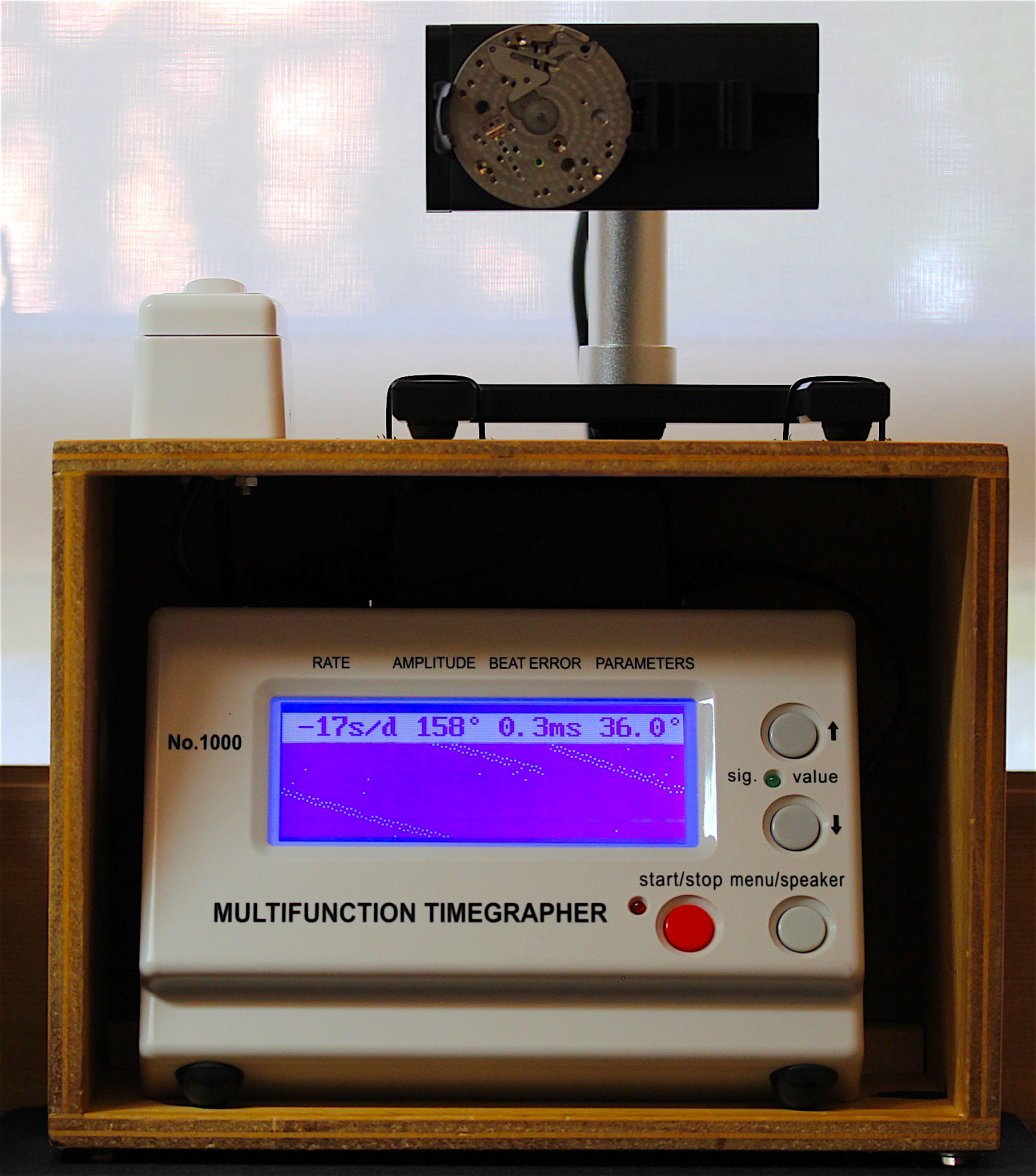
Changing the lift angle to 36°, a figure from the internet, shows much the same, but with lower amplitude.


Now that I have a rough baseline I'll let the movement run right down to get an idea of power reserve and then I can start disassembly.
 
Posts
29,114
Likes
75,240
Hi Jim - if you want to confirm the lift angle, wind the watch from a full stop slowly, and visually watch the balance. When you see the balance swinging at 180 degrees of amplitude, place it on your timing machine and adjust the lift angle until the amplitude reads 180, and you have the proper lift angle for the movement.

Cheers, Al
 
Posts
17,465
Likes
36,611
Cleaning and inspecting after I put the mounted balance through the cleaner.

CURSES!!!!

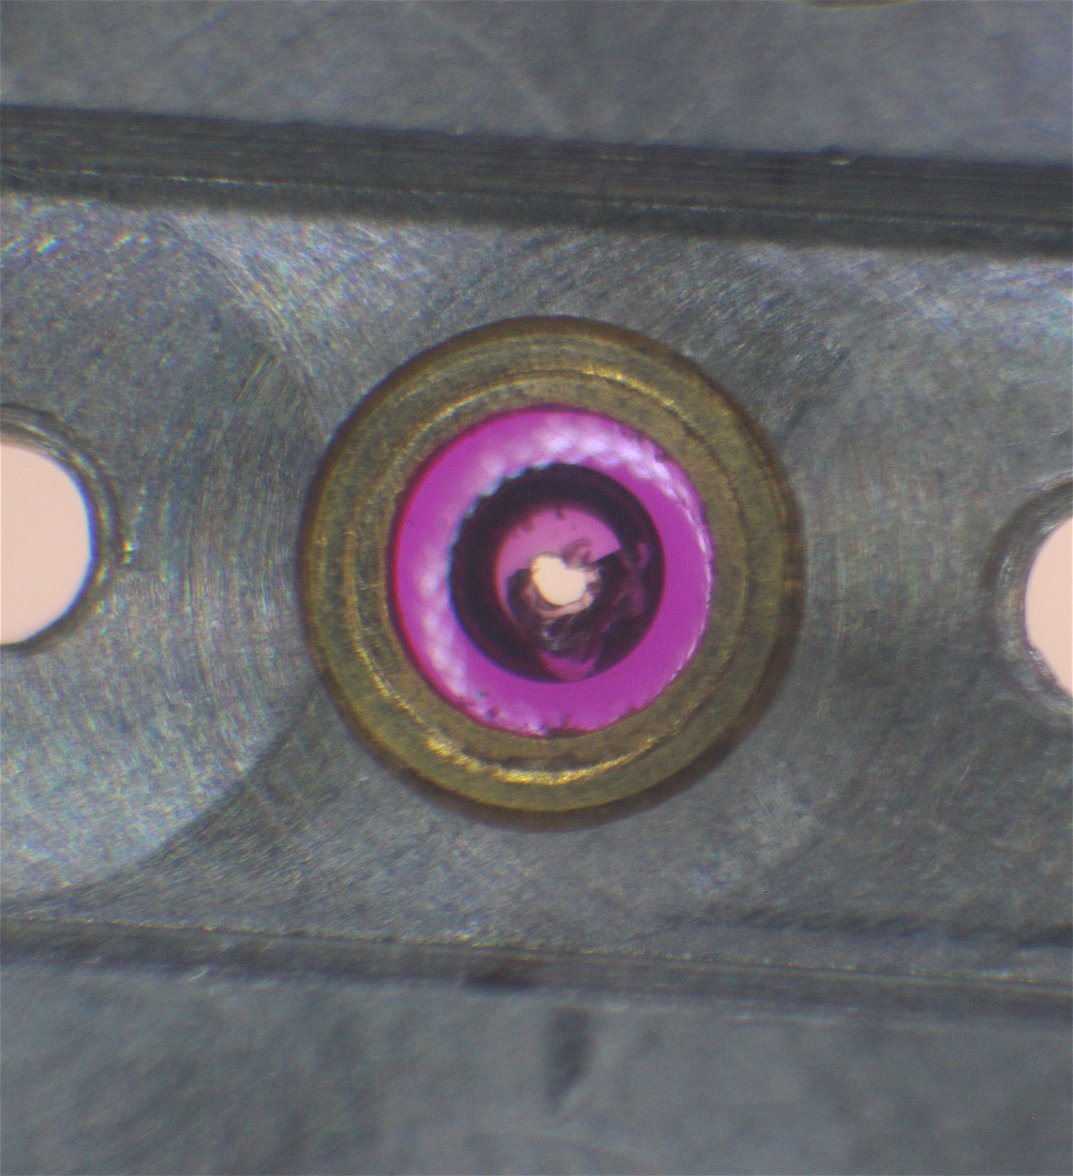
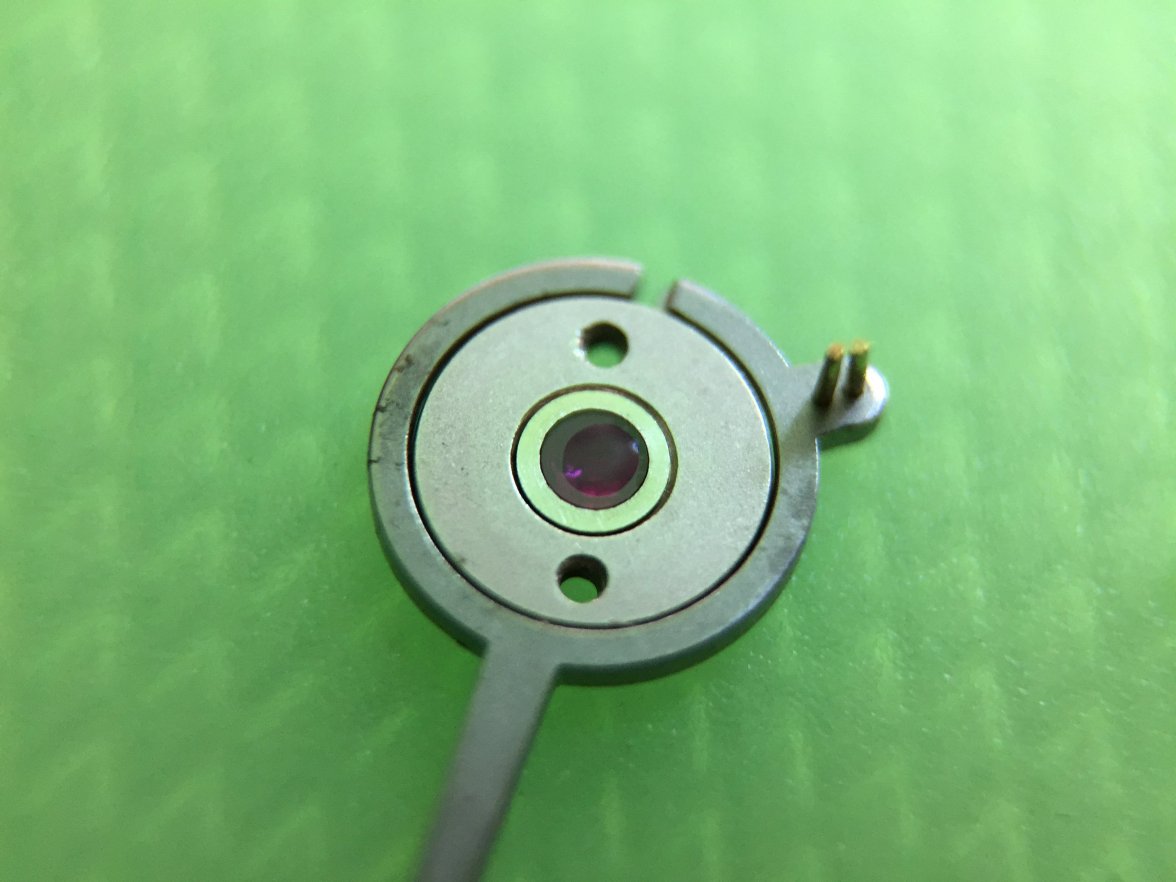
Cracked lower balance jewel. 😡


Anybody have a spare?

Another learning experience. Setting a jewel with a staking set.
 
Posts
29,114
Likes
75,240
Make sure you check the condition of the balance staff - if it was running in that jewel you will likely have a scored up staff that will need replacing as well.

Cheers, Al
 
Posts
2,399
Likes
6,935
CURSES!!!!

Cracked lower balance jewel. 😡

🙁

That's really unlucky...
Edited:
 
Posts
2,399
Likes
6,935
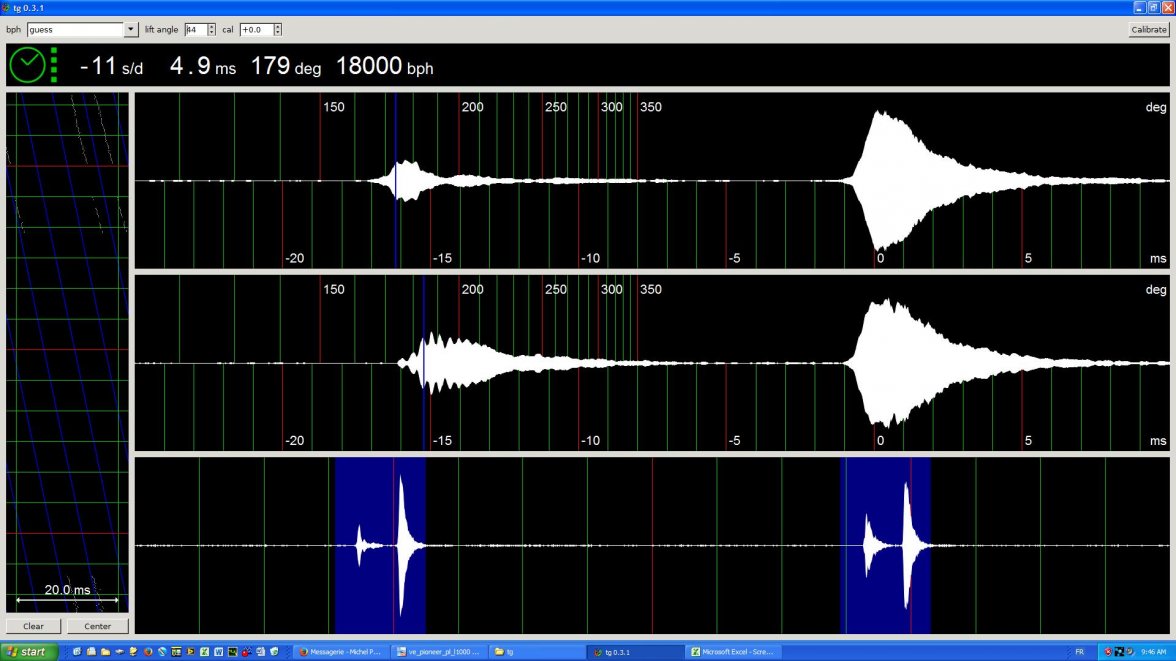
Does anybody know the lift angle for this caliber?

With a real amplitude of 180 degrees I had to set the software at 44 degrees lift angle to obtain a measured amplitude of 180 dgrees.

BTW, this 992B I purchased off ebay and hasn't been serviced yet.

 
Posts
17,465
Likes
36,611
OK, the cracked jewel has been pushed out with the aid of my staking set, I hope that was the hard part 😉.


The lower pivot of the balance staff had some scoring so I've ordered a new one as well as the replacement jewel.

Another wait begins.
 
Posts
17,465
Likes
36,611
Questions from me:

Does it matter what side of the plate I press the jewel in from?

I see a very slight chamfer on one side of the jewel hole, so I assume that is to assist seating and pressing.
The jewel housing also has a slight chamfer on the sink side wich also support pressing in from the bottom (dial side) of the plate.

For depthing/end shake checking, is it OK to do it with just the balance staff and not a complete balance?

 
Posts
29,114
Likes
75,240
Press the jewel in from the same side it came out of. So if you pressed it towards the dial side to get it out, press it in from the dial side.

There's no reason you can't check end shake using just the staff initially.

Cheers, Al
 
Posts
17,465
Likes
36,611
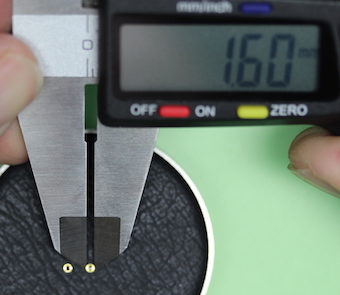
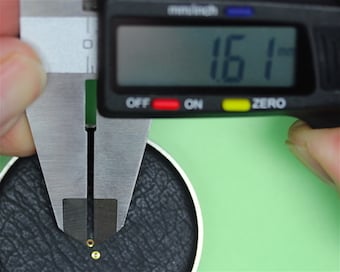
OK, so where did we get to. We had the replacement movement all cleaned and ready to assemble but less one balance jewel. Well that finally arrived so I compared the two before going too far. The old jewel was 1.6mm dia and the new one ws 1.61mm dia, with the reading flicking to 1.6mm so I was happy we had the right one and ready to install.

 
Posts
17,465
Likes
36,611
Well I had my old staking set, and selected a correctly sized stake and a flat anvil.
But it wasn't really meant for jewelling, it would be easy to push the jewel too far.


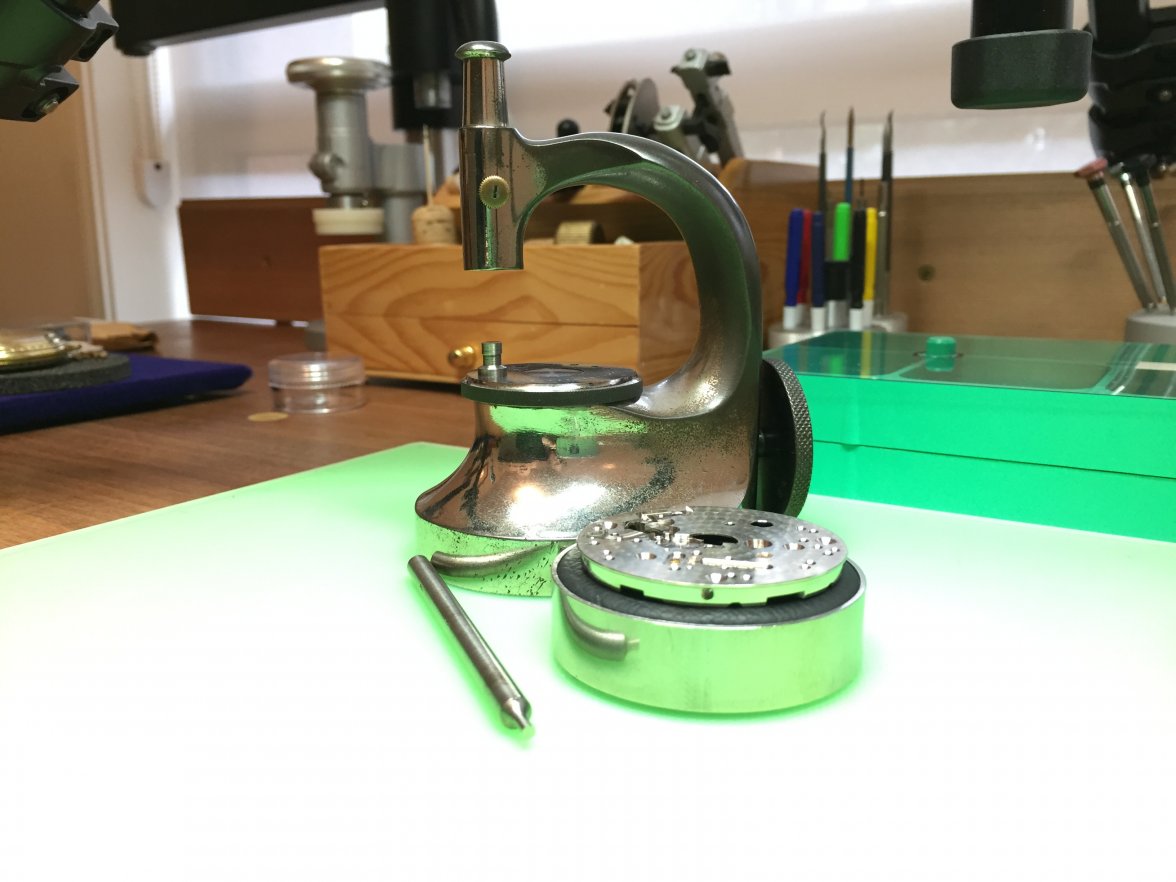
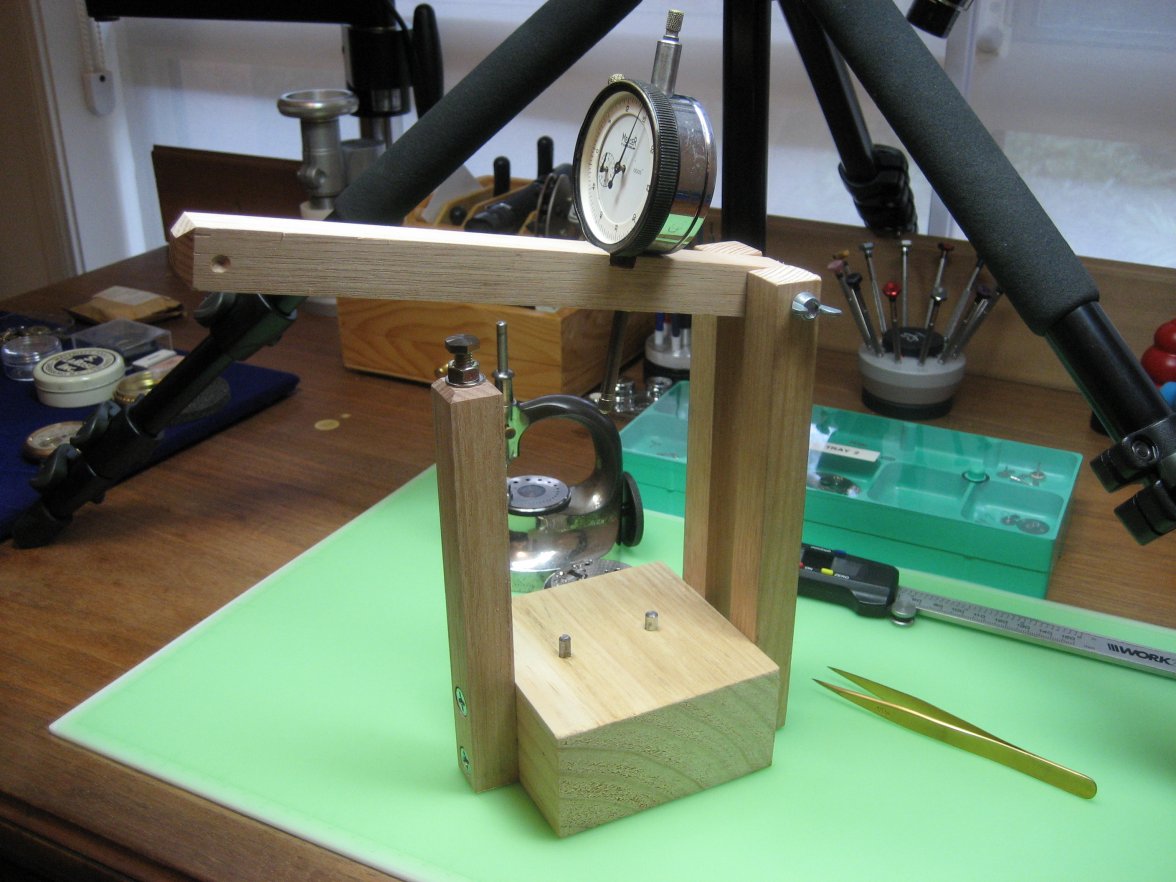
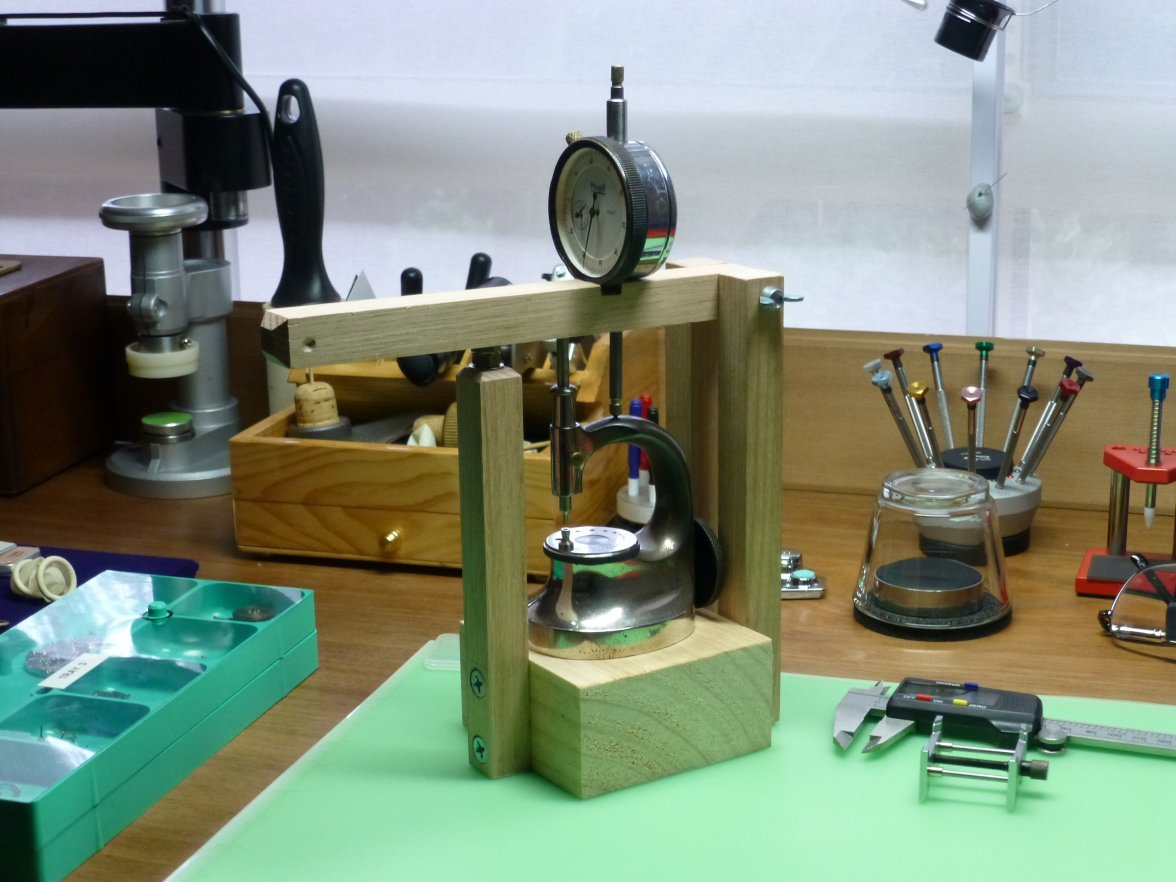
So it was out to the workshop to come up with a solution and create a jewelling attachment for my staking set.
Some nice hardwood cut to size and shaped and a pine block with index pins from MS rod would hold the staking tool.


Put it all together and I have something by which I can press a jewel, and when needed, adjust the depth using the "micrometer stop" (nut and bolt assembly" and an old DTI to give me a rough indication of how much movement is being made when pressing.

Put it all together and I was ready to go.

 
Posts
17,465
Likes
36,611
First, the jewel was placed on the plate in the correct orientation.


And then pressed to first depth using an oversize stake and flat anvil.

 
Posts
17,465
Likes
36,611
The cap jewels were then replaced on the plate and the balance cock and the balance staff was fitted to check for end shake. There was a bit too much end shake so I got a smaller stake and pressed the jewel down a touch more and checked again.
It was almost there on my third try when I heard a dreaded "click" when I removed the balance cock!
I'm a lot calmer now but I was really p*ssed off and almost decided to bin the whole lot, anyway I went back to it the next day and had a look at the original balance staff. The scoring wasn't too bad so I cleaned up the pivots on the lathe and put it all back together. Now I could start assembly and test the train for backlash as previously described (and as mentioned by Al, this time before oiling).

More later, I have to start dinner for my Darlin' who'se on the way home from a hard day at work.
 
Posts
17,465
Likes
36,611
OK, dinner is all ready to go so I'll wrap up to where I'm at now.

After stripping back down and treating the escape wheel and lever pallets with epilame, I oiled all of the cap jewels and fitted them. This is the lower cap jewel ready to fit on the balance cock, you can see the drop of oil in the centre (hope it's not too big).


The balance cock was placed over the cap and all things tightened up. I think most of the oil was drawn into the balance jewel by capillary action so that huge drop of oil is all it's going to get.

The rest of the components were then assembled, all of the other jewels oiled and the watch was run for an hour before oil was applied to some of the escape wheel teeth and then the movement was left to run in overnight.

The first run on the timing machine set at LA of 40 degrees produced:

PU= MINUS 29 SPD BE = 0.3MS
PR= MINUS 31 SPD BE = 0.3MS
PD= MINUS 33 SPD BE = 0.1MS
PL= MINUS 31 SPD BE = 0.3MS
DU= MINUS 0 SPD BE = 0.3MS

(PU, PR etc is same as CU, CR).

Amplitude was fairly consistent between 270 to 290 degrees.

The big difference between vertical and dial up positions is a bit surprising even though I'm aware that all of the pivots are now riding on the jewels, maybe somebody could comment?

Tomorrow I'll do some adjusting to bring it into a better rate at crown up as this it the position a pocket watch would spend most of its time at.
 
Posts
2,399
Likes
6,935
The big difference between vertical and dial up positions is a bit surprising even though I'm aware that all of the pivots are now riding on the jewels, maybe somebody could comment?

Dial-up and dial-down should be close in rate and amplitude. Is it the case here? Only when this is the case then other positions are worth examining.
 
Posts
2,219
Likes
4,946
Hi Jim

Some neat work here. 👍

Have a lookat DU, DD first as noted. Then, look at pages 14 and 15 of this. That'll give you some ideas. If all your amplitude values are good, which they seem to be, then I'd look at the pin gap first. 30 seconds between vertical and horizontal is a lot for a pin gap though. Nice consistent readings you're getting👍 in vertical.

Cheers, Chris
 
Posts
17,465
Likes
36,611
The cap jewels were then replaced on the plate and the balance cock and the balance staff was fitted to check for end shake. There was a bit too much end shake so I got a smaller stake and pressed the jewel down a touch more and checked again.
It was almost there on my third try when I heard a dreaded "click" when I removed the balance cock!
I'm a lot calmer now but I was really p*ssed off and almost decided to bin the whole lot, anyway I went back to it the next day and had a look at the original balance staff. The scoring wasn't too bad so I cleaned up the pivots on the lathe and put it all back together. Now I could start assembly and test the train for backlash as previously described (and as mentioned by Al, this time before oiling).

More later, I have to start dinner for my Darlin' who'se on the way home from a hard day at work.

Sorry, didn't explain that too well.
I think I must have twisted the balance cock as I was taking it off, getting it away from the studs had been a bit sticky and on the last effort I must have got a bit ham fisted.

All part of the learning experience, but I still kick myself.

TIP: The balance staff is much easier to manage when it's in the middle of a big wheel/spring/roller 😉.
 
Posts
29,114
Likes
75,240
It was almost there on my third try when I heard a dreaded "click" when I removed the balance cock!
I'm a lot calmer now but I was really p*ssed off and almost decided to bin the whole lot

I know that feeling well - late yesterday installing the very last screw on an 861 movement, and then this:


😡

The screw didn't even get tight - as it just started to tighten it turned to mush and the head sheared off. Unfortunately this is not uncommon on these, and sometimes the screws are very soft. Any chance I can file a slot in it and turn it out? Nope...


Screw threads into a steel sleeve, and it's broken below the surface of said sleeve. After spending some time with a pick and a pivot drill to try to get it out late yesterday, I put it aside and had a beer. Have to press the steel sleeve out from the other side and install a new one, and the other side of said sleeve is under the barrel bridge - this means I will end up pulling it all apart and starting the service over again. Oh the joy of working on watches.

Just know you are not alone - this can be a frustrating job at times...

Cheers, Al
 
Posts
17,465
Likes
36,611
Hi Jim

Some neat work here. 👍

Have a lookat DU, DD first as noted. Then, look at pages 14 and 15 of this. That'll give you some ideas. If all your amplitude values are good, which they seem to be, then I'd look at the pin gap first. 30 seconds between vertical and horizontal is a lot for a pin gap though. Nice consistent readings you're getting👍 in vertical.

Cheers, Chris

😲

Great educational tool!

Thanks very much Chris.