Thehighwayman
·He we go again with another budget resto and some hopefully useful info !
At the end of the post I'll list some part numbers and sizes etc which should prove useful to anyone treading the same path in the future.
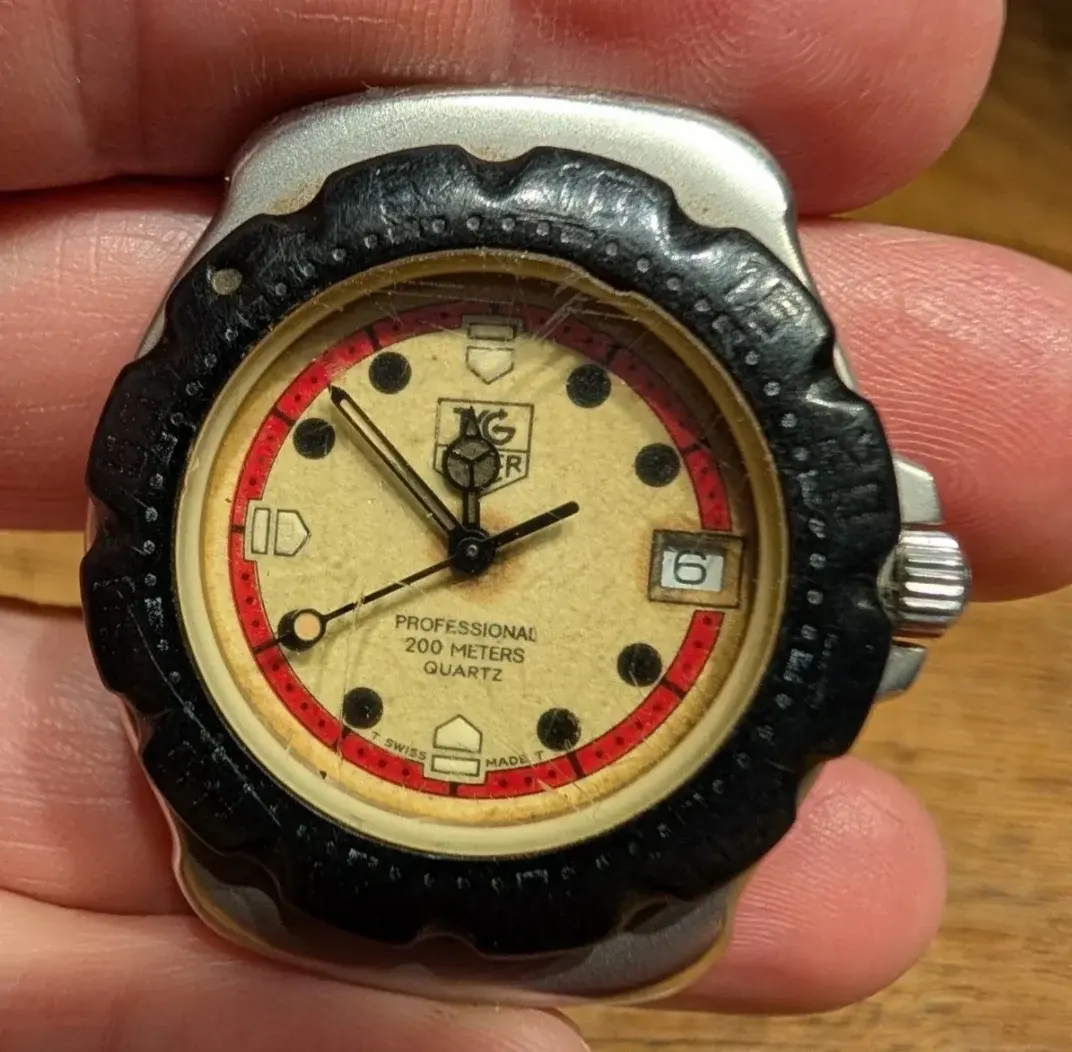
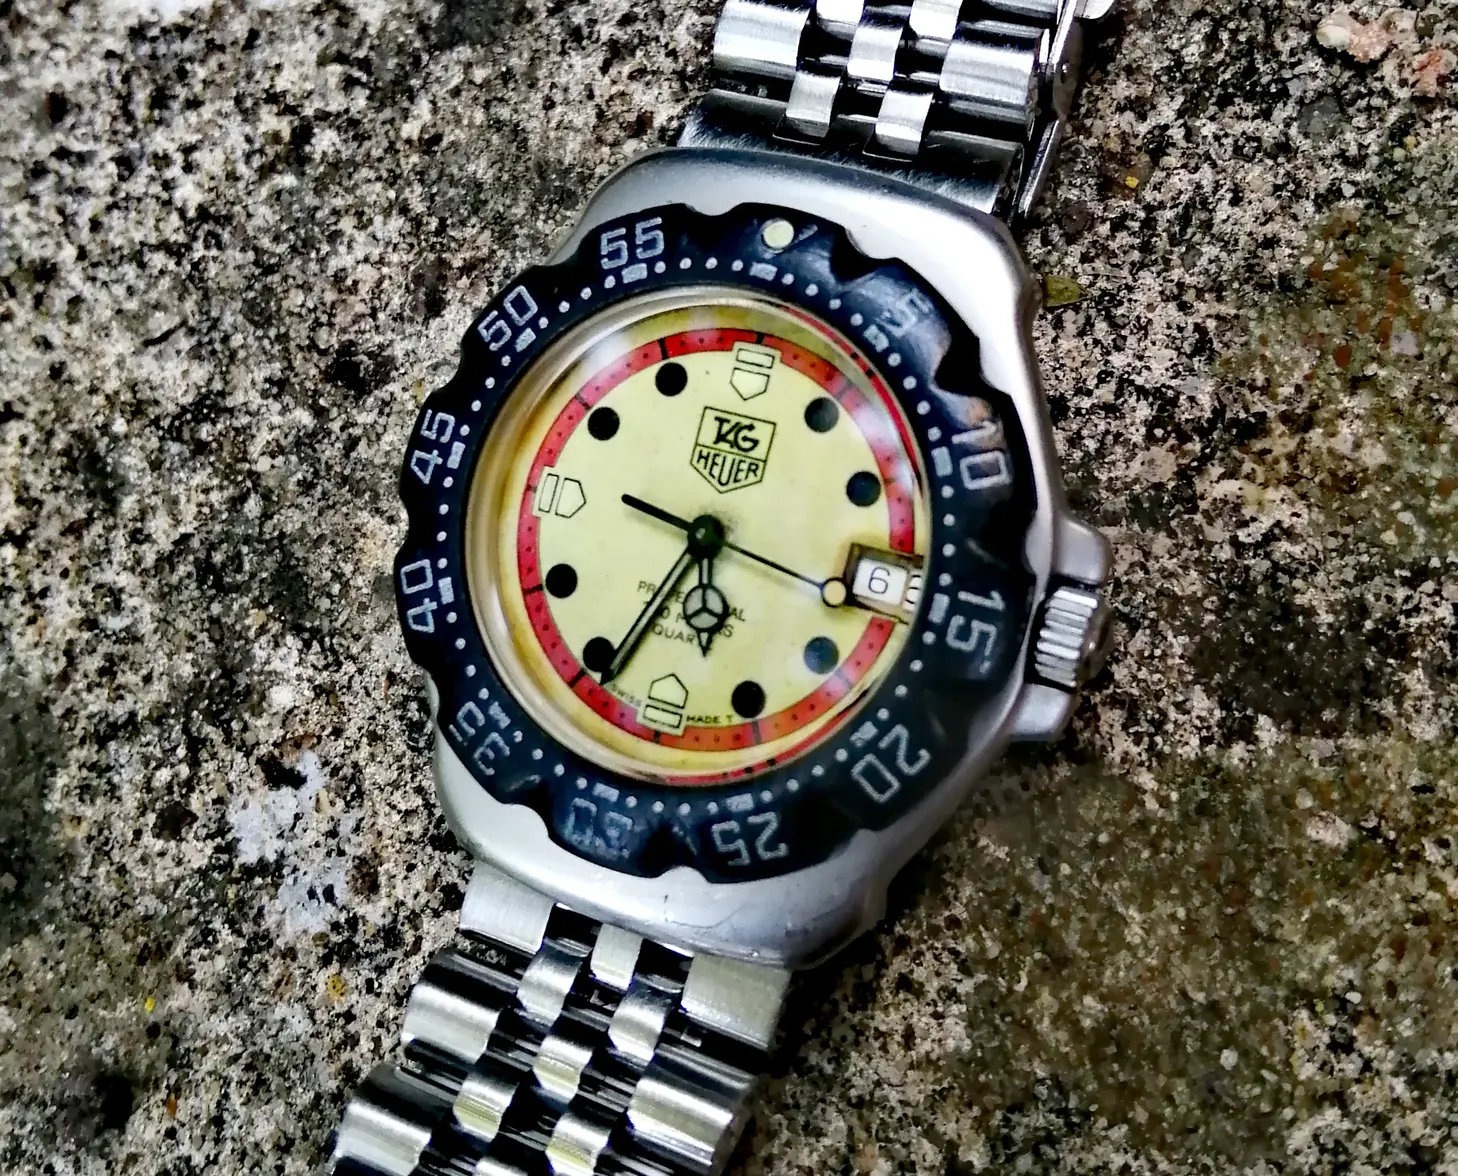
As usual we start with the before pic....
So, this was picked up pretty cheaply for £55 GBP after my slightly cheeky best offer was accepted.
The watch didn't run and the listing stated that the seller hadn't removed the caseback. I doubted this somewhat as a case opener could be seen in the background of one of the photo's.. 🤣
So with the watch in hand I could begin to see what i'd got myself into..
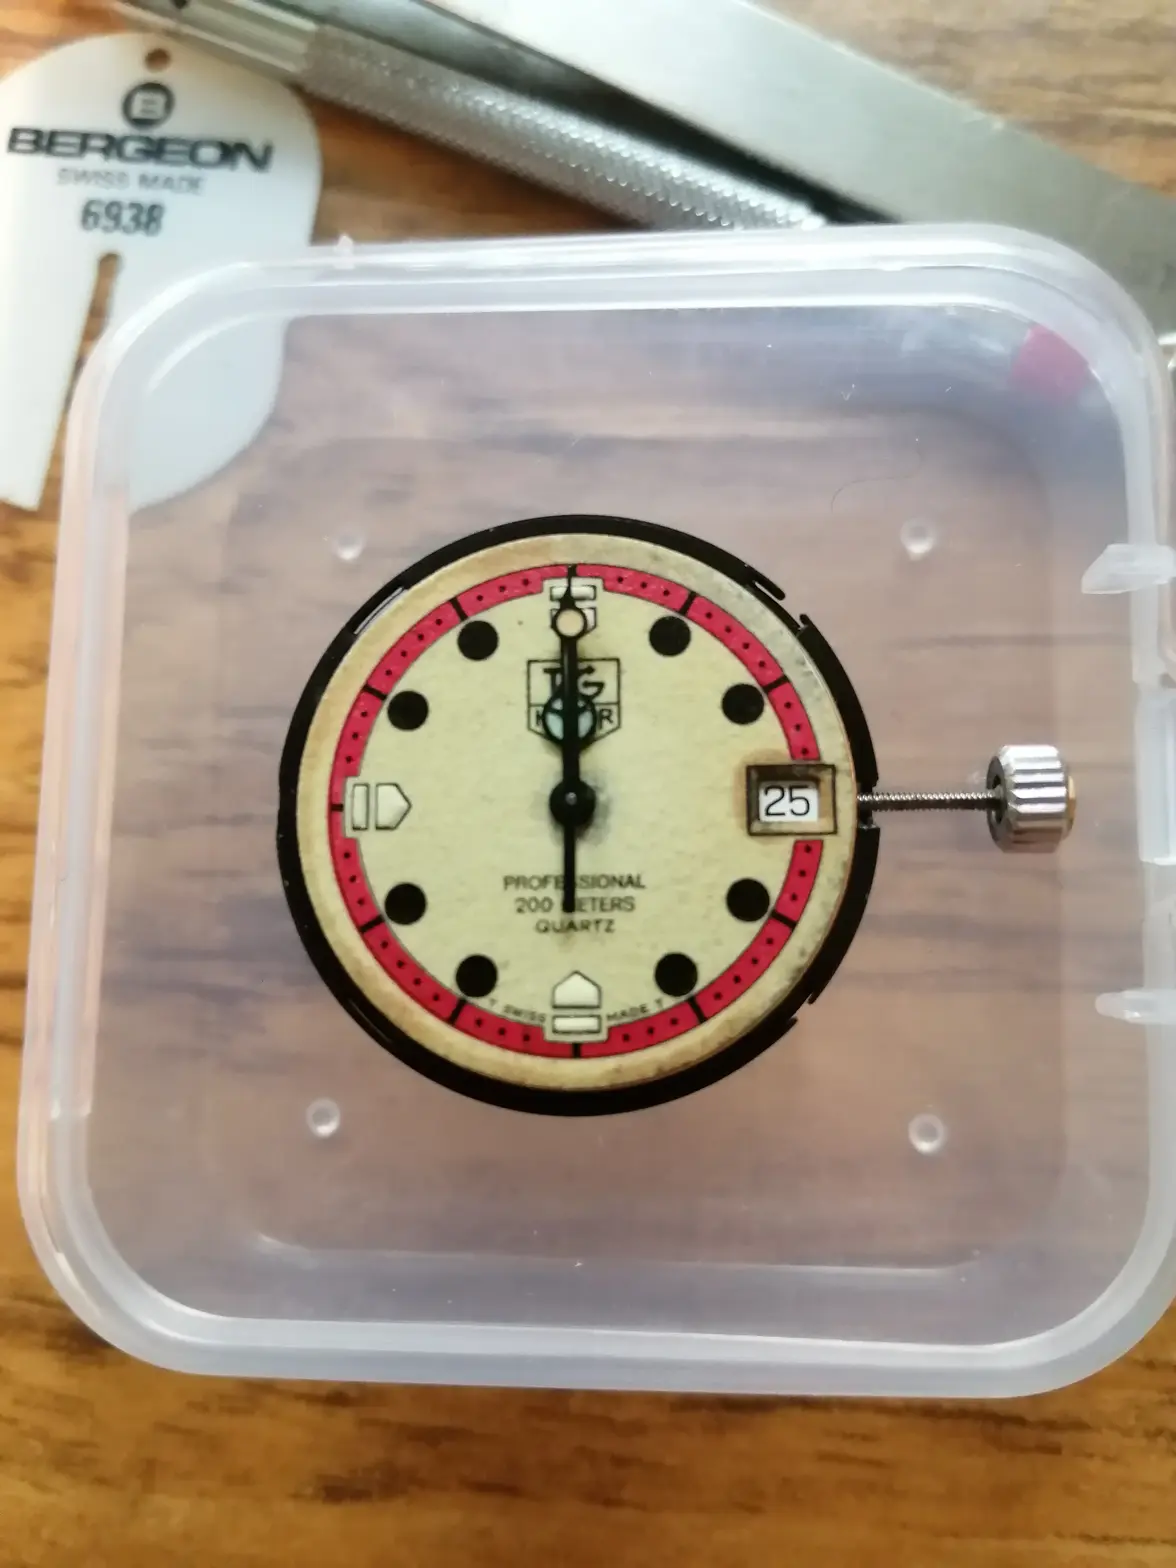
The dial wasn't too bad,some dark areas around the centre and the right side edge.the hands needed reluming too.
The crystal was chipped, scratched and installed at an angle akin to a nursery ski slope..🤪
It needed a better bezel and it needed to run of course.
This is where I discovered that despite the case opener in the sellers photo's he definitely hadn't opened the back. In fact I think he probably broke his case opener trying..
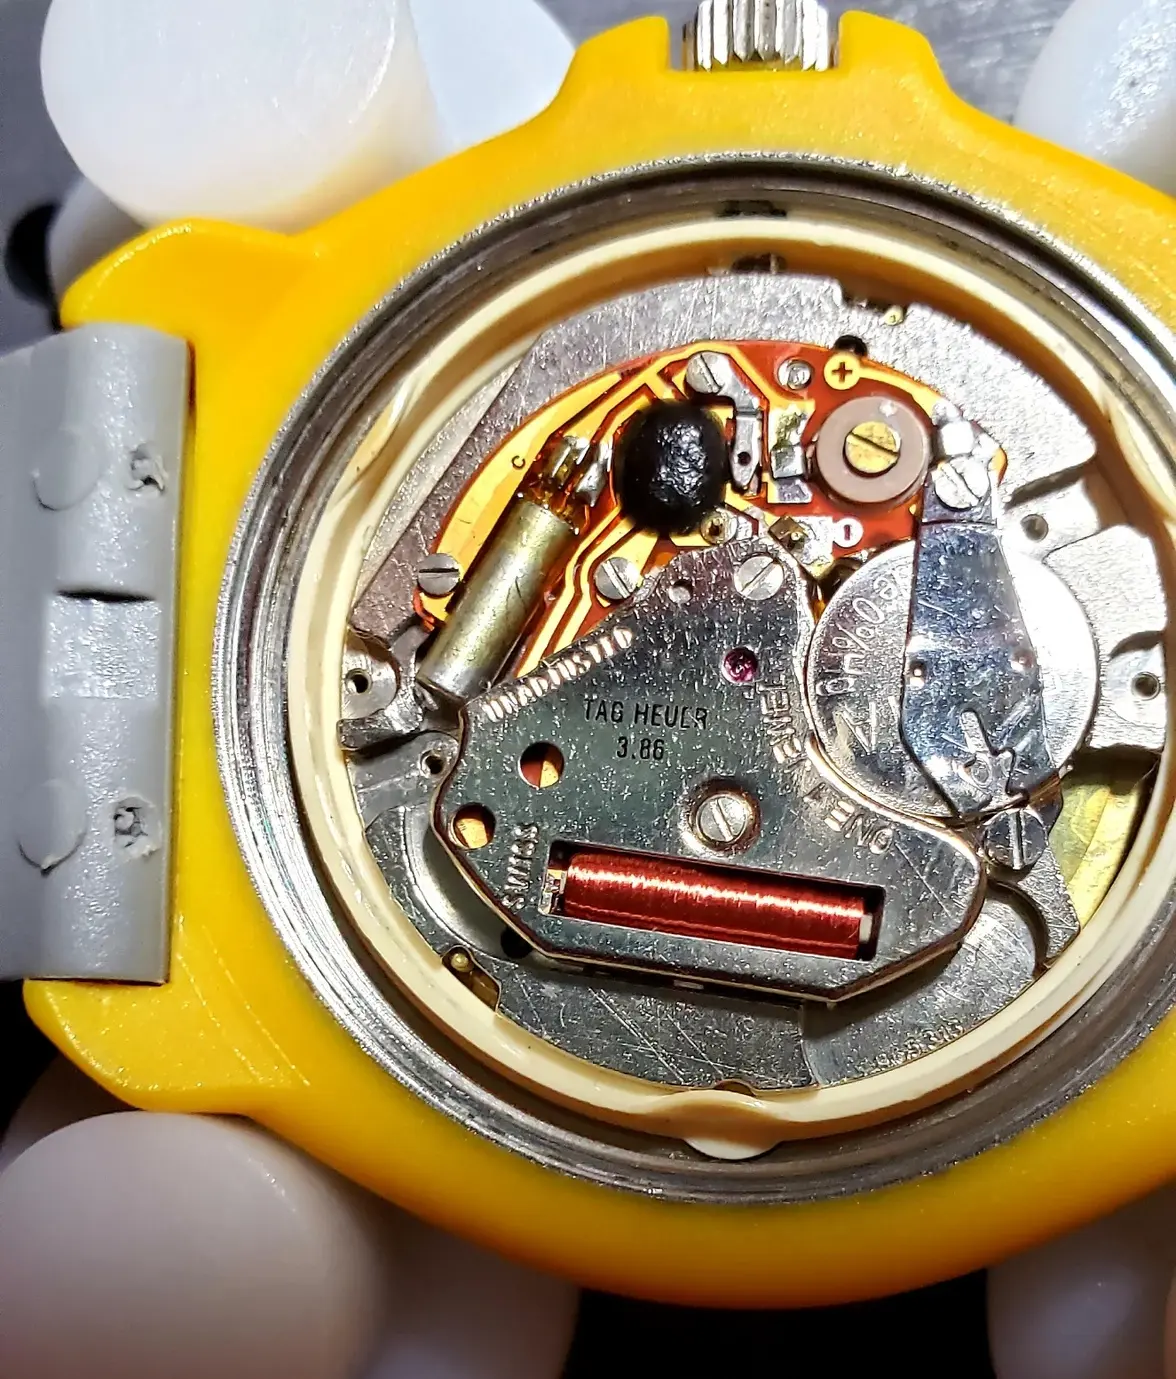
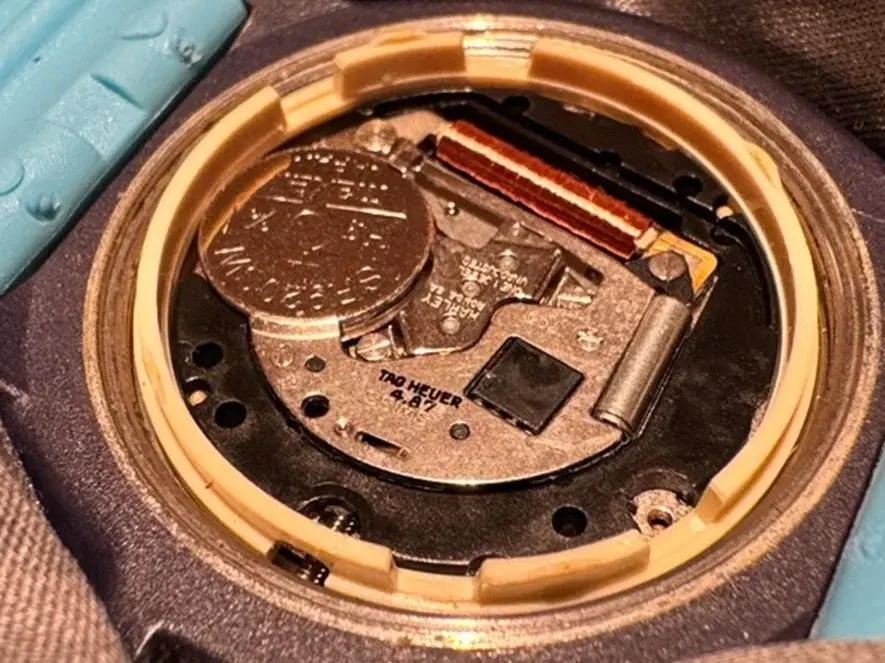
I reckon Arnie fitted the caseback and King Kong gave it a tweak for good measure. I could not move it so I had to get creative. As I've said before,most of my gear is elsewhere but with the aid of two blocks of softwood and a large G clamp I got the case securely clamped up. With my biggest case opener and some pretty immense torque it finally moved.... My reward for all that effort was to see a freshly blown battery with a big blob of acid sitting on top of it and sooty black residue all over the movement,ahh well this is what I do ..🙄
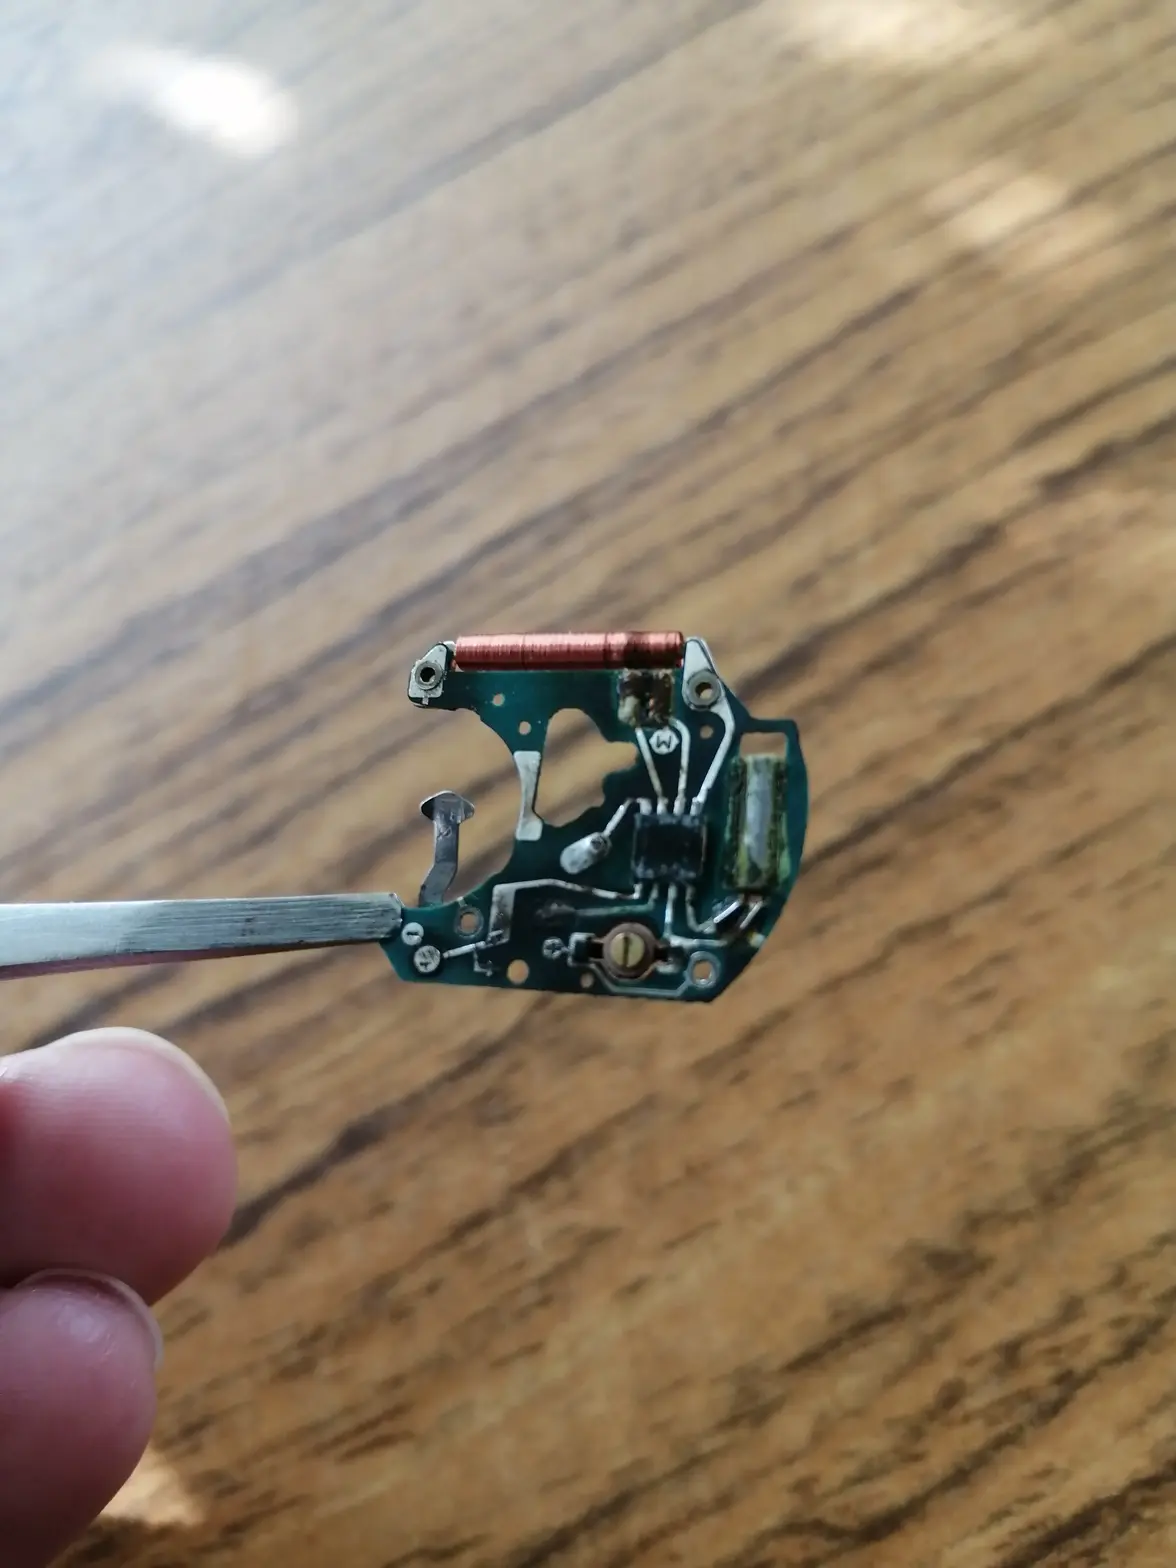
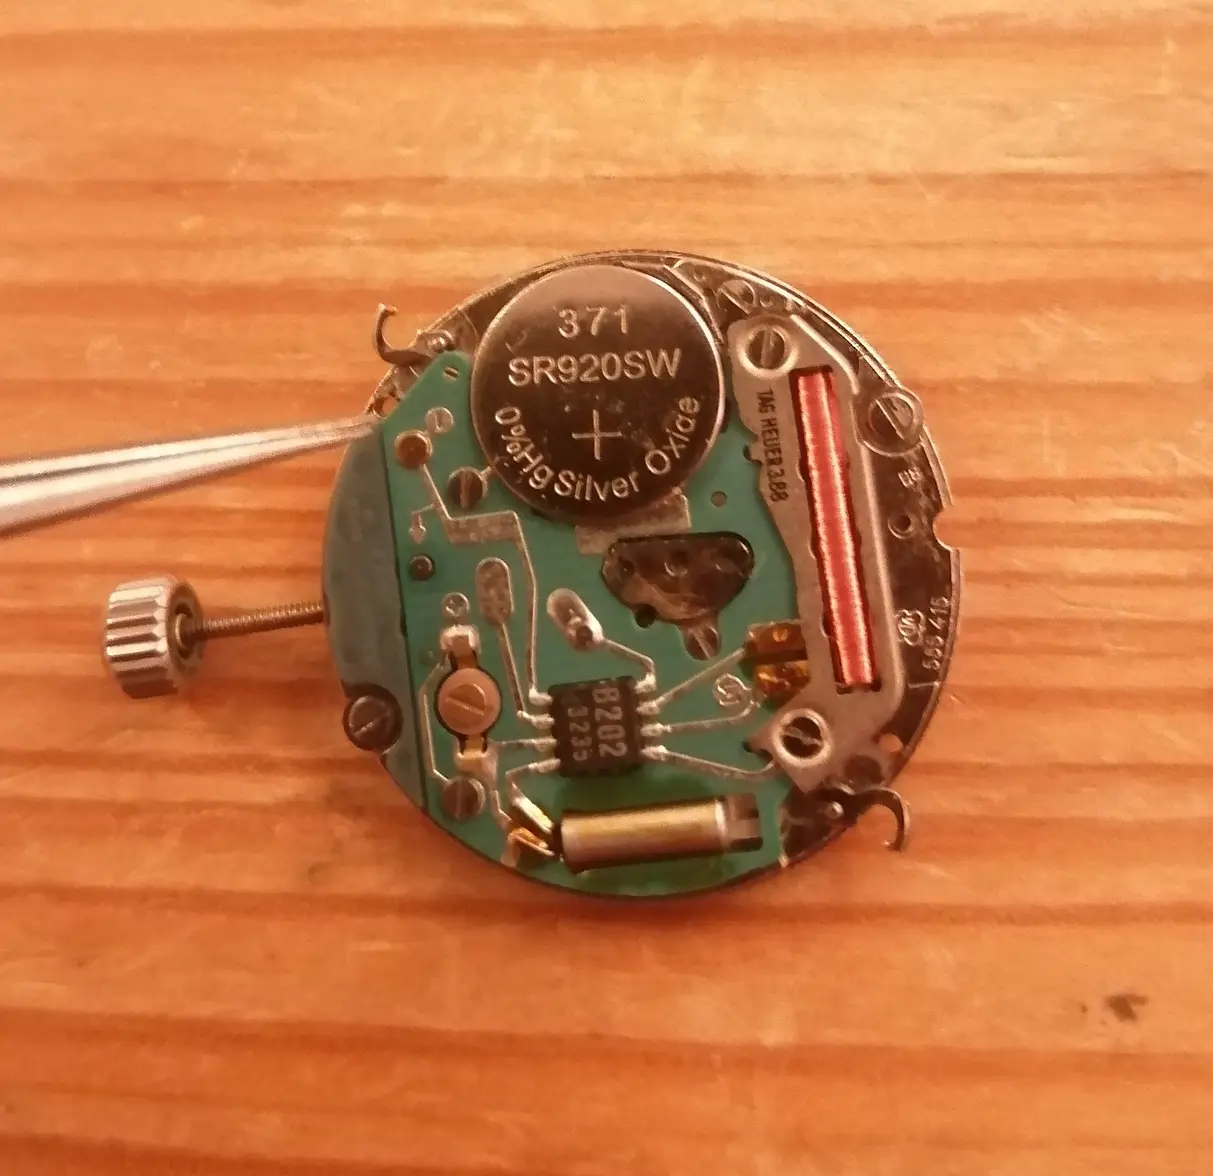
I neglected to take any photos at this stage but here is the circuit once I removed it and cleaned a little residue off. There isn't actually any real corrosion and the sooty residue comes off reasonably easily.
The circuit is functional but it's going to be time consuming to clean and this residue is all over the movement too,that is going to have to be stripped and put through the ultrasonic.At some point I will do that and keep it as a spare movement,in the interests of getting on with the repair I elected to fit a spare ETA 555.412 which I know to be good.
These movements use the same stem removal procedure as the larger 955.112. Any stem position is fine, but don't press the button too far down.
Dial attachment is also via the swing U clips,just the same as it's larger brother.
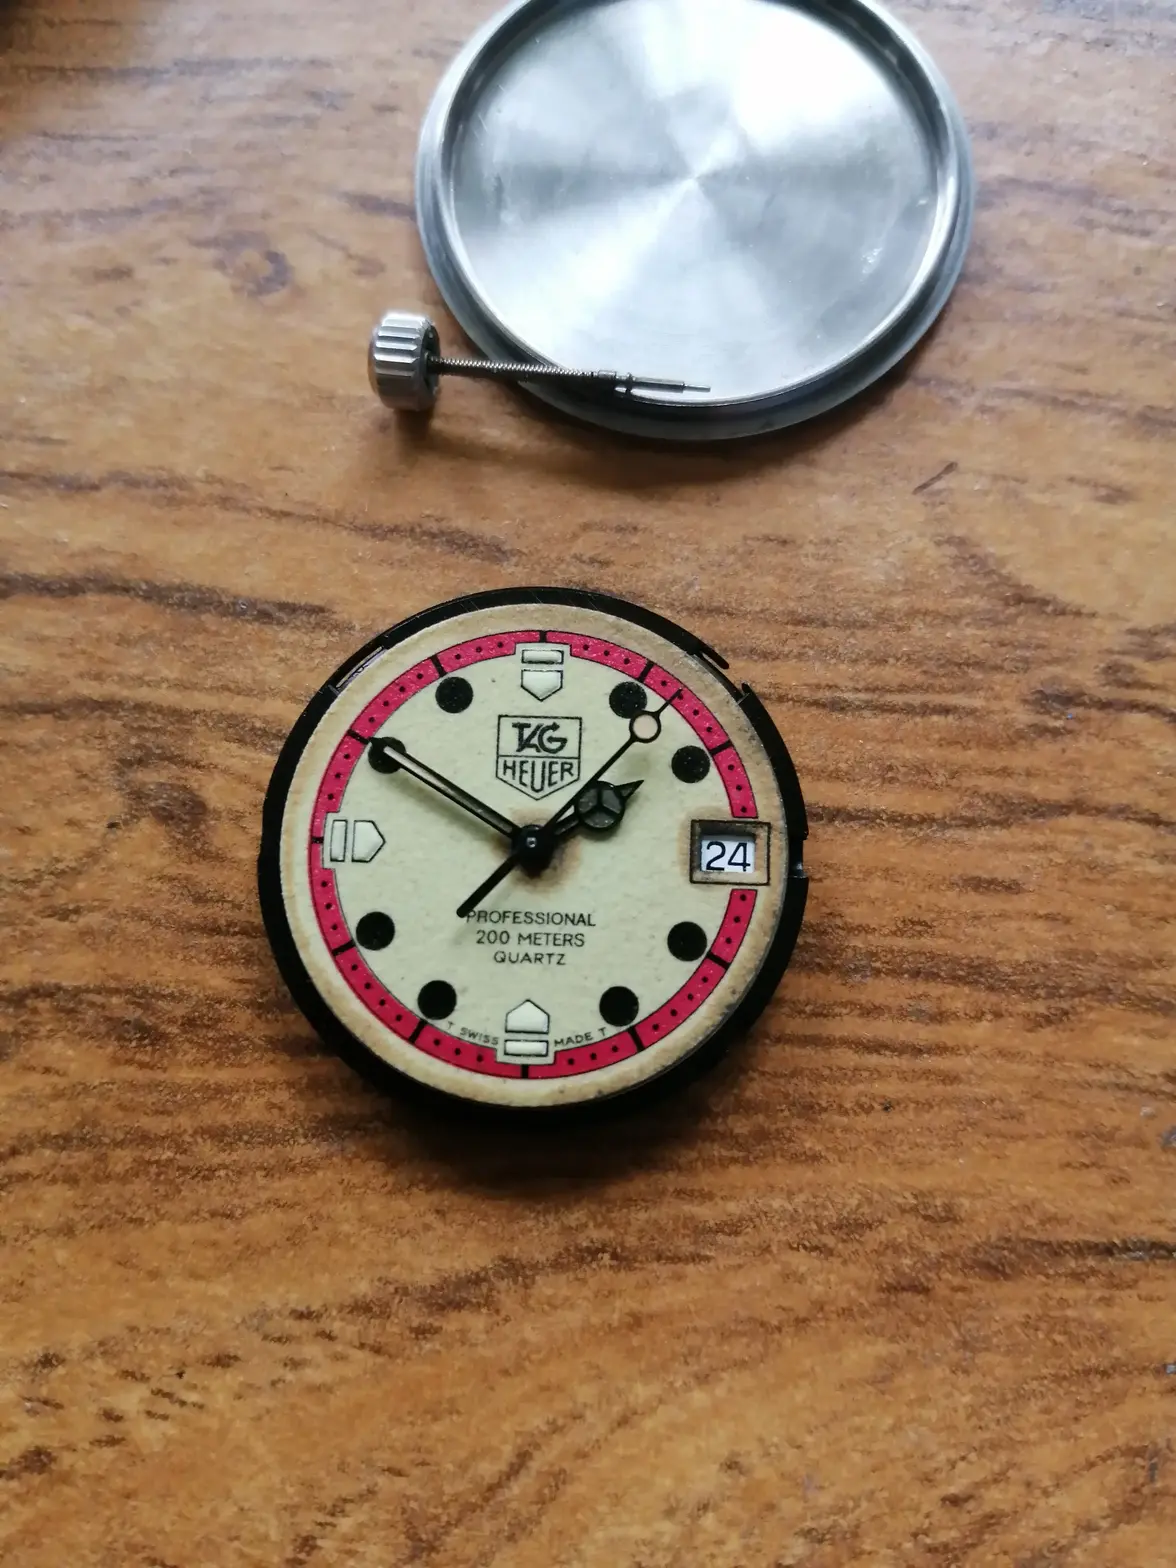
Here is the first look at the dial out of the case.
Not too bad,the biggest issue was the darkening on the right hand side. This created an optical illusion in the case and made the dial look distinctly off centre.
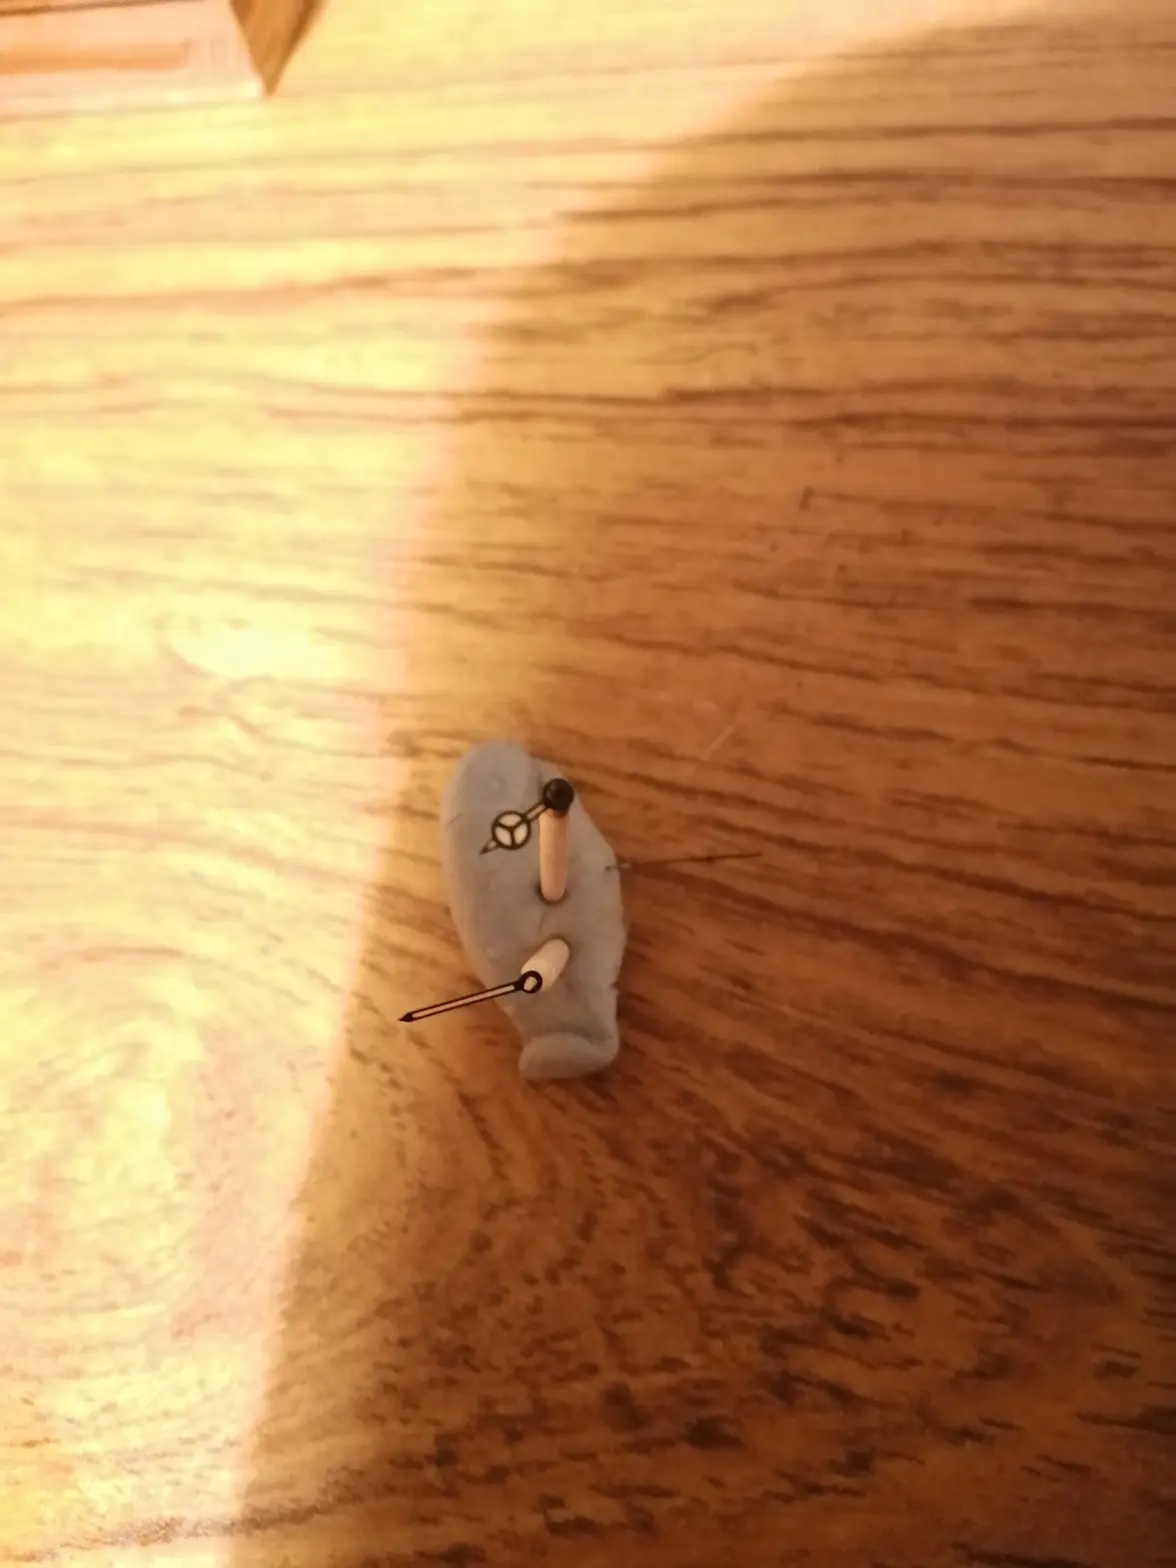
So I had a think about the dial while I relumed the hands..
With the hands done,I turned my attention to the dial again..
Now there is one general rule regarding dial cleaning... don't do it !
In almost all cases cleaning a dial will make it worse and you shouldn't really go beyond a soft artists brush or a puff of air to remove loose dust/dirt.
The exception is old enamel dials with hairlines,a few minutes in the ultrasonic will lift the dirt from the tiny cracks and render them invisible.It works wonders.
With all that said, I have had some success in gently spot cleaning full lume dials a couple of times in the past. I'm not recommending you try it because I don't want to be held responsible for any disasters !
It will not work on all dials either, not all these full lume dials are equal even though they look the same. Some of them are bare lume like this one and some have a clearcoat on top. I don't know if this is a timescale thing or they just used multiple suppliers. If it's clearcoated there is nothing you can do,the lacquer traps the spotting and darkening underneath,game over.
So, with a tiny artists brush I gently worked very small amounts of a proprietary mould cleaner into the darker spots,left it for a few minutes and then rolled a cotton swab over the area to lift the dirt away. It worked quite well,I then left the dial in a warm place in direct sunlight for a couple of days to be sure it was fully dry. The UV would also help kill any mold spores.
Here is the cleaned dial having just set the re lumed hands back in place.
Definitely a significant improvement.
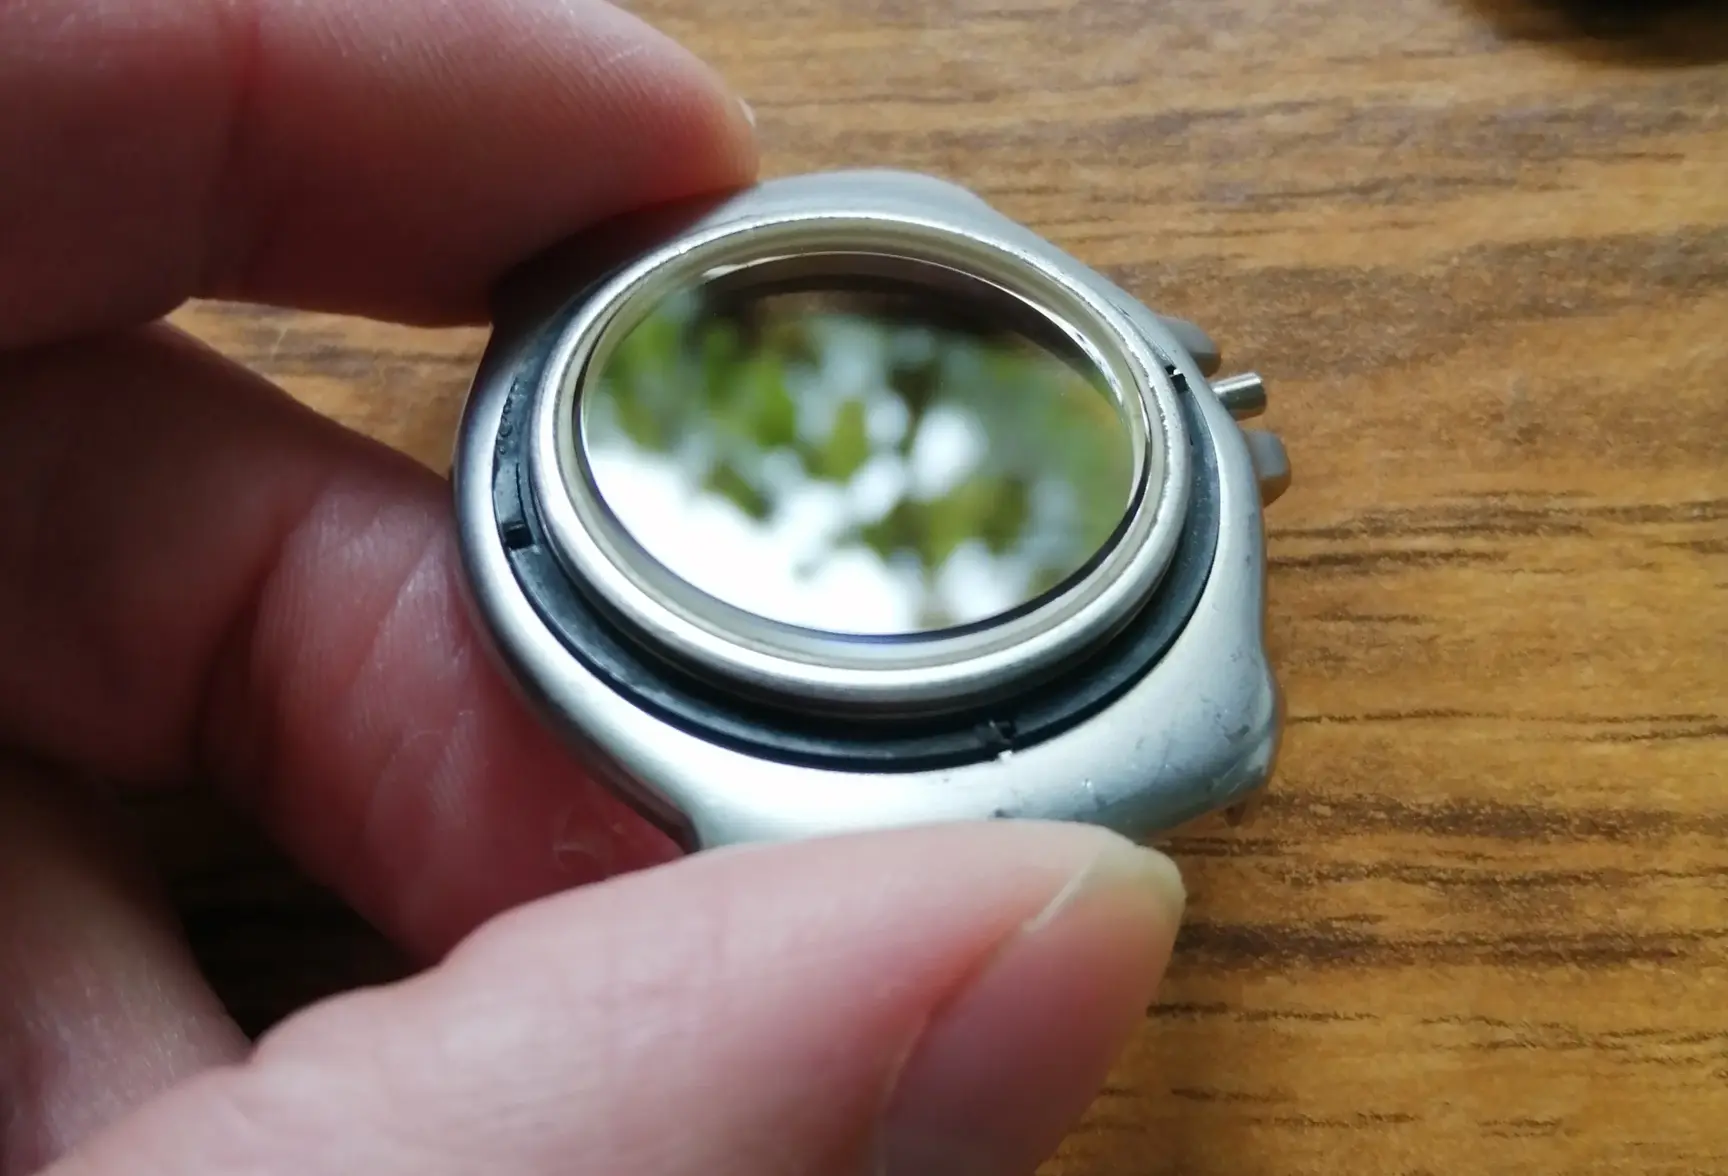
Now it was time to fit a new crystal, these are a 24mm diameter x 2mm thick and are pressed into a nylon L profile gasket.
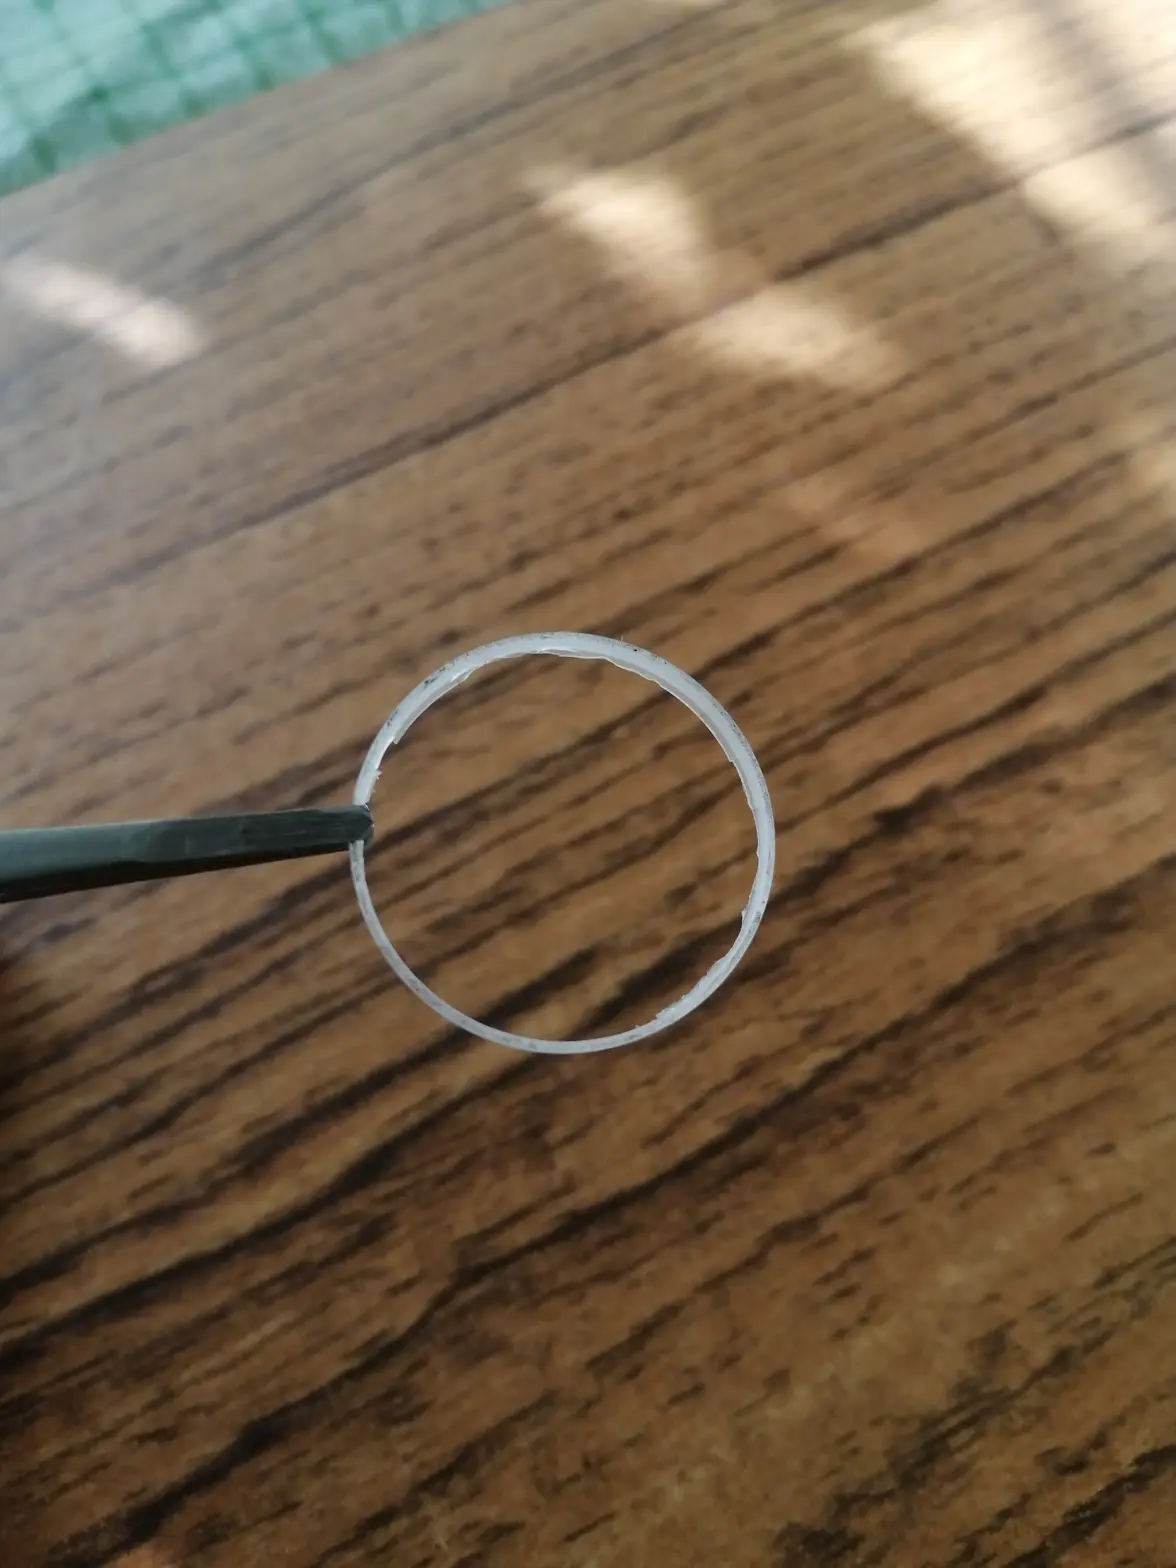
This is not what you want your gasket to look like !
As you can see, it's gone brittle and large sections of the L profile have broken away. It was also the wrong size which is why the glass wasn't seated level.
Fortunately, I had a suitable new gasket in my spares and fitting the crystal was then trouble free.
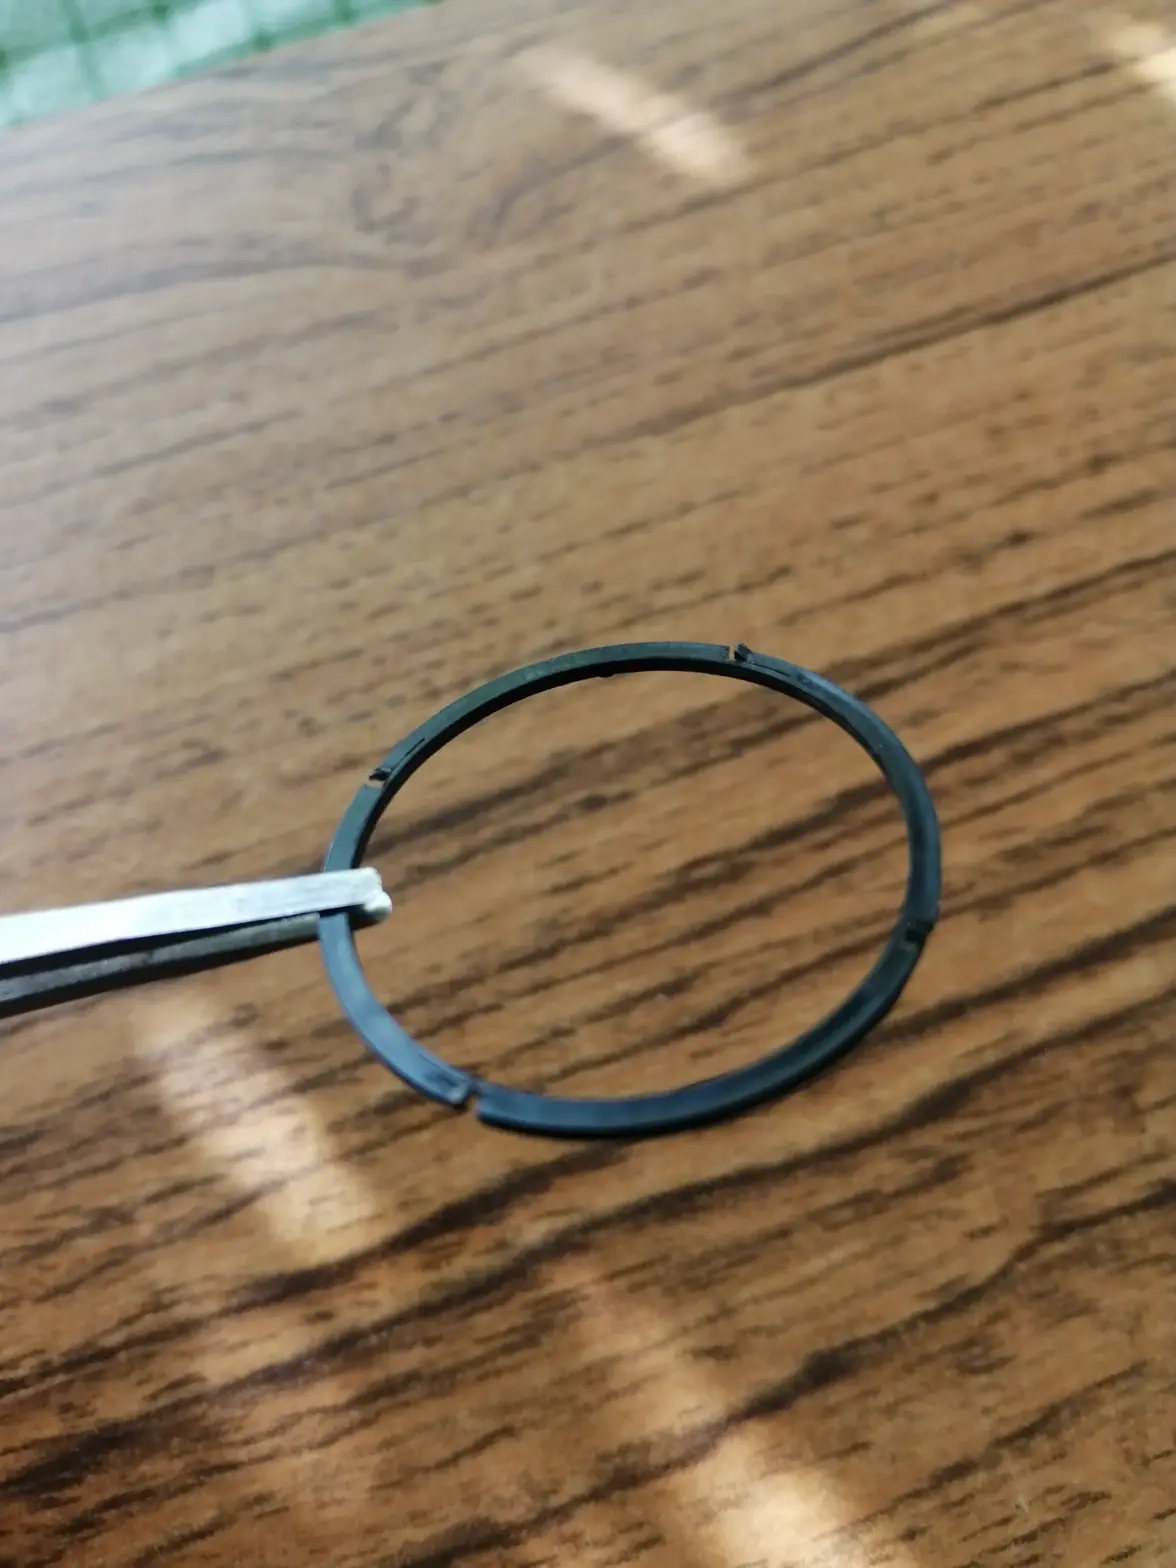
I then took the opportunity to remove the plastic click spring and give it a good clean. These clicks do sometimes break,this one was ok.
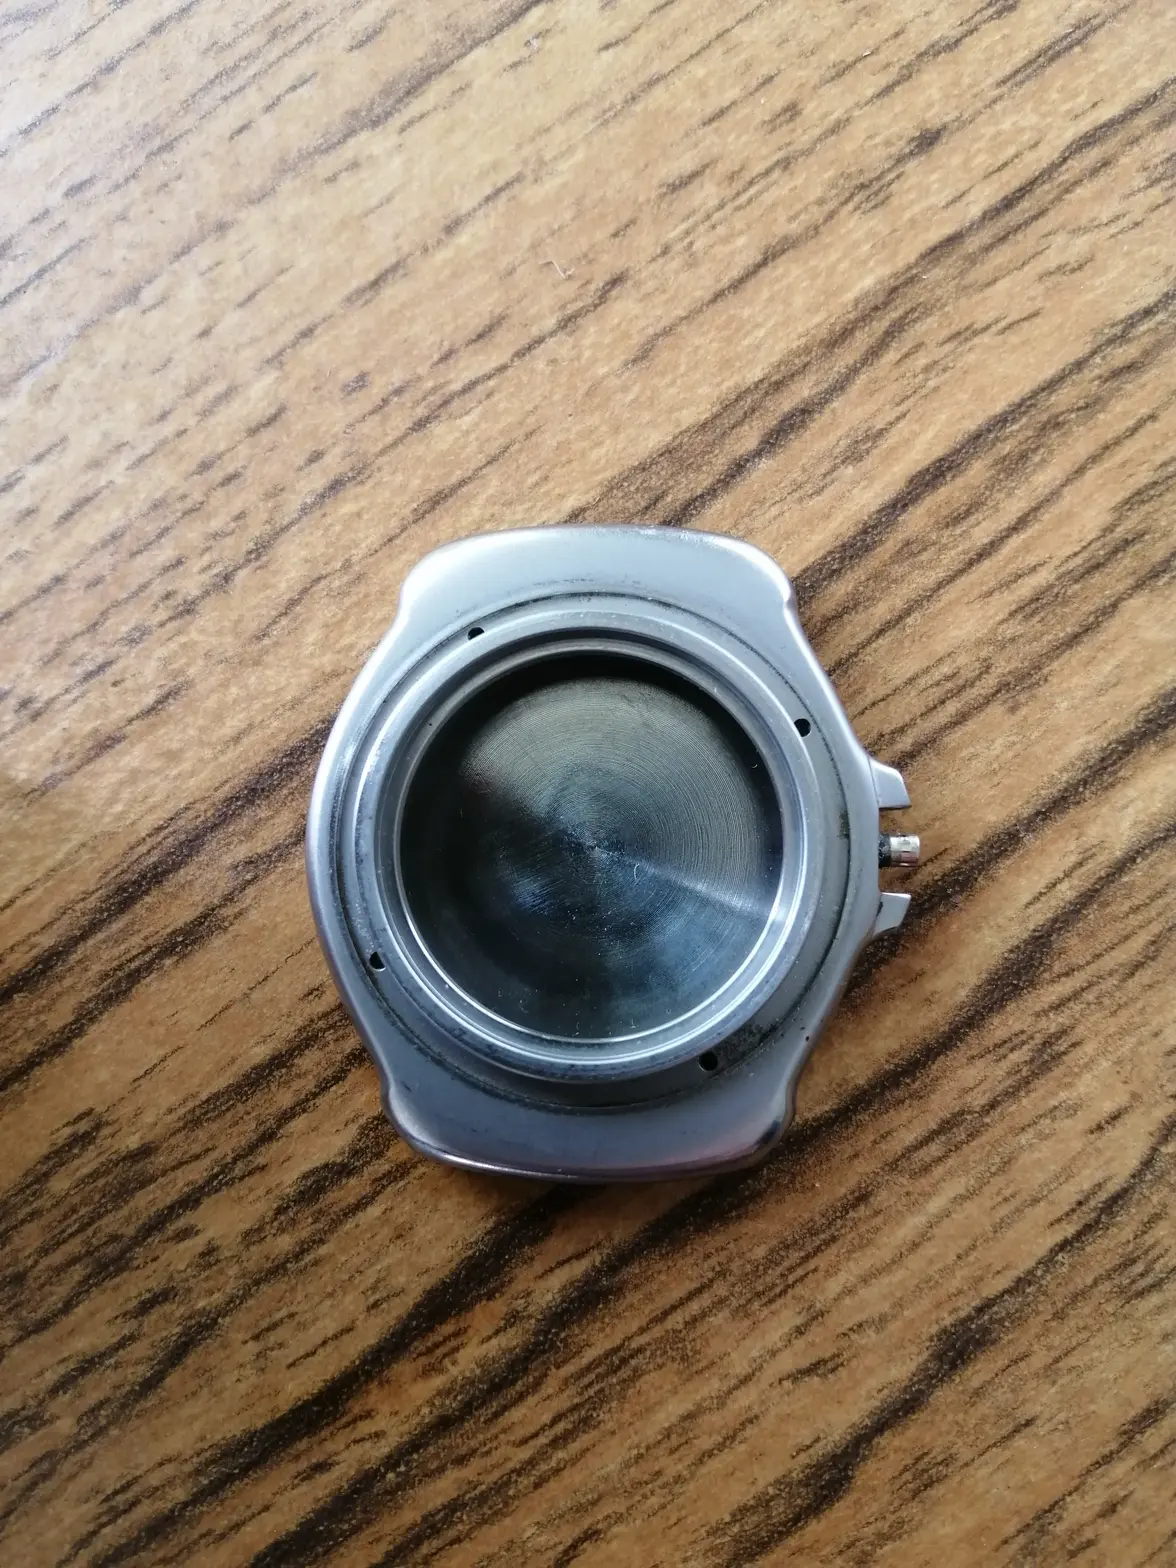
The click spring has four sprung areas which when seated correctly are positioned at 12,3,6 and 9. When you remove the bezel it's a good idea to slide your blade under the bezel in an area away from those positions.You don't want to be prying on the sprung sections as it will likely break them.
On the underside of the click spring are four pegs which locate into the four holes on the case you can see in the photo below. Make sure these are properly located and the click is properly seated before putting the bezel back on.
In my spares box I had a reasonably good bezel,it's an all white one rather than the correct one with the red 0 to 15 markings. I could paint it in but to be honest I prefer the all white and it's my watch 🤣 The red they used is a bit dark and I feel they look like something is missing,should have done them fluorescent orange or something.
Final job is casing up and a new caseback gasket as the old one had gone hard.
I also had an original bracelet tucked away and with that tidied up a little here is the end result:
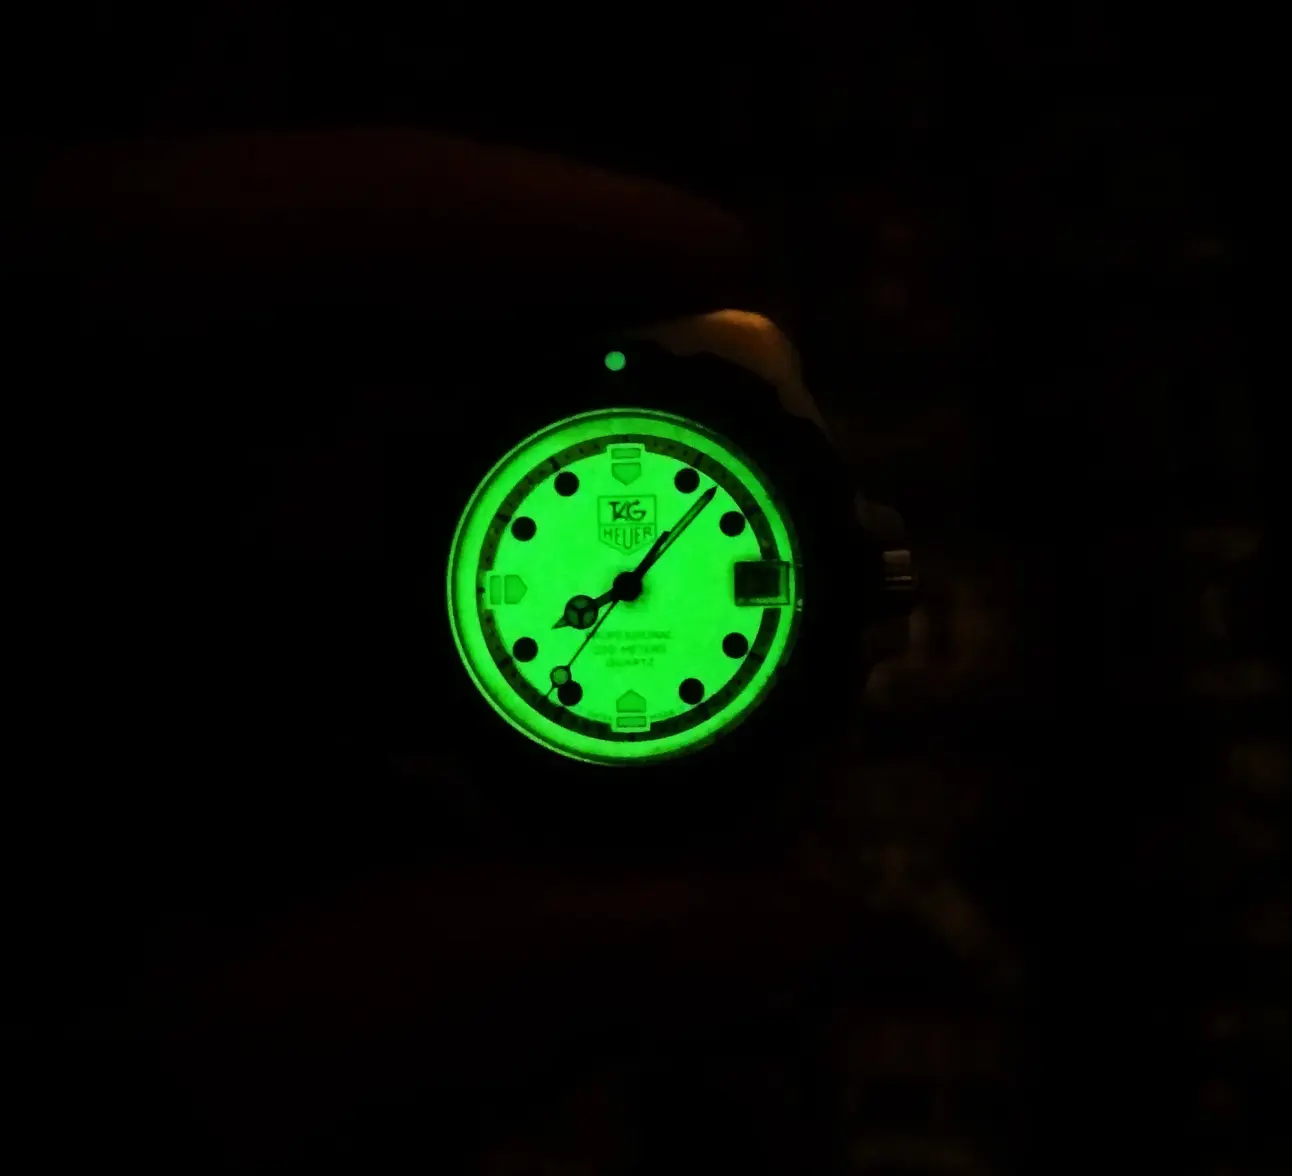
Quite a transformation and the lume is good too.
Total cost for this restoration was zero as I had all the parts I needed. Fortunately I don't charge myself labour as it took an hour to get the caseback off !
Parts and specs.
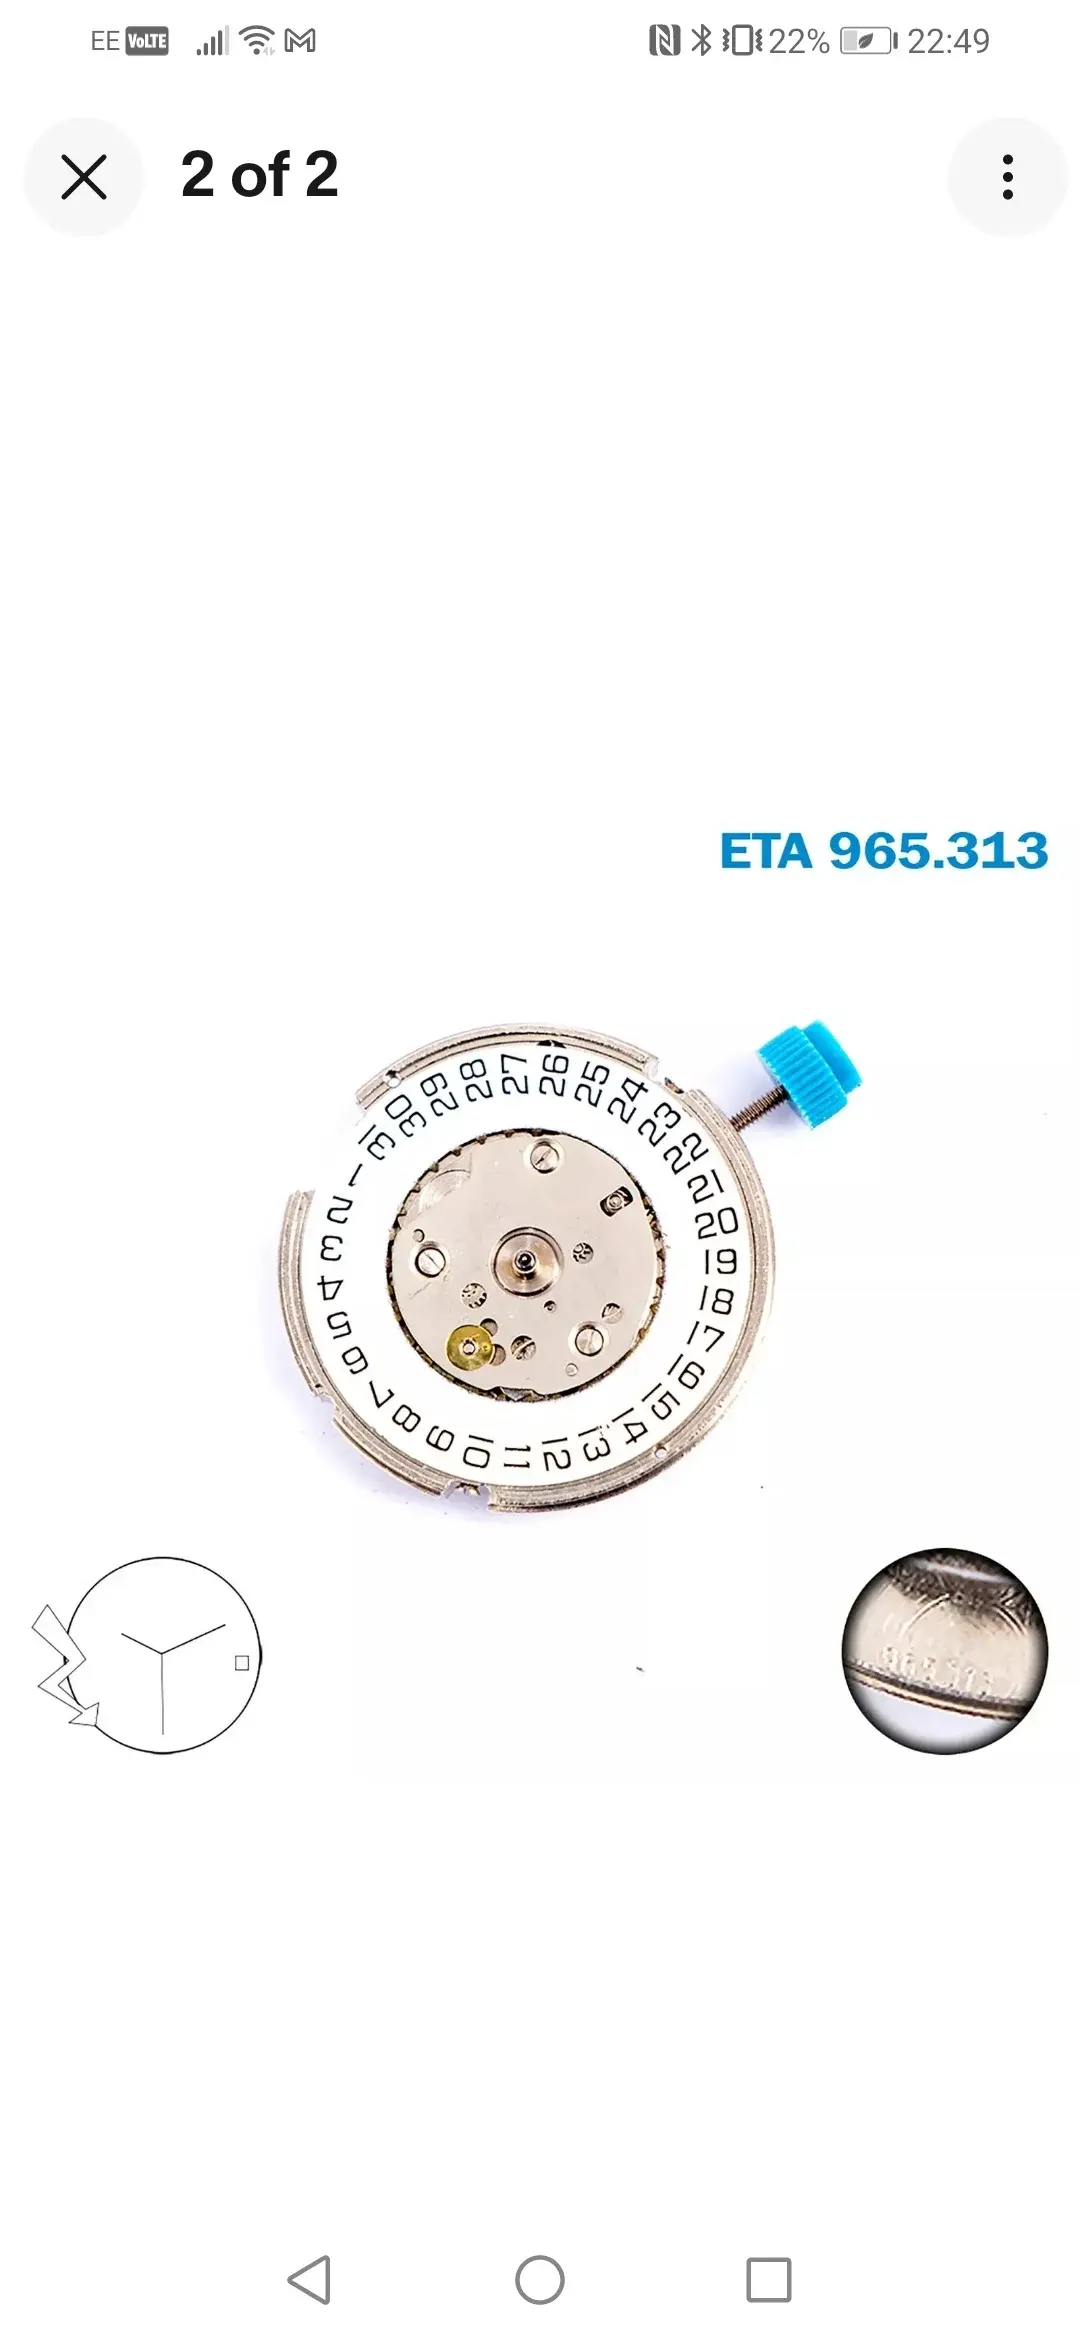
The movements in the Formula One's vary. Very early watches can have a Ronda SA 705 or an ETA 965.313
Most later watches you will find have an ETA 555.412 0r 955.412. You can use any 555/955.4XX movement as a replacement providing it's not a two hand version.Check the photos of a potential replacement to make sure it has a second hand pinion. There are also some versions with date at 6,these can be used after swapping the date wheel.
If you need a circuit and coil you can use one from the ubiquitous 555/955.112 or any of the many variants as well as those from the 555/955.4XX series.Although the 955.112 is a 11.5 ligne movement vs 10.5 the difference is in the movement plate the circuits are the same size.
If want to go modern, the ETA F05.115 is a straight swap. Personally, I like the old Normline movements,they were built to be serviced,they are period correct and they look nicer to my eye.
Hand sizes for the 955.412 are 120/70/20 or 1.2mm , 0.7mm and 0.2mm , the earlier ETA 965.313 has different hand sizes 130/80/20 and different dial feet positions. Research suggests the early movement cannot be directly swapped with the later one.
Crystal
24mm diameter x 2mm thickness. Standard flat mineral with a slight bevelled edge. You can go sapphire if you wish.
Crystal gasket
25mm Outside diameter/ 24mm Inside diameter.
Cousins UK list a specific F1 gasket for these watches with the above measurements,part number T59319
You can also use a Sternkreuz LG250239 with a 23.9mm inside diameter,this will give a tighter crystal fit but you will need a press to get it in.
Caseback gasket
Generic 30mm outside diameter x 28mm inside diameter.
Edited:
