JAPton Special motorcycle project

Posts
704
Likes
652
For those interested. 馃榾

Way back in the 1950s, my dad was a keen youth with a history of bicycle racing and a career in the RAF, and had taken up club-level motorcycle racing, with some success. While racing at Pries Heath* he came up against a "special" that was a JAP Speedway engine that had been fitted into a Triumph road/race frame and was fast, light and reliable. "Hmmm", he thought to himself, "... that's a good idea, I'd like to build one of those one day."

Fast forward 40 years and he found himself with a successful legal career, a large home and a family that were finally becoming independant, and the idea of the JAP special bubbled up into his thoughts again. He'd already founded a small collection of motorcycles after re-gaining the "bug" when forced to commute into London during the train strikes in the 1980s. He'd passed that bug onto his entire family too.

So - he and a friend started gathering the parts, having decided, over long evenings in the family bar** involving lots of whisky, cigars and banter: that the ideal conglomeration of parts would include a Norton Featherbed frame (the special builders' favourite for good reason), the biggest front brake they could find, and while being built up as if it were destined for the track and competion, would actually be road-legal (ish) and somewhat down-tuned to make it easier for aged legs to kickstart!

The bike came together over several years, problems were encountered and solved, parts found, used, replaced, painted, re-painted etc etc.

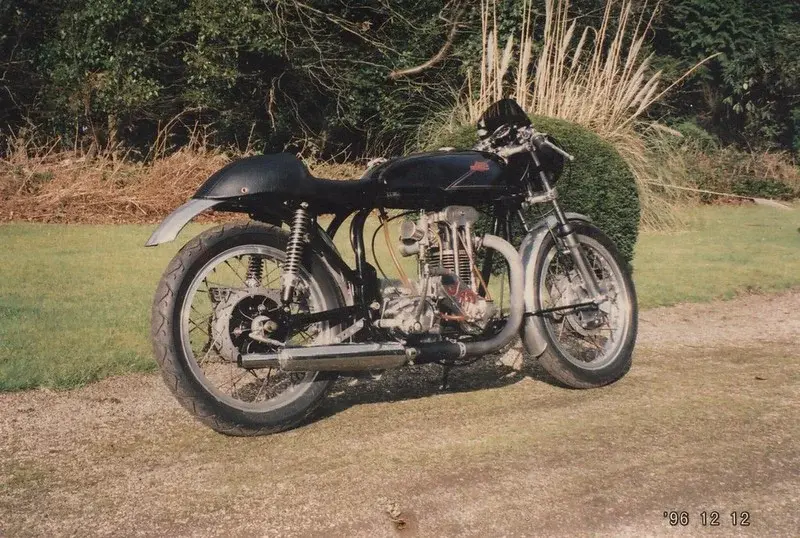
This is the oldest photo I currently have of the bike in it's first "proper" running condition.


At this point it's pretty much all there: although there were obviously developments and changes over the following years.

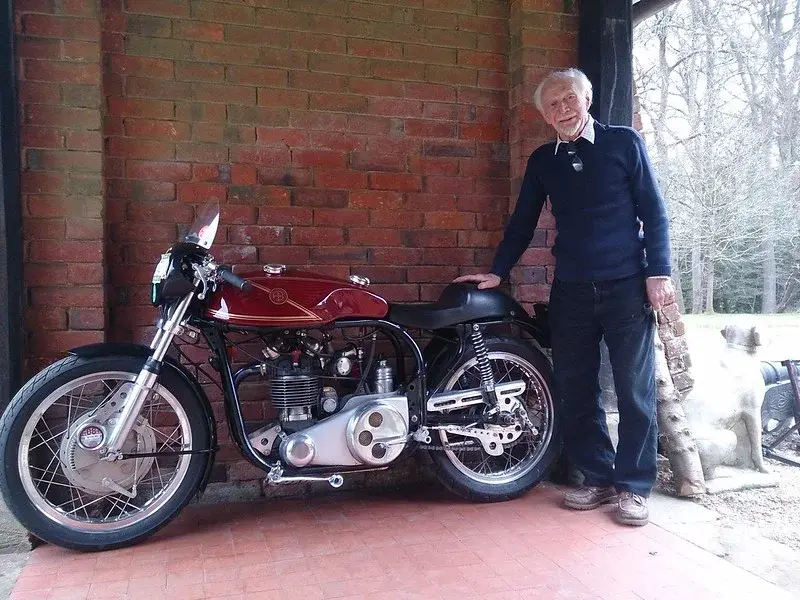
Here it is again in 2014. New paint and a massive 4-leading shoe Grimeca front brake are the most obvious updates.


Sadly, it was at about this time that my father suffered a stroke and lost the learned ability to balance on 2-wheels. This skill is not an innate thing that we monkeys have inside us, it is a taught/learnt skill that takes time to develop. He also lost some movement abilities on his left side. It didn't stop him wanting to play with his bike so, although the collection was reduced somewhat, he still spend most of his time tinkering with things, and letting others do the riding.

Fast forward again to COVID and sadly my father passed away due to heart issues complicated by contracting COVID while in hospital. 馃檨 So, after a time, his pride and joy came out of it's hibernatory storage, and arrived at my new home in 2022.


I've ridden it a few times in the last 3 years, but there was always something wrong with it - and so I've been tinkering and adjusting things ever since.

Last year it died completely while out, luckily only about half-a-mile from home so pushing it back was doable, we're lucky enough that there's a little triangle of roads very close to the house for "testing" purposes (I don't have enough room on the plot for riding it up and down).

So last winter and this year I've been slowly stripping it down to find out what's wrong... and boy.....


* a track n the North West of England, now long gone, with the distinguishing feature of having a trunk road that went right across the middle, necessitating railway-crossing style barriers that were pulledown across the road during races. 馃榿 )

** yes - we have a fully functional bar in the house. 馃榿
 
Posts
704
Likes
652
(for reference - updates to this story will be sporadic and random in delivery, it takes a while to type all this rubbish 馃榿 )
 
Posts
704
Likes
652
A bit more detail.
The bike is completely unique. Even the engine is not what it appears to be.

The JAP 500cc Speedway engine is a bit of a legend, it dominated speedway racing both before and after WW2 and was a genius combination of light-weight, and simple but advanced (for the time) design and construction. It's about as simple as a "complex" over-head valve engine can get, and yet prove to be reliable and powerful for the majority of it's life. They're still used for "Vintage" speedway racing and there is a lot of knowledge about them still around, which is lucky for me, because I have a few sources for advice. They were also extensively used in the Formula 500 world before the Norton Manx 500cc engine became dominant, so, again, there's some knowledge there too.

My father never wrote anything down about this project, pretty much the only notes I have from him are a very short list of basic parts, and the occasional comment or mark in the margins of the 2 or 3 books of his that I found! What he knew (which was extensive) he kept in his head. I think he always intended to pass this knowledge on, but once I moved away from the family home, my own life kept me from being in the workshop with him. Before that, I learnt virtually everying I know about bikes from him, mostly by simple osmosis, I was very definitely his apprentice most of the time if I was there!

The engine my dad built up is (currently at least), mostly a 500cc assembly from found parts (I firmly believe no 2 parts left the JAP factory together... ). The two crank-case sides do not match, the barrel is a non-standard aluminium alloy variant sourced from the Formula 500 world with bigger cooling fins. The main "genius" move is that the crank itself is not a 500 crank. It's from a 350cc grass-track engine. The JAP OHV racing single was available in multiple capacities and was nigh on modular. The 350 crank slots right in, and, while retaining the 500cc conrod and piston gives the engine a "square" bore and stroke (80mm each), and a lower compression ratio of approximately 9:1, much lower than the standard 15:1 (or thereabouts). This leads to 2 things: an engine that is easy to kick-over, and an engine that will run on regular publicly available 95 or 98 RON petrol. Obviously that does lead to other issues: Petrol burns much hotter than the Methanol derived fuel that the JAP Speedway single is designed and built for, so some compensations must be made: the big-fin barrel helps, and care must be taken not to run the engine too hard.

Different fuel requires a different carburettor - my father just slung on an old Amal Monobloc he had left over from a Vincent Comet rebuild.... in his usual fashion and just made it work! One of my possible improvements in the future will be to look into a better, more suitable carb because the Monobloc, while perfectly functional, is very much a "make do" solution!

Obviously, the fact that the engine is in this ... unconventional ... configuration means that getting advice on making it run right is somewhat problematic: before I was kicked off the JAP engine facebook group (for what reason I know not), any question I asked was met with a large amount of bafflement. (maybe that's why I was kicked off...?? 馃榿 )
 
Posts
704
Likes
652
So - the current state of play is:

The engine is out, and is completely stripped down.

Here's some photos of the disassembly (which took place over last winter and some of this spring/summer) and what I found.

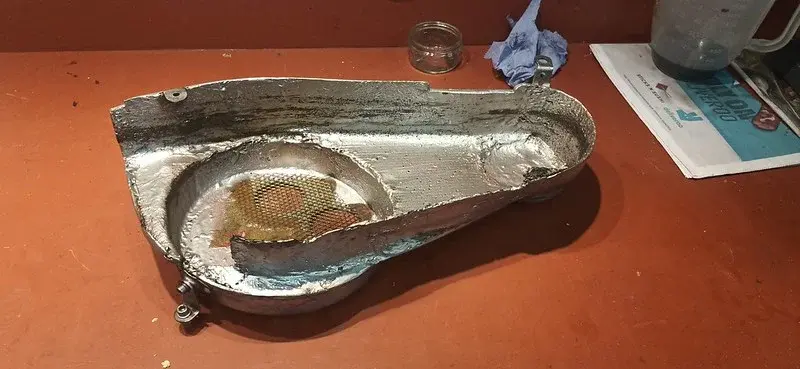
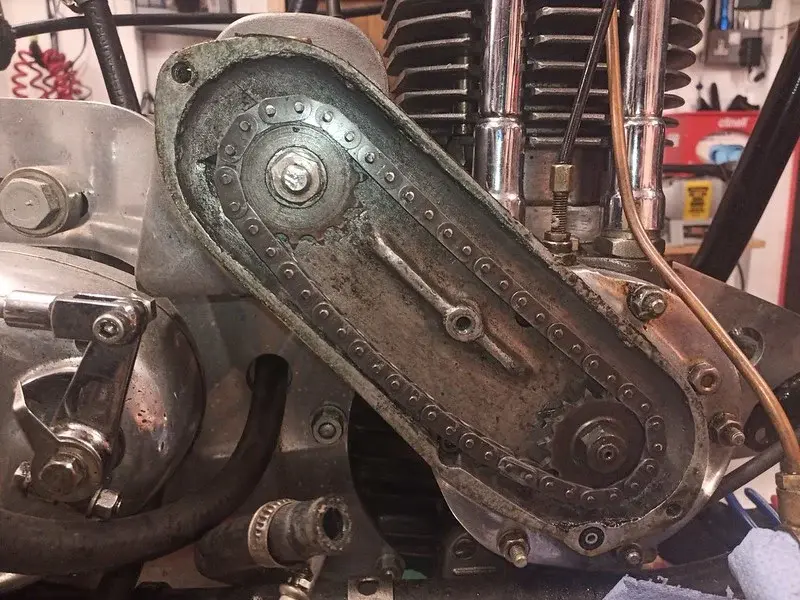
Primary Chaincase off:

Another of my Dad's genius ideas: a camping cup, a small fry-pan, and fibre-glass. 馃榿
Note the fact that he used the pan-handle mount as a mounting lug position. 馃榿

This is the timing chain for the magneto which provides the spark. It shouldn't really be that loose....


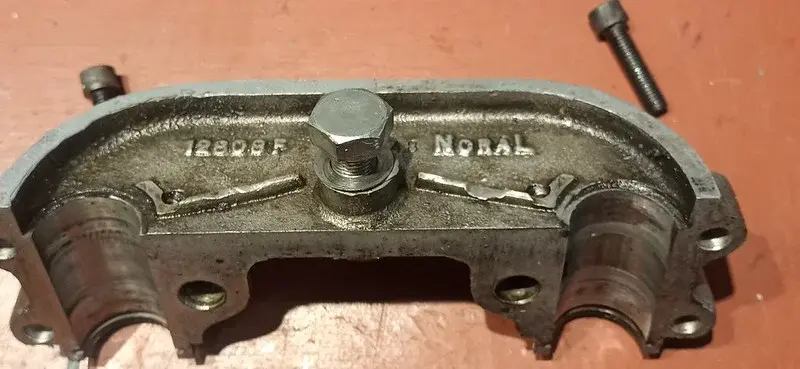
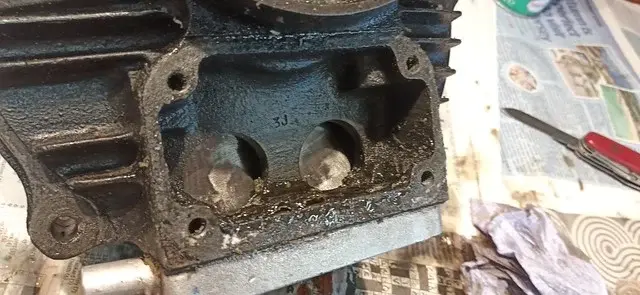
This is part of the over-head valve rocker box (the engine consists of sub-assemblies which can be swapped about quite easily)
You can see significant wear on the little "galleries" that carry oil - I'll explain this fully later on.


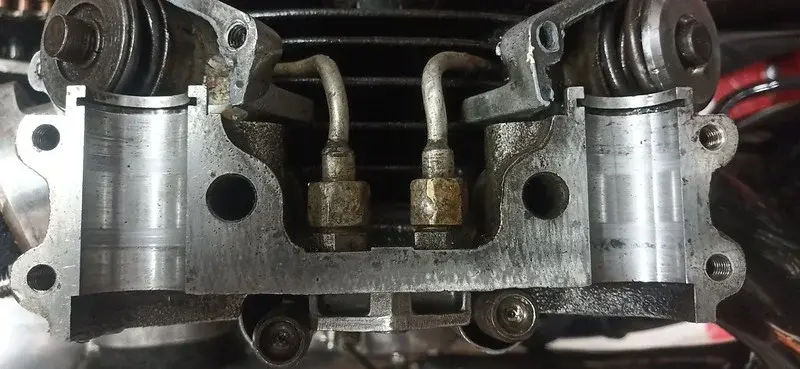
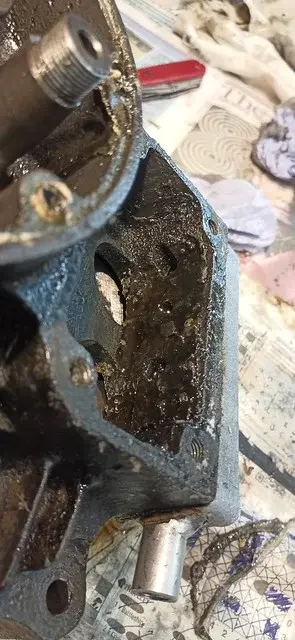
The other half of the rocker-box: The "cylinder" made up by these two halves is actually the bearing surface for the rocker-arm needle bearings. There is some wear, but it's acceptable.


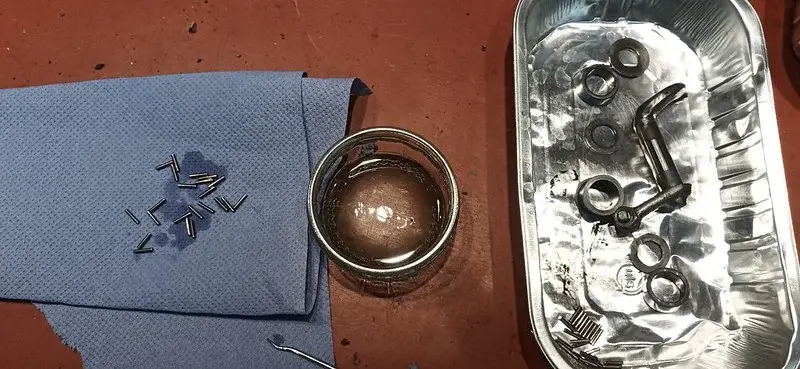
Rocker arm and needle bearings: These are fine, but I've been given some advice that they can be improved upon.


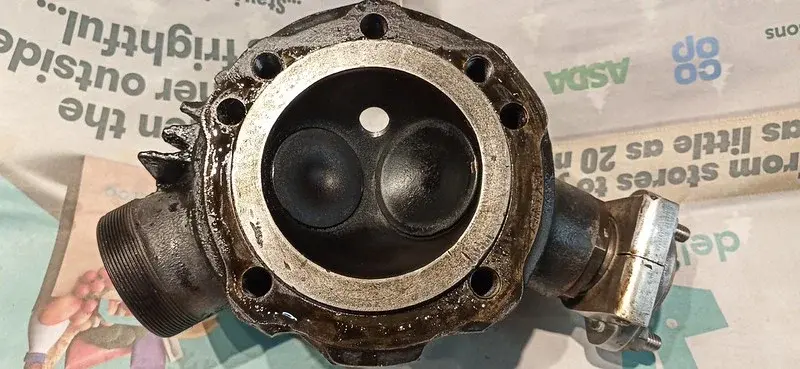
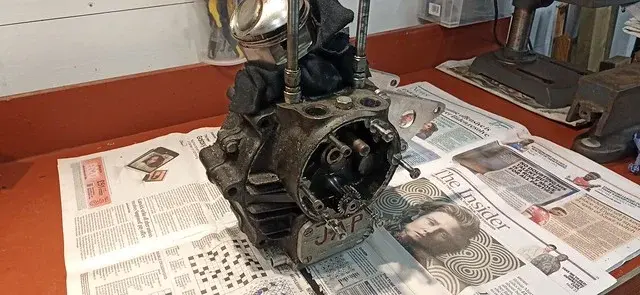
The engine head with the rocker box removed:


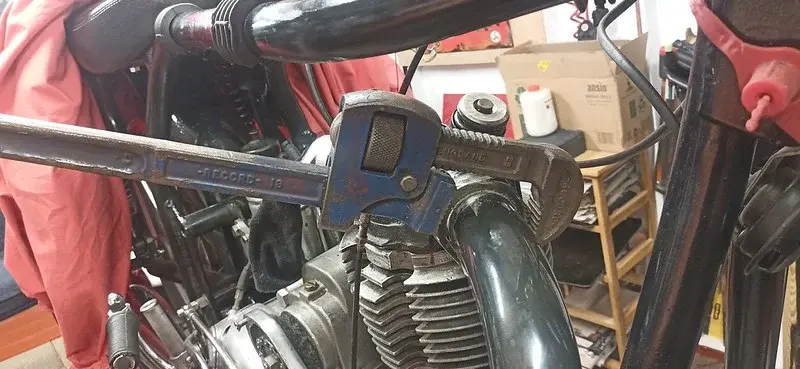
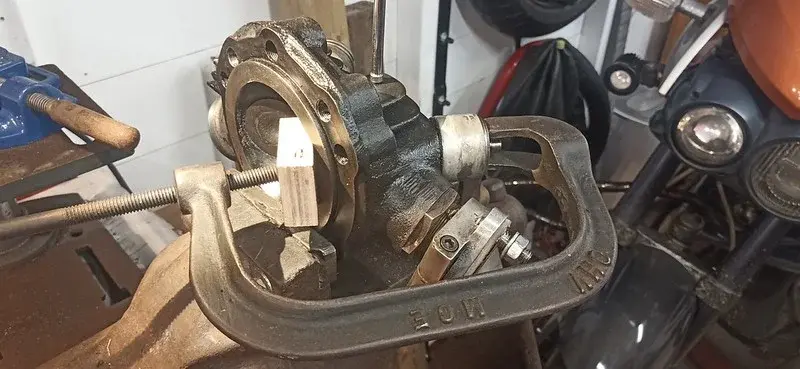
Always use the right tool for the job.....
 
Posts
704
Likes
652
I believe the word is ... manky.


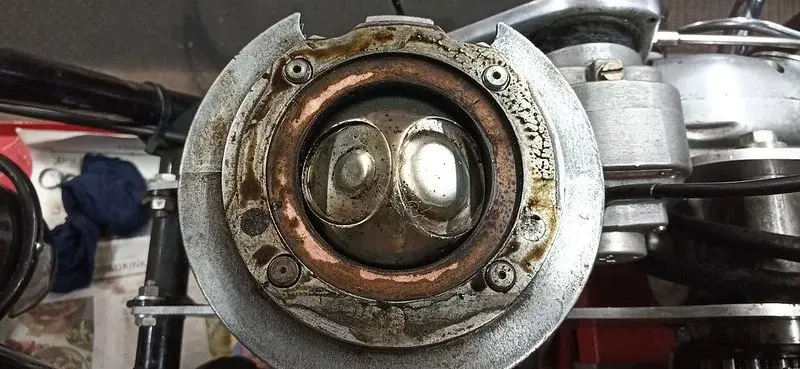
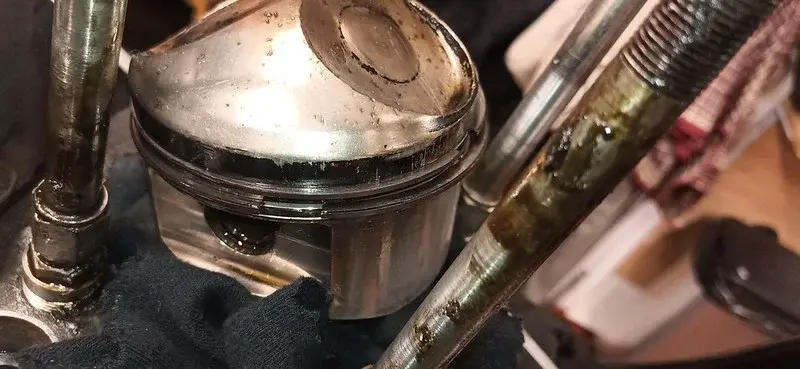
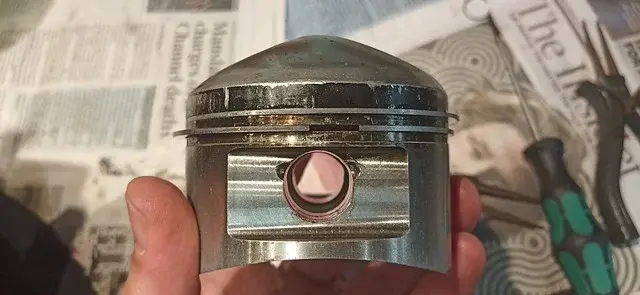
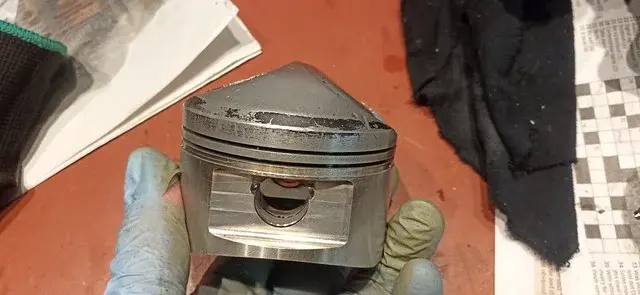
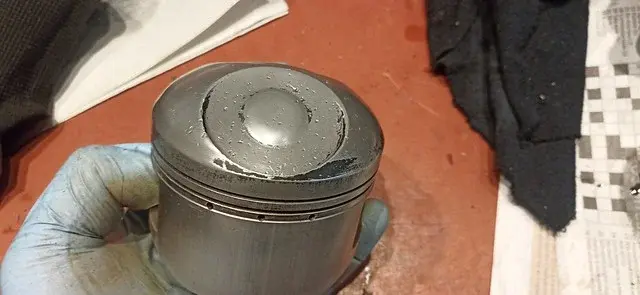
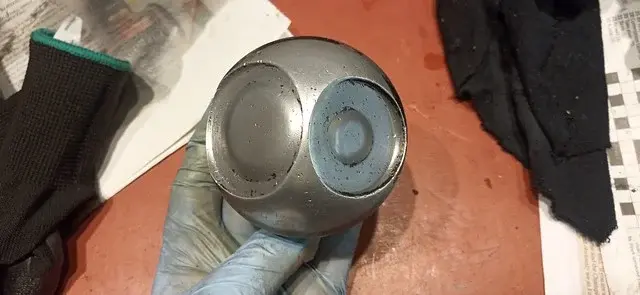
Piston isn't "too" bad....


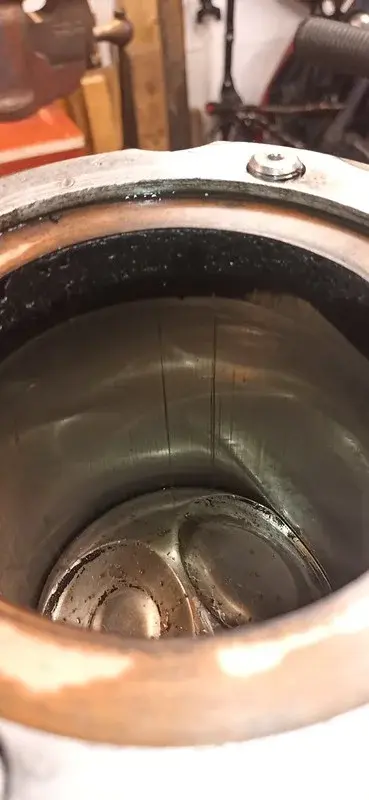
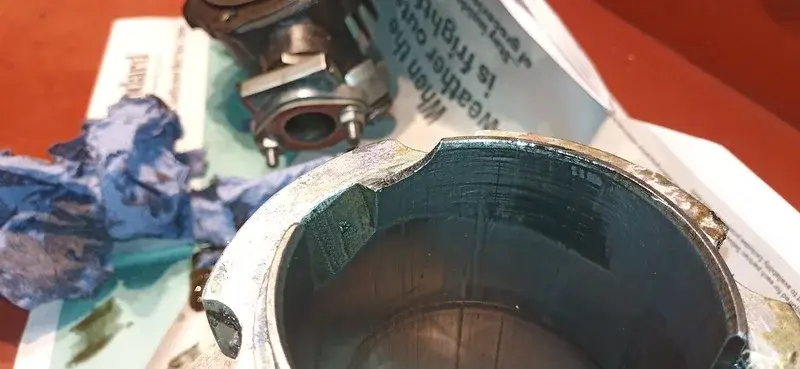
But that ain't clever.... Bore is scored somewhat and there's a lot of carbon deposit.


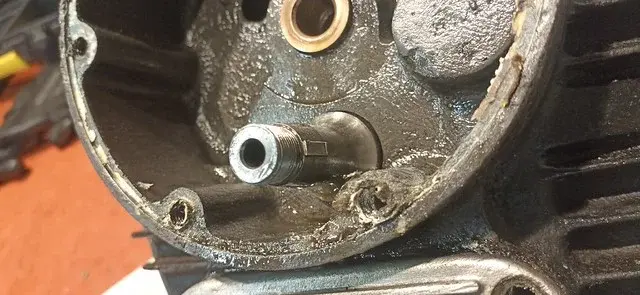
Pulled the barrel off and found this : At some point, this barrel was part of a major engine self-detonation. Definitely not this engine though - there's no other damage or debris in the crankcases.


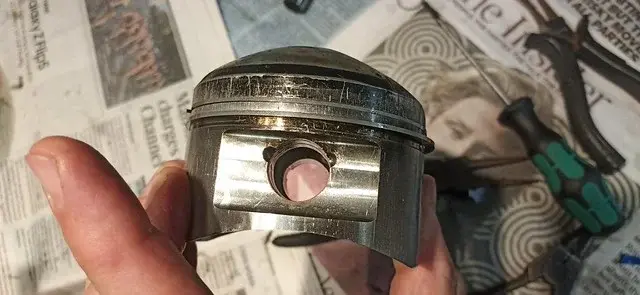
Piston skirts are ok:


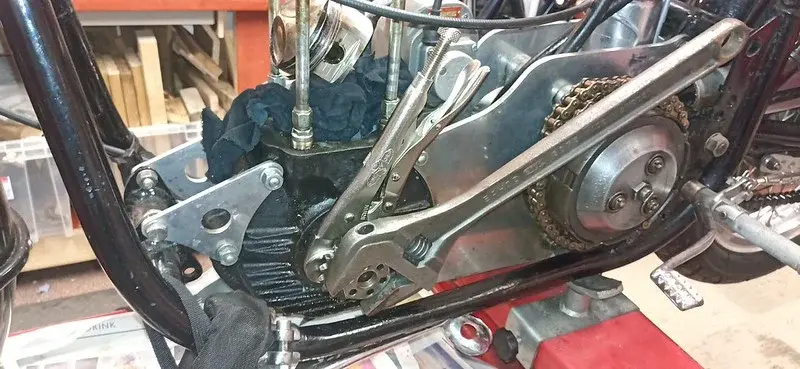
This nut on the primary drive was an absolute g*t to get loose..... explained by the 1/2" thick layer of red thread-lock on it! My dad lost one of these once and I think he was making sure he didn't lose another!
 
Posts
704
Likes
652
Stripping the head down: valves first


Carbon deposits all over, it wasn't running right at all. I discovered later that the exhaust valve was actually bent and not sealing at all, which explained a lot.
 
Posts
704
Likes
652
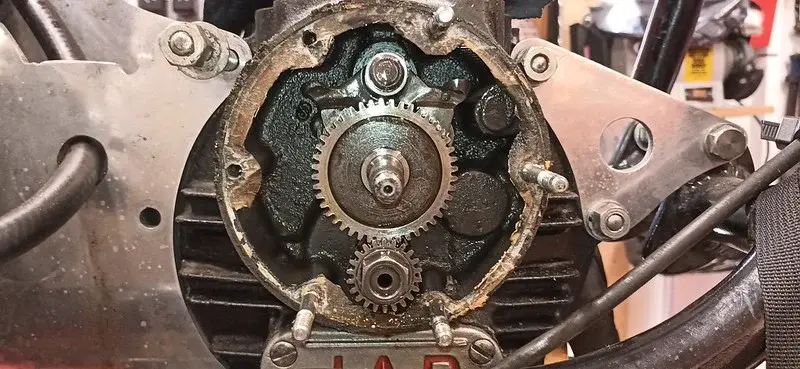
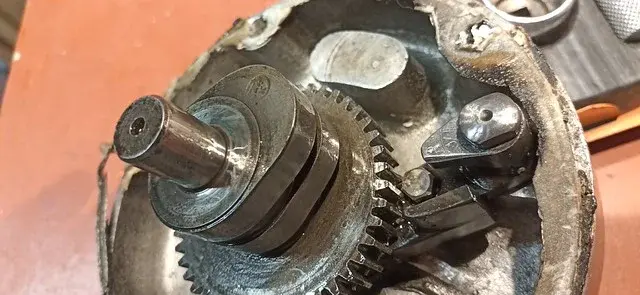
This is the "timing case", where the cam, and cam-followers live, and are timed by the meshing of the gears.


The lower gear is the crank-shaft and runs at engine speed. The upper gear is the cam-shaft, and runs at half-engine speed for a 4-stroke pattern of valve opening.

The lower gear is fixed in place on a taper at the end of the shaft with a Woodruff key, and has 5 slots so it can be set specifically to adjust the valve-timing.

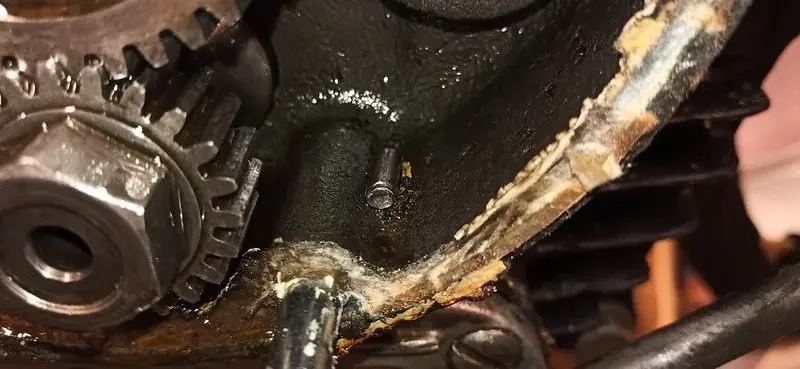
At this point I nearly panicked....

What the hell is that?? and where did it come from??? 馃槻馃槻
 
Posts
482
Likes
872
Brilliant stuff, that really is a fabulous machine and a tribute to your father.
I had a sneaking feeling JAP and Norton would figure somewhere.

The amount of backyard engineering that went on in the 50's is amazing. Usually it seemed to be ex RAF guys creating bikes or Ford based specials in the shed! This bike harks back to that time, albeit years later.

The chaincase made me grin but it kind of epitomises how it was. Lateral thinking, search around for what you could lay your hands on and make it work.

The sight of those needle bearings took me back to rebuilding a Mk1 Escort gearbox with a new layshaft.

Will you rebore that cylinder or hone it?
 
Posts
9,418
Likes
19,283
A nice and touching story about your father's motorcycle. He's probably smiling down at the sight of you working to get it running again. 馃憤
 
Posts
10,570
Likes
12,065
Moving tribute, showcasing rememberance and dedication that would make any father proud.
 
Posts
704
Likes
652
A nice and touching story about your father's motorcycle. He's probably smiling down at the sight of you working to get it running again. 馃憤
He'll be wondering what the hell I'm faffing about for.... I've been working on it for a year now..... 馃榿
 
Posts
704
Likes
652
So -
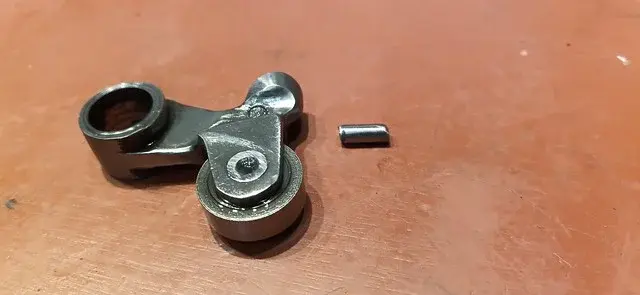
It turned out that the little rod of metal I found in the timing chest was, errr, snapped off the exhaust cam-follower!


It was there so that the "valve-lifter" could be used to reduce pressure in the cylinder head while rotating the engine prior to kick-starting it (a common fitment on old engines)

You can just about make out a worn patch in the above photo which is where that rod would have interfaced with the lever that is hiding behind the cam-shaft gear.

Those cams are "normal", not high-lift version....

This is the inlet cam-follower :
To be replaced!

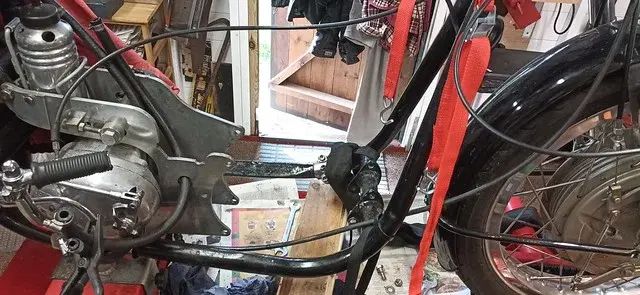
EVENTUALLY I got the engine out of the frame:
 
Posts
704
Likes
652
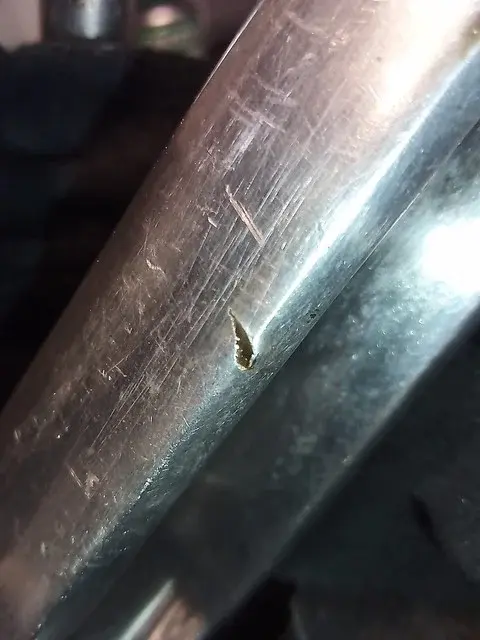
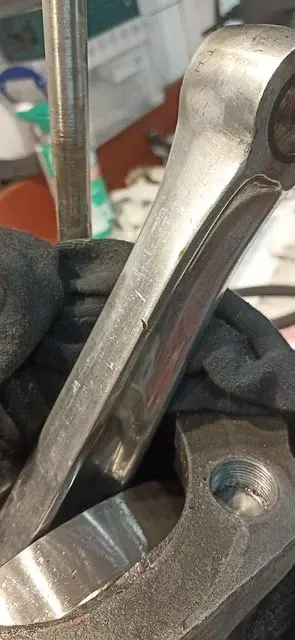
Hadn't noticed this nick on the conrod before.


I'm thinking this conrod is likely to be second hand, so the nick is likely old too. I hope...


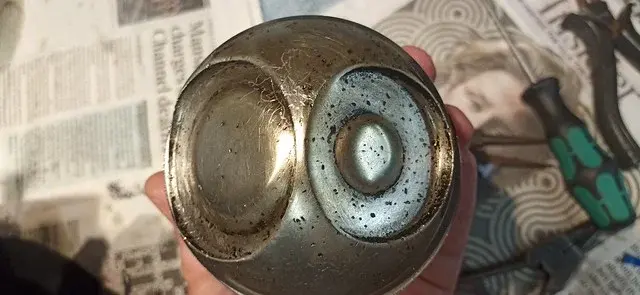
Some carbon on the piston.


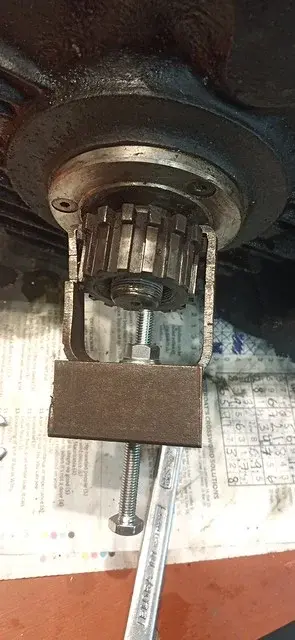
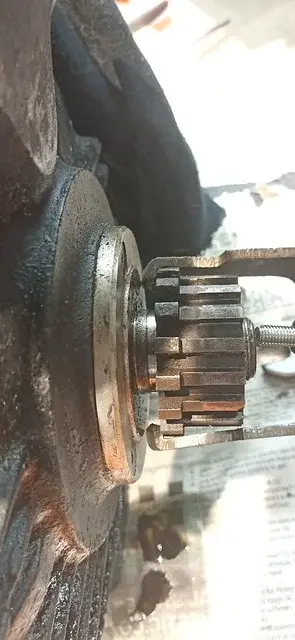
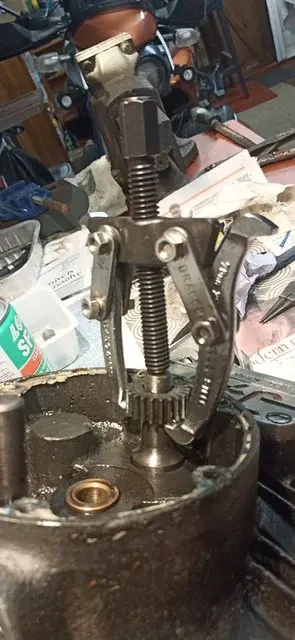
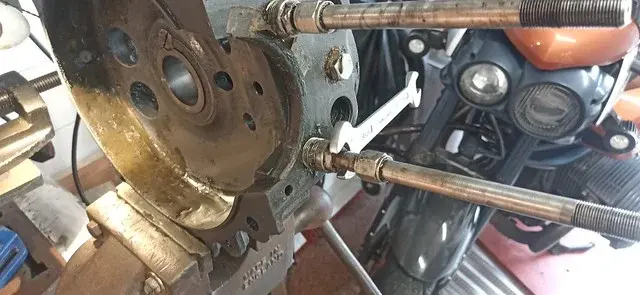
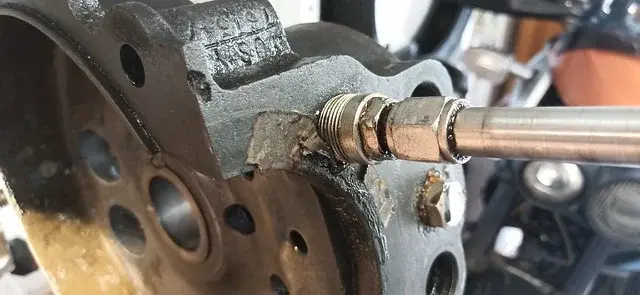
From the pile of tools I brought back from Dad's workshop I eventually unearthed this, among the 5 or 6 other "pullers". Put a new bolt in it, for some totally unknown reason he had a carriage bolt in it.. :wtf:.


I had to file it down a touch, but it worked perfectly.


One of the other pullers to remove the crank sprocket from the timing side.


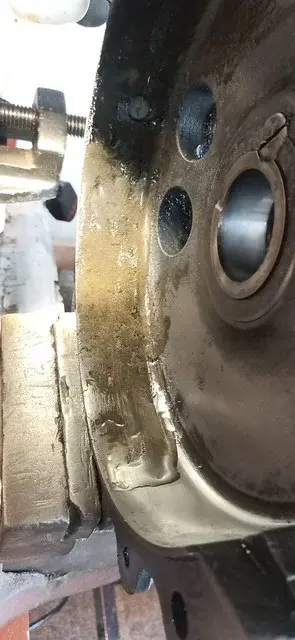
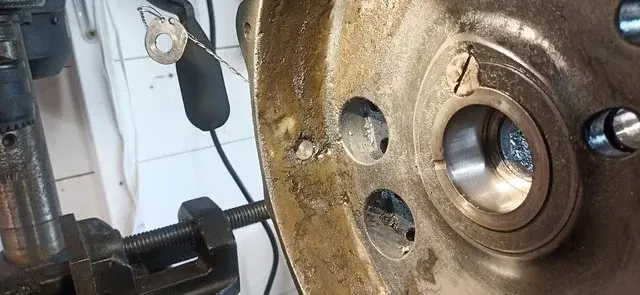
This plate needs to come off, but I've no idea what it's been such on with, or what's behind it that I don't want to damage while removing the plate.


Timing side of the crankshaft


Piston is cleaning up nicely, but I'll keep at it.
 
Posts
704
Likes
652
OK - I'm copying these posts from another forum now, so if it says "yesterday" or similar... that was actually a few months ago... 馃槈
 
Posts
704
Likes
652
Bit more progress on the JAPton strip down yesterday:

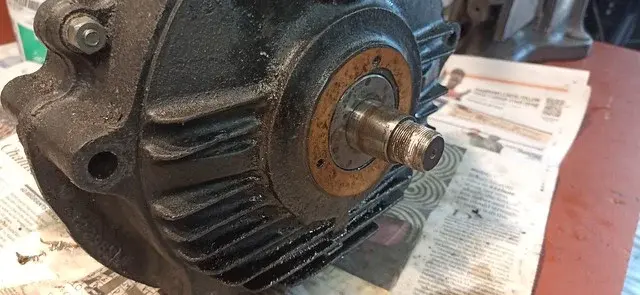
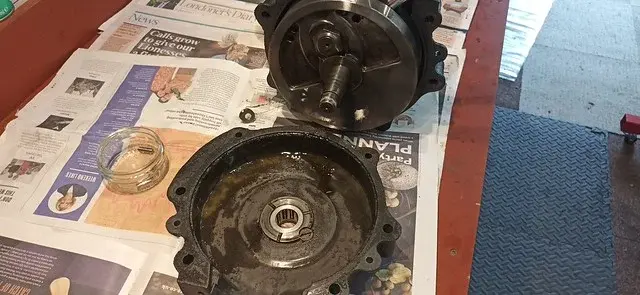
Stripped off the oil seal plate on the crank output shaft :


I wonder if that's a modern update. I don't remember seeing anything about it on any of the diagrams or books, and the thing is held on with metric cap-screws... (well, I didn't check the threads, but they take a 3mm metric Allen key, and none of my Imperial Allen keys would fit....)


While I was fiddling with the output side.... I heard a "clonk" from the other side of the cases....


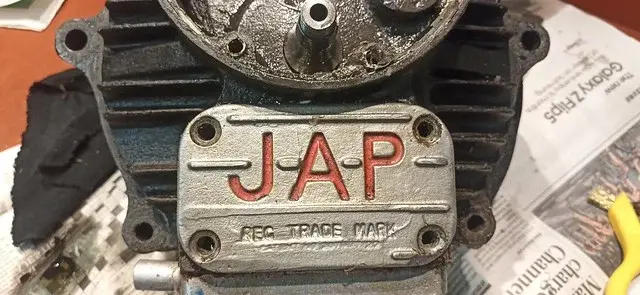
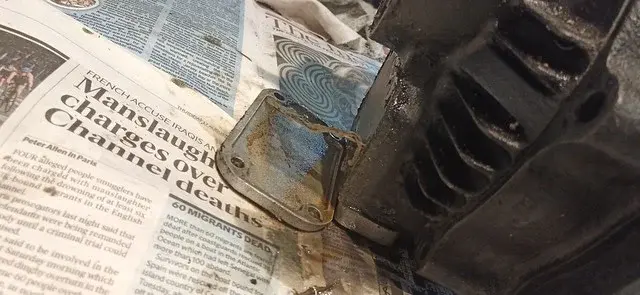
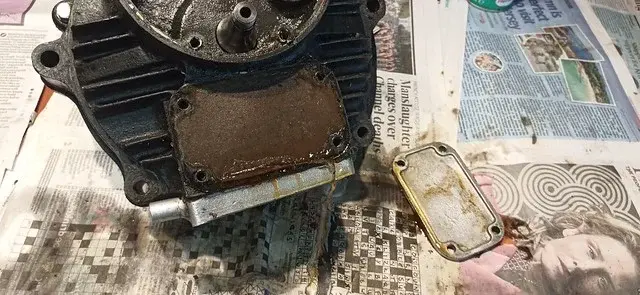
The oil drain box cover fell off. 馃榿 馃榿 馃榿 馃榿

I'd already removed the screws last time, but it had appeared to have been solidly glued down with silicon sealant... Apparently not so solidly! 馃榿


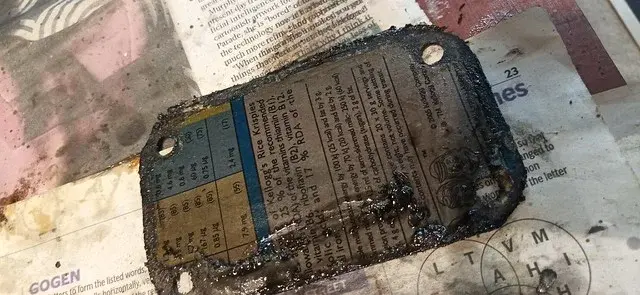
Kellogg's still make the best gasket paper. 馃槈


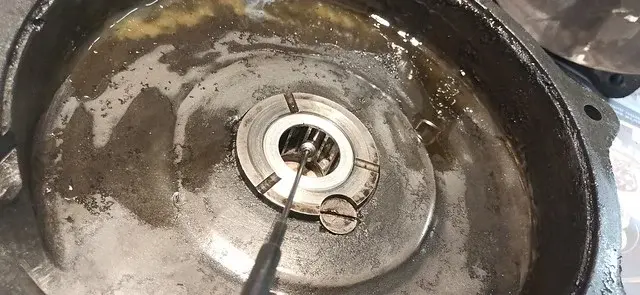
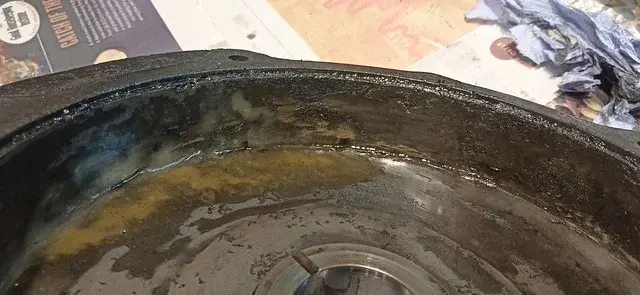
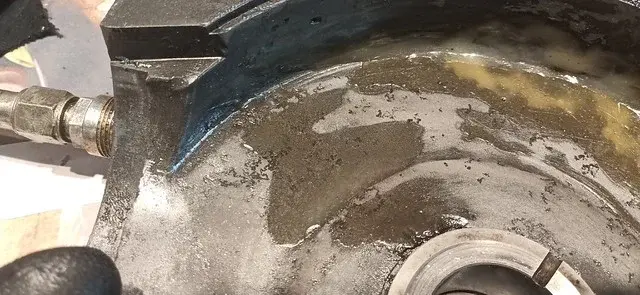
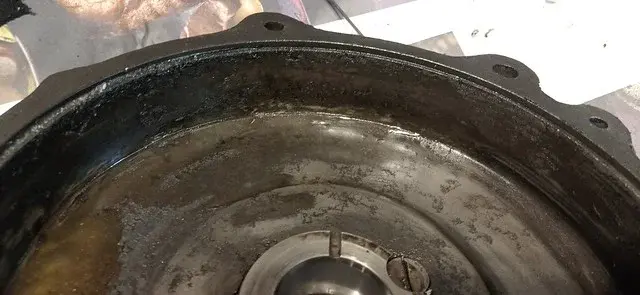
The gunk inside the oil drain chest.


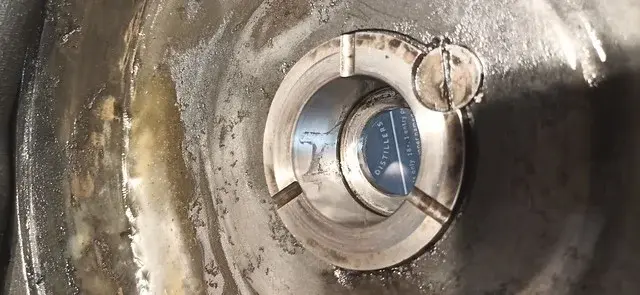
This is the underside of the oil drain chest - it's a one-way valve of some sort - I'm going to clean up the mating edges for the outer covers, but otherwise leave this alone.
 
Posts
704
Likes
652
The scary part!!


Plonk! (tinkle tinkle tinkle..... feck where did the pins go!)


There's 10 of the little buggers each side.


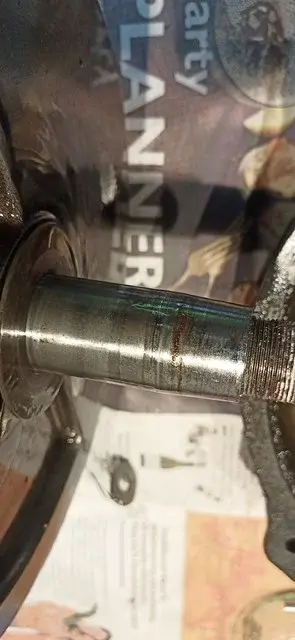
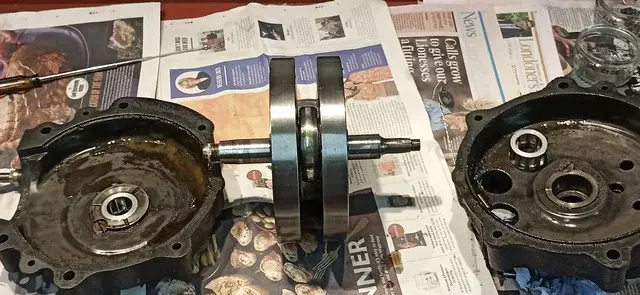
Output shaft:


Magnet to pull the pins out when they refuse to fall out by themselves.


Simple engines are great.


Timing side: ALL the pins fell straight out!


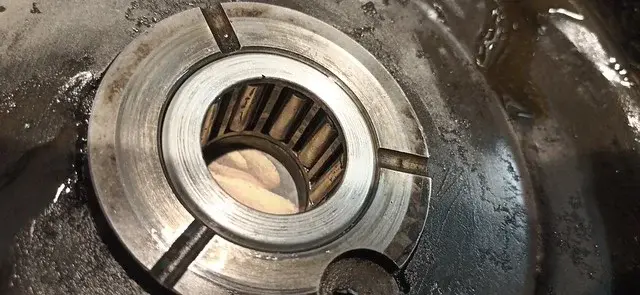
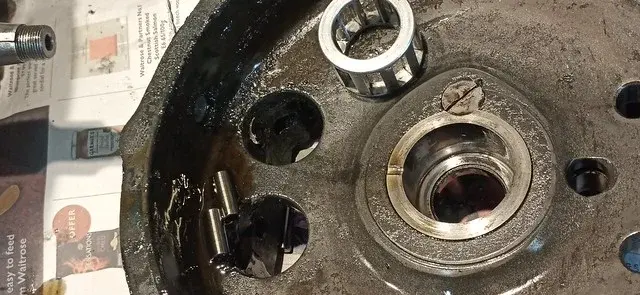
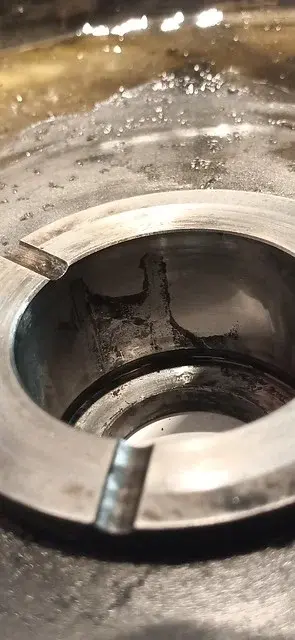
Timing side bearing liner is ok.


Output side not so much....

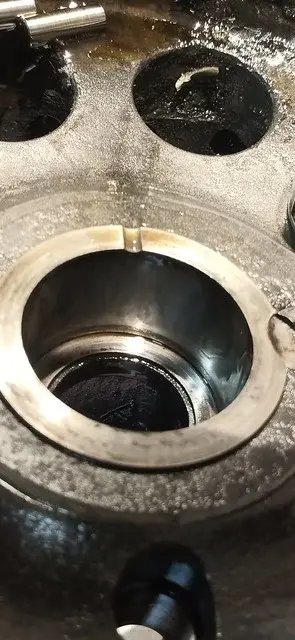
That patch feels rough as hell. New liner time.


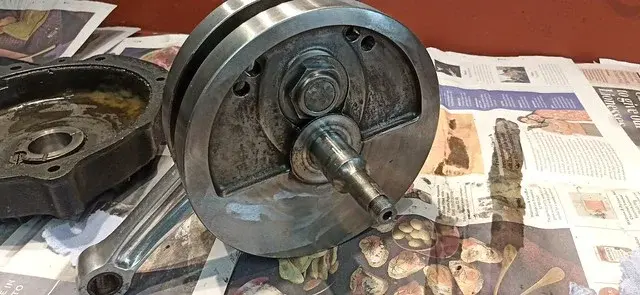
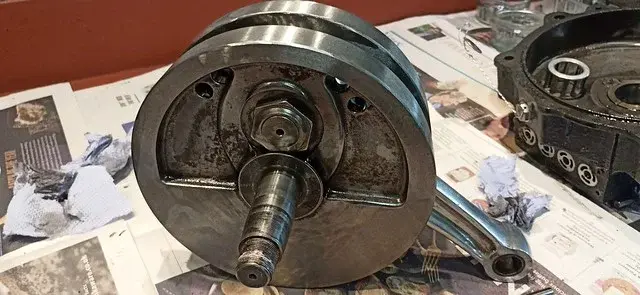
I'm currently mentally debating the wisdom of breaking the crank down... looks simple enough... it's the reassembly that scares me!


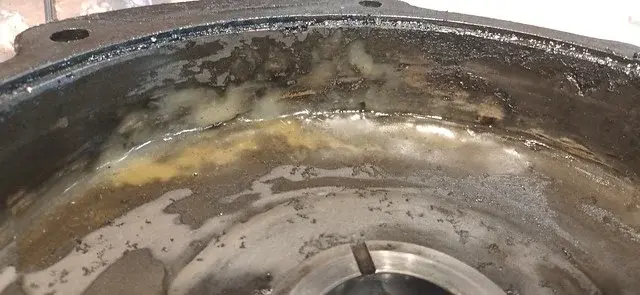
Insides of the cases are epoxied to buggery. I don't know if this is my Dad's doing... but it's likely.


Another view of that liner.


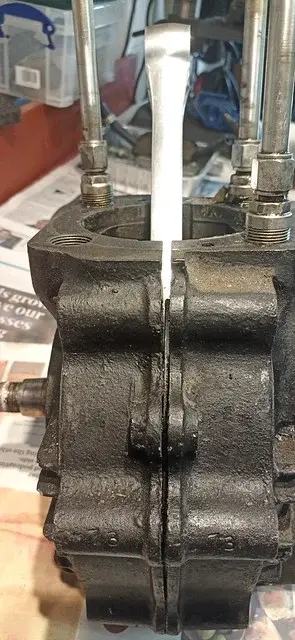
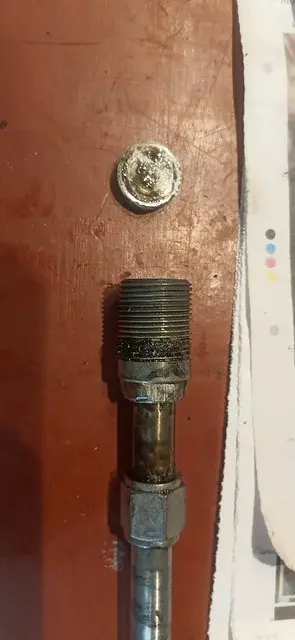
These "thimbles" screw into the cases and provide the base for the screw-down head rods


They're a git to get loose...


Paper gaskets infused with oil take heat well....


I'm reliably informed that the thimbles come out a lot easier if they're assembled with coppa-slip. Luckily, I've got plenty! 馃榿

The thimbles have these little pucks underneath to stop any galvanic reactions with the cases (or that's what I've been told - it could be just to provide a flat step for the thimble to wedge down onto).


Epoxy:


I'm glad to see that the drain plug hasn't been epoxied over....


Blue hylomar... my old friend!

You can sort of see the "lip" that JAP used to create a labyrinth seal on the cases here.

As said - I'm just pondering the wisdom of splitting the crank up to check the big-end bearings - they "feel" ok - but while I'm here it might be worth doing. I'm just being cautious about that because bolting it back up "straight" is going to be paramount.

All that only took me about 90 minutes, and I managed to finally get down to the local "Classic vehicles" club night and join the club - they do a monthly meet only about 3 miles from me so it's dumb really that I've not joined before now. Already hopefully got leads on a couple of hopefully useful contacts.


Just in case anyone is wondering: I'm using this thread mostly for myself to provide my thoughts and notes as I go, for reference to when I put it back together, or do it again! Pretty sure there's no-one else on the forum with a JAP speedway engine to dismantle.. 馃榿 (happy to be proven wrong though! 馃榿 )
 
Posts
704
Likes
652
Small update.

I haven't really made much progress, but things have happened.

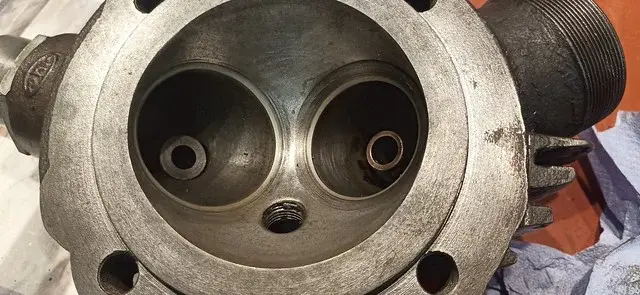
I found the ONLY piece of JAP hardware at Beaulieu Autojumble: a head, complete with fitted valves! Snapped it up for 拢130 and kindly refused the same seller's offer of 拢475 for an AMAL Type 27 twin float-chamber dope-sucker!

I think the Head was made up for use, and then either only used very briefly, or put to one side as a "ready spare".

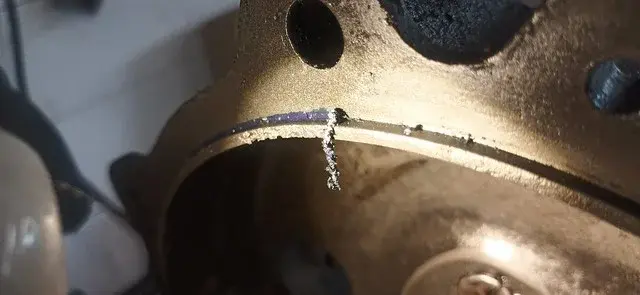
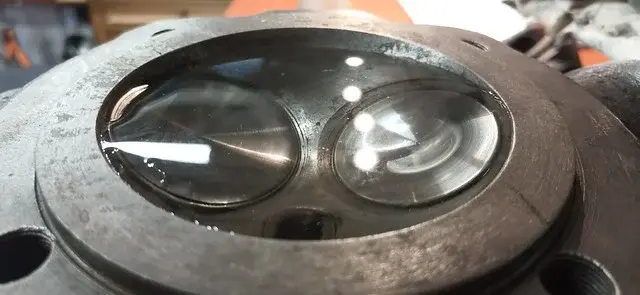
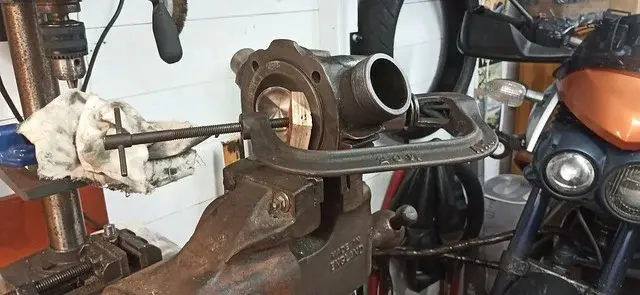
It holds water :


But I want to be sure that's it's fully-functional condition so I've started stripping it down to check valve-stem rattles etc:


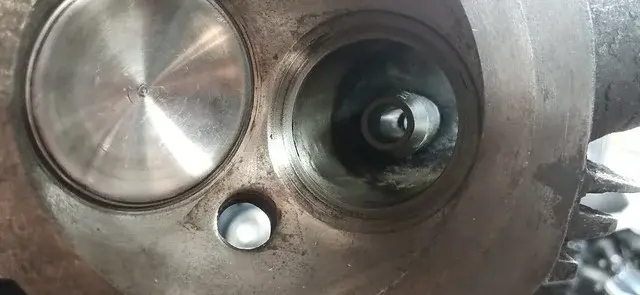
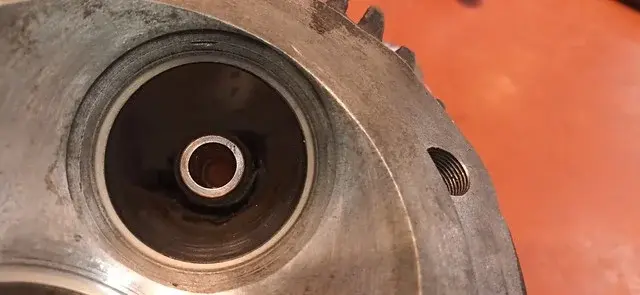
It's pretty clean.


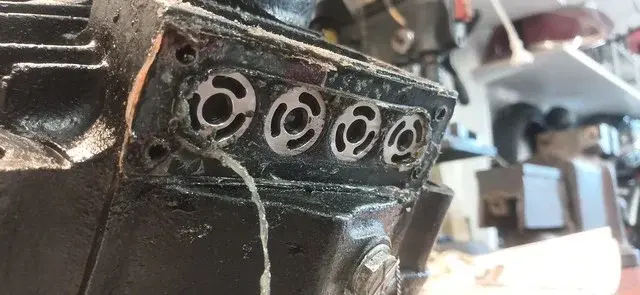
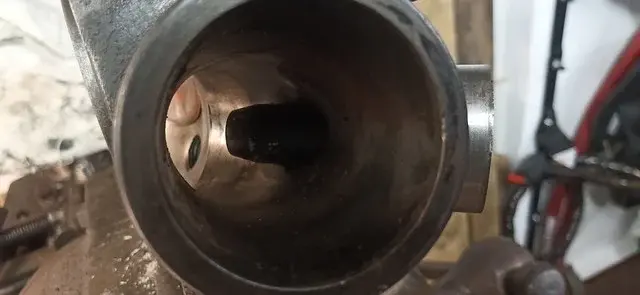
But there's always room for improvement... (that's the exhaust outlet)


The valves springs sit in these cups:


And you have mica washers that sit underneath the cups to adjust the valve-spring compression. LIttle bit of verdigris here...


I've also arranged to take the crank up to the JAP speedway guru in a few weeks to strip it down, check the bearings and rebuild it (it's beyond my equipment and capabilities to rebuild the crank!) I'll hopefully be able to take some photos of the process, if I'm allowed. 馃榿

I've also just put in an order for a few bits..... around 拢600s worth..... (new main bearings, new big-end bearings, new cam-roller, etc etc).

every step is a step forward.... (even if they're not very often!)
 
Posts
704
Likes
652
We're up to June now....

In the interests of keeping up to date.... I also did some work last night.

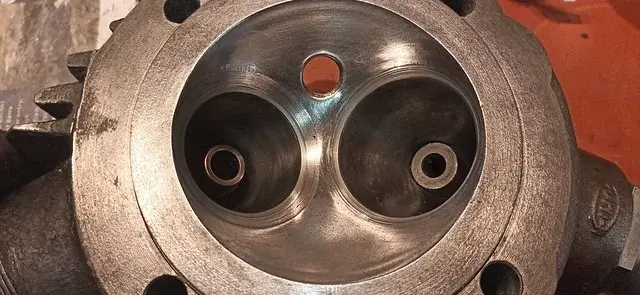
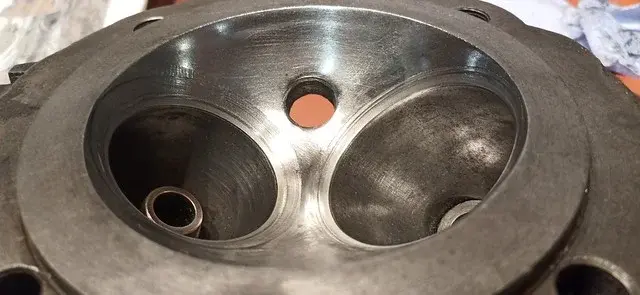
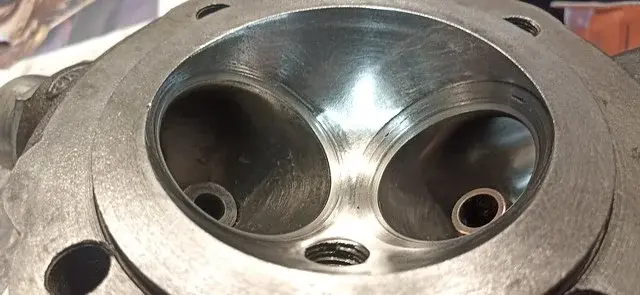
Finished stripping down the "new" head. It's tidy.


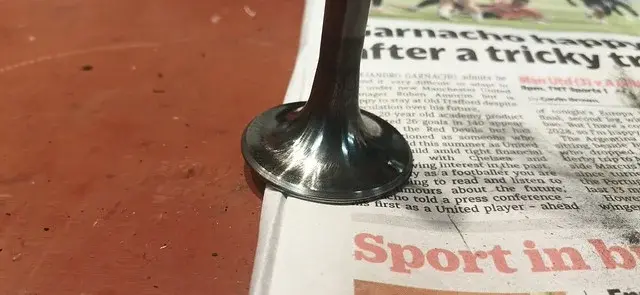
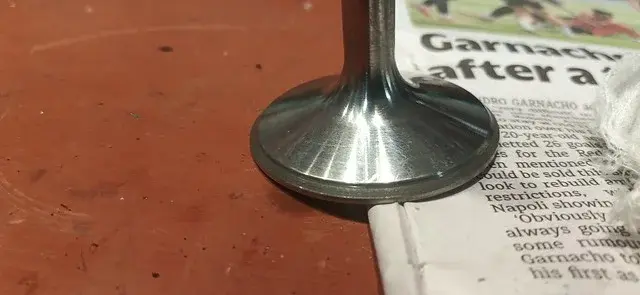
The valve stems aren't the same - the inlet especially looks to have been either cut short, or made that way to reduce interference on the flow of the charge?


About an hour or so later after a dubious application of Solvol and a toothbrush...


Bit nicer. 馃榿

Polished up the back face of the valves too...


and then gave them a bit of a grind. I only used the "fine" grinding paste because they were sealing nicely before, and I just wanted to ensure the mating face was good after the polish. Obviously I'll test the seals again after reassembly.


Terrible photo of the excellent valve tool I inherited from my Dad. 馃榿


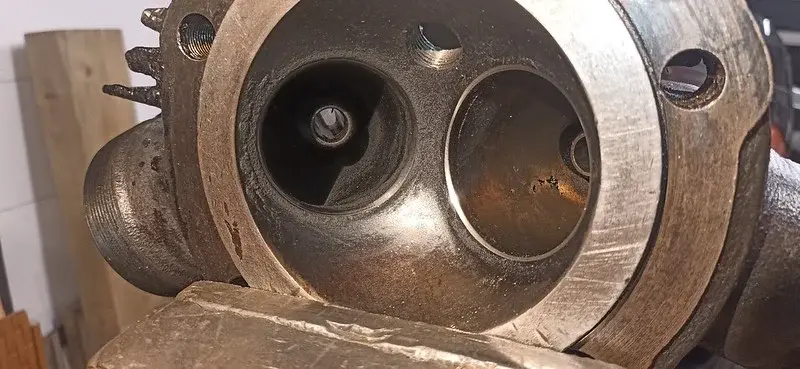
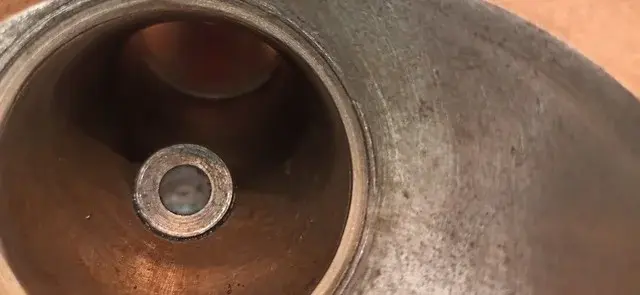
That's a big hole....


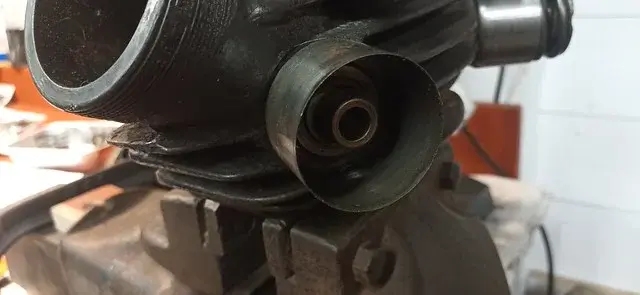
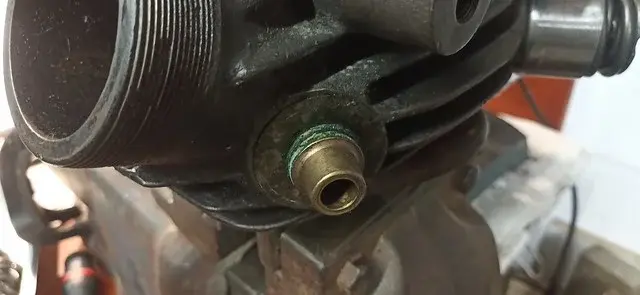
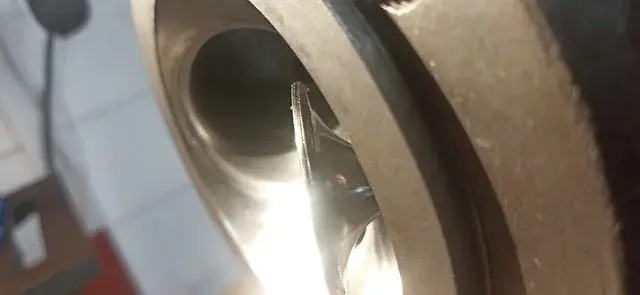
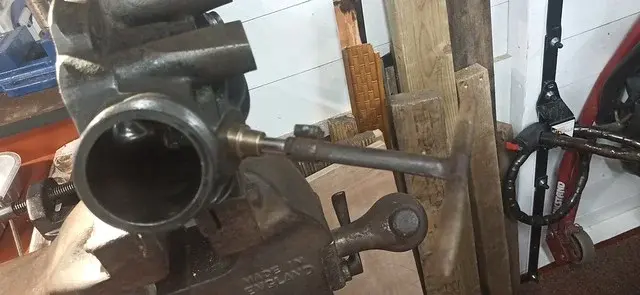
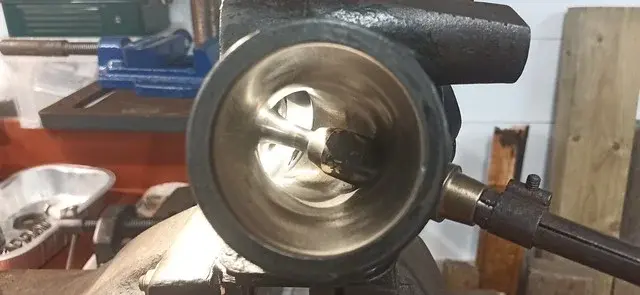
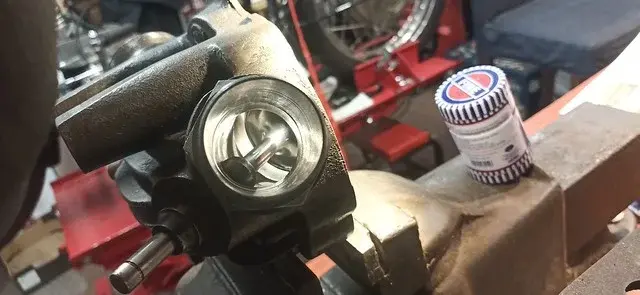
I also took some measurements of the inlet manifolds on each head. I'd read something about the evolution of the engine recently (must dig it out again), and that last photo made me curious....

Yup - they're different.

Head 1 (current) is 28.5mm / 1 1/8" internal diameter
Head 2 (new) is 32mm / 1 1/4" internal diameter.

I "believe" I'm right in thinking that if I want to use Head 2 (it's in better nick, has better valve stems and would appear to be "less old"), then I'm going to have to look for a new carb. IIRC the inlet manifold needs to be a consistent diameter/cross-sectional area for as much as is possible - which would mean that the carb would need to be consistent with that too. The current carb is an AMAL Monobloc (389/229) which measures 1 1/8" across the "exit" hole (ie where the fuel/air mixture exits the carb). (Oddly, the AMAL website suggests (although they've taken off the details now) that that model Monoblox is a 1 5/32" which is ... err... 1 2.5/8" (I think...)). So... I'm a little confused about that .....

It does mean I have a reason to potentially get a better carb though.... According to this site (https://surreycycles.com/carburettors/amal-monobloc-376-389/) there is no 1 1/4" Monobloc so I don't believe I can get the same carb and therefore have use of my now extensive collection of jets...) Something different then.... probably something like a Mk1 Concentric or something. I do have to say it's very tempting to look at some throaty Dellorto or something equally esoteric though.... might suit the "crazy ... like a fox" nature of the bike. 馃榿