JimInOz
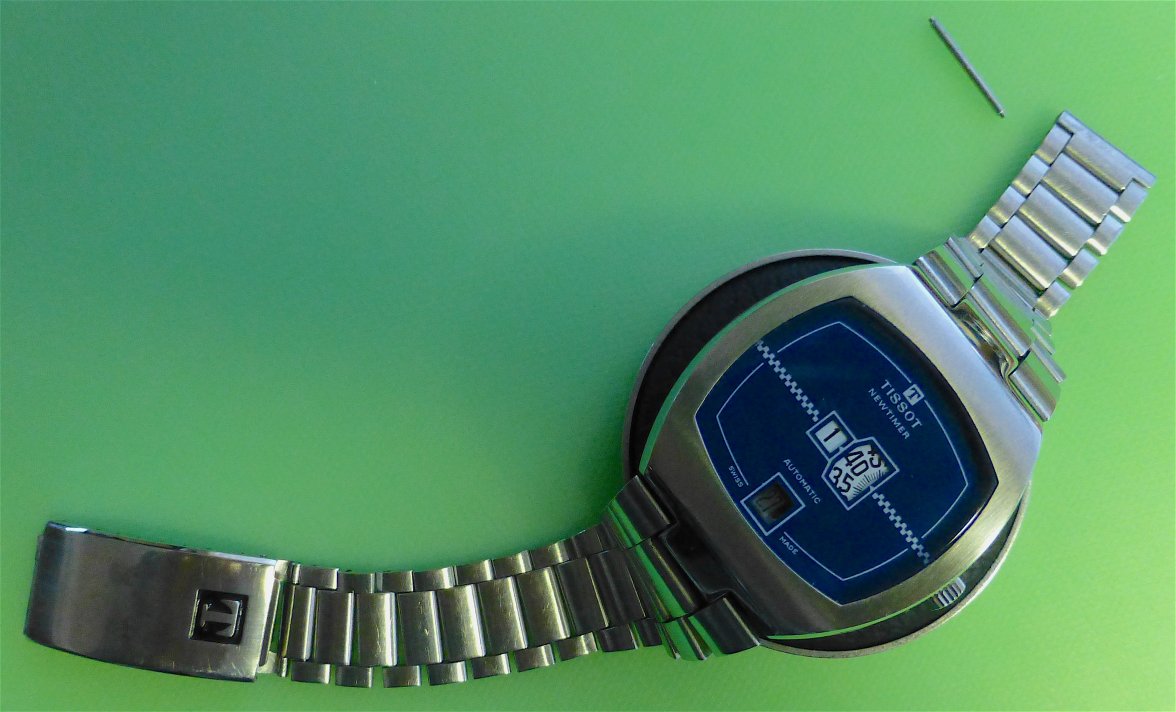
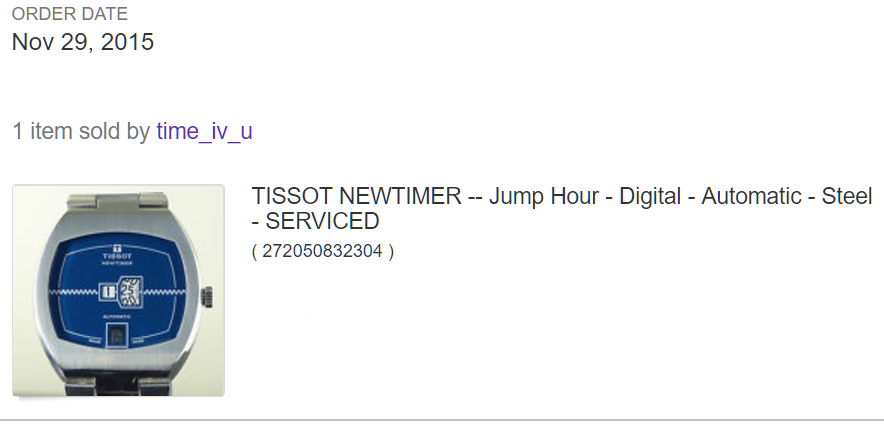
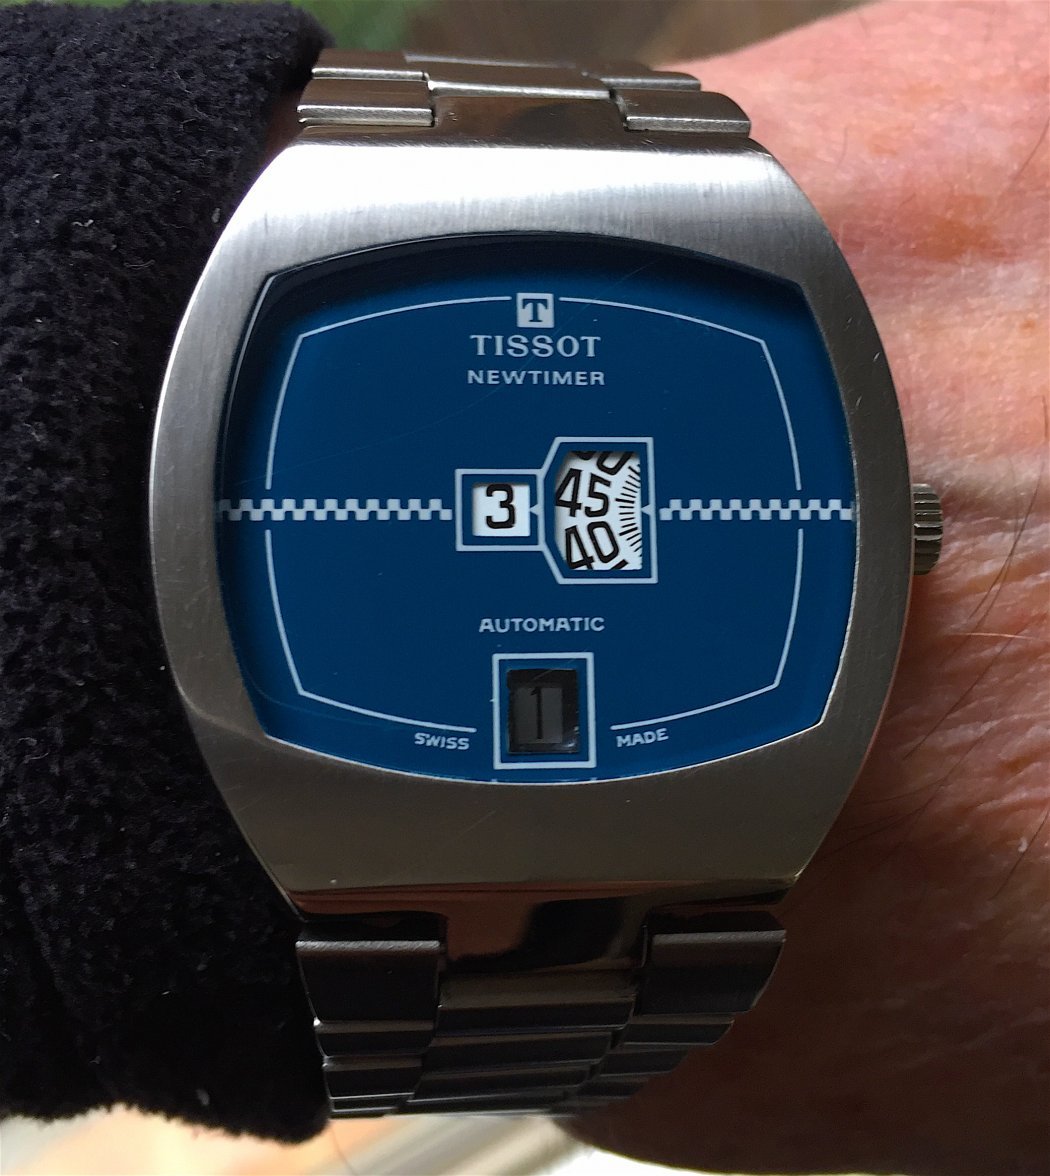
··Melbourne AustraliaJust over a year ago I picked up a nice example of a Jumping Hour "digital" watch. So called because of the way the hours jumped from one to the next in the blink of an eye. Having only worn it a few times, I wanted to save any wear and tear until I could be confident that it had been serviced.
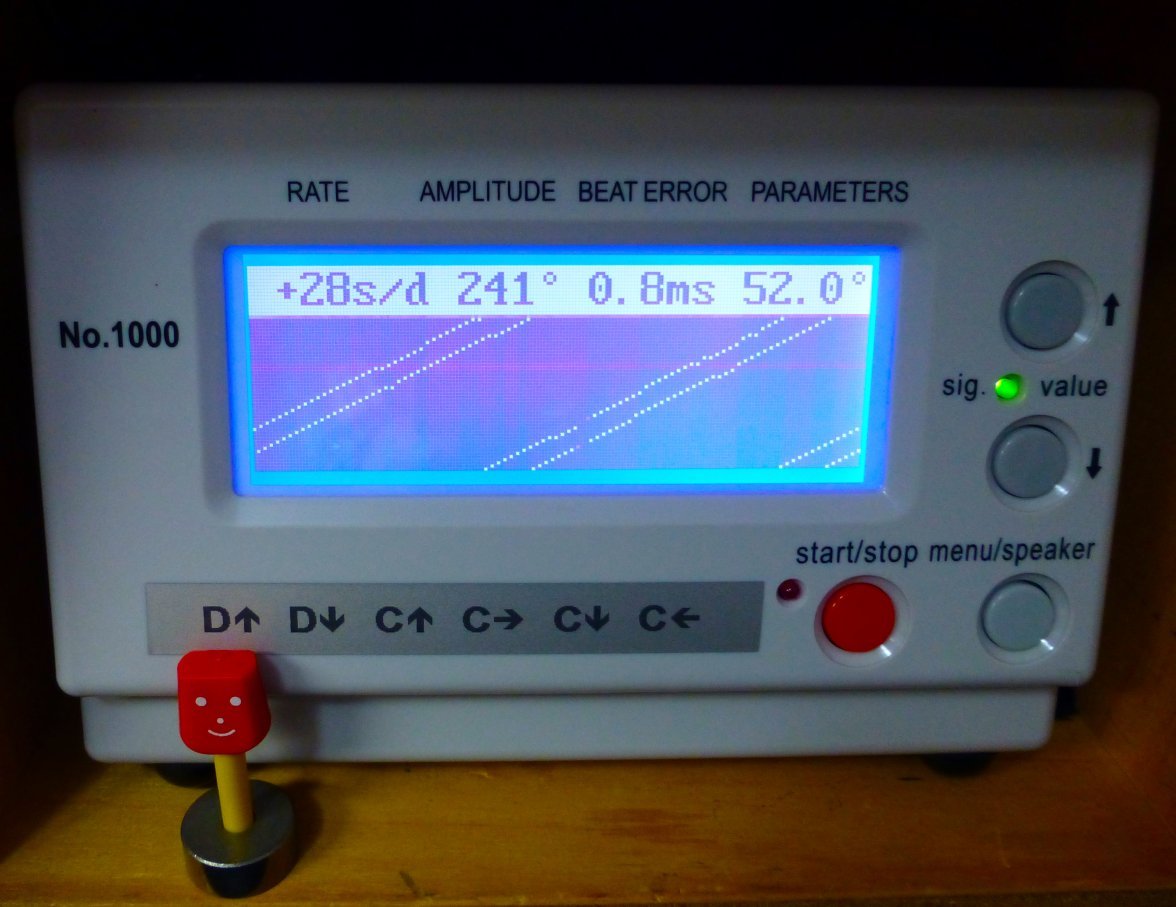
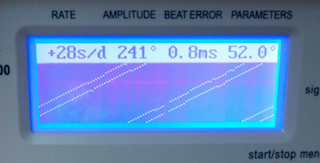
The seller mentioned that he had been told it was recently serviced, but like all of us his take on it was "He said it was serviced, but you know how that goes." So a check on the Timegrapher showed me that it was now probably due for a service.
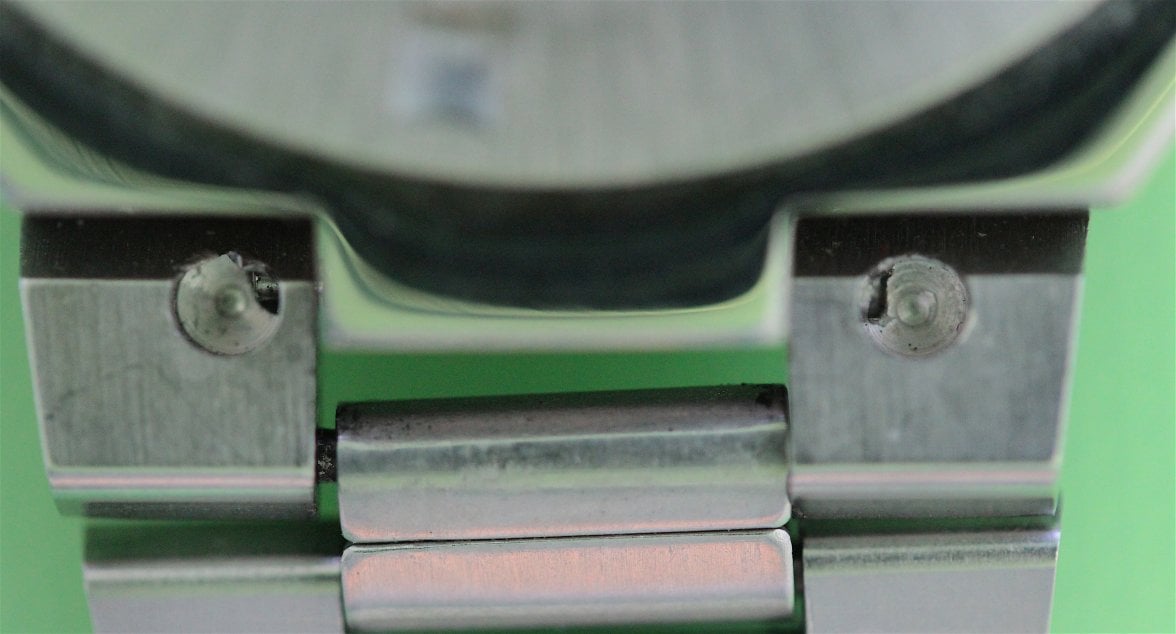
First task was to remove the bracelet (which I had split in two earlier). It was then I found one of the stupidest bracelet to lug designs I have seen for a long time.
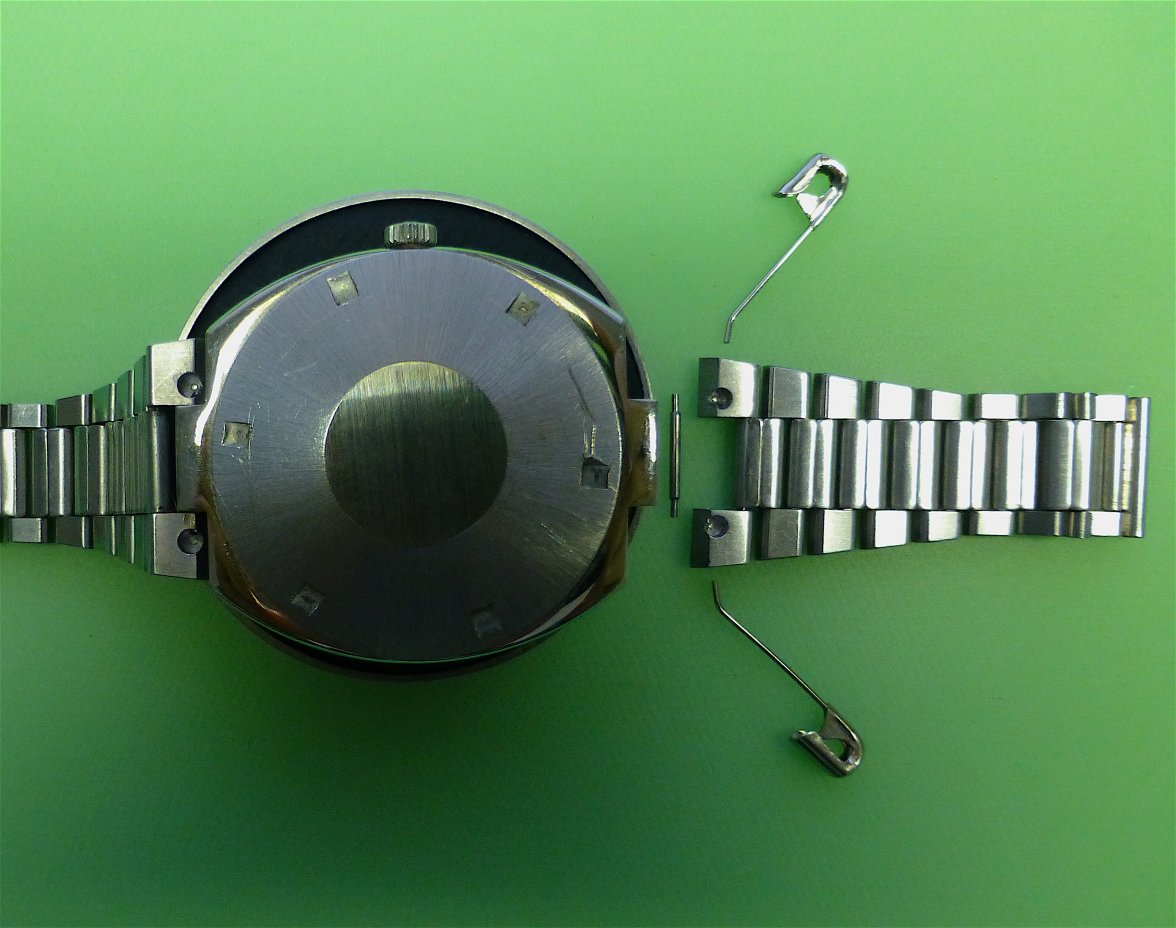
The small spring bar sits in the central case lug and extends into each side of the bracelet end pieces. Access to the spring bar ends is via a blind hole and there are no holes in the outer sides of the end pieces.
Arrrrrrgh!
However, utilising my extraordinary "improvise, adapt, overcome" skills, and some "special tools" I was able to remove the pesky bracelet pieces without doing any damage.
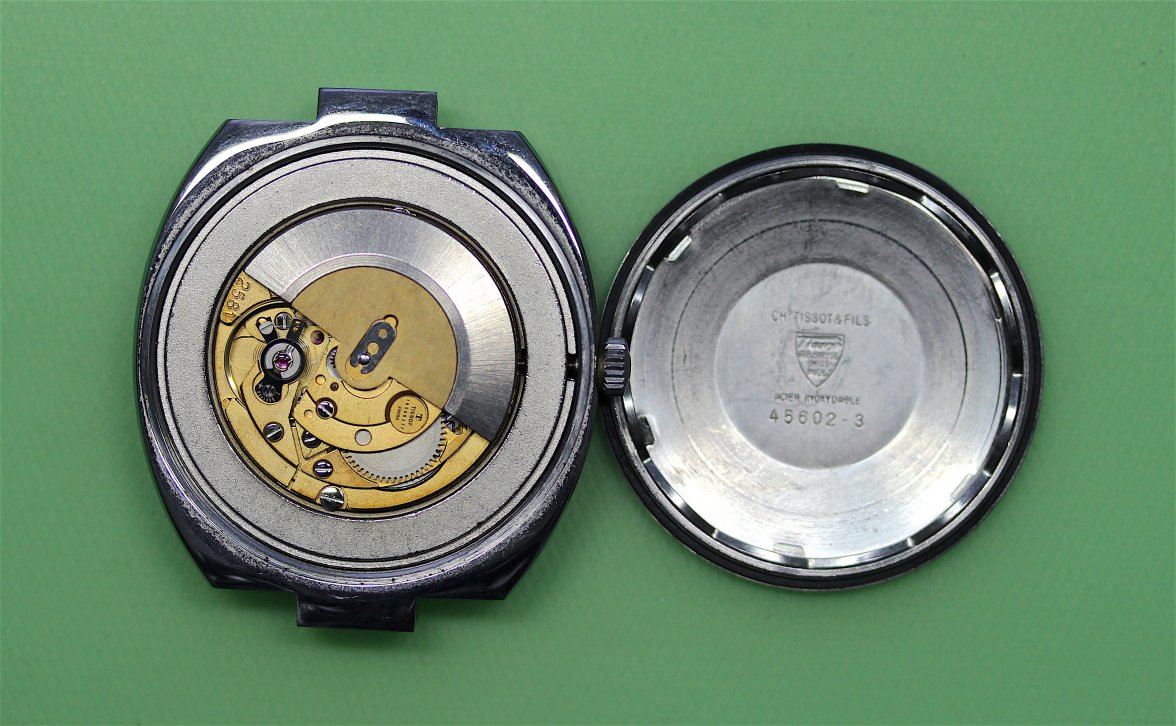
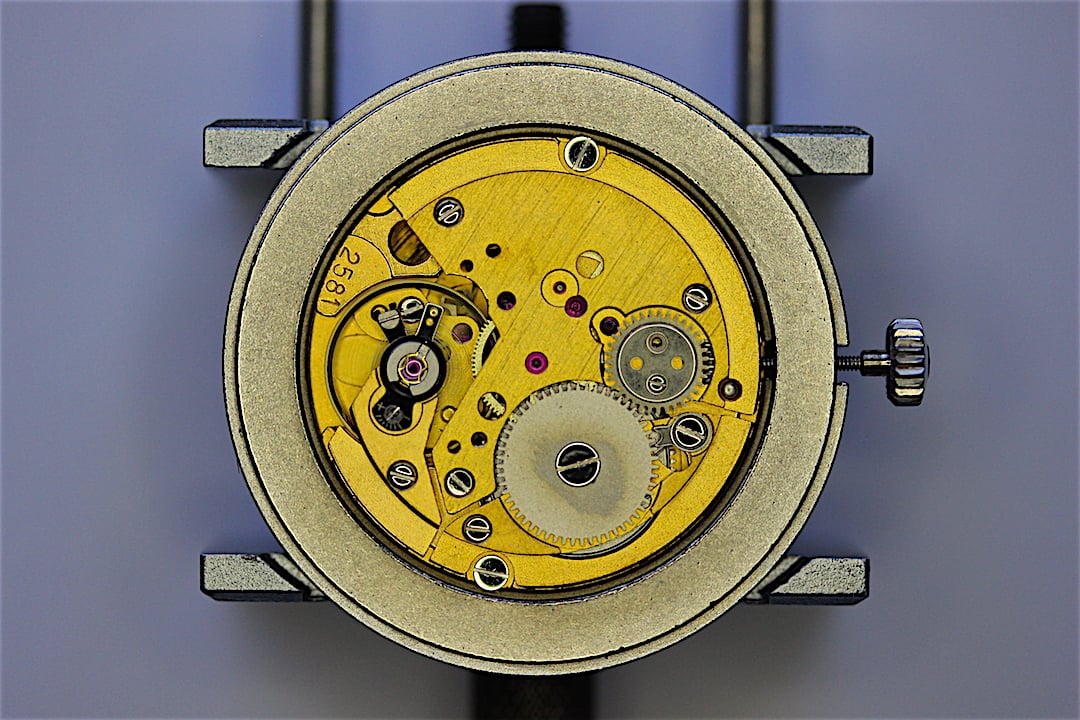
With that done, I was able to remove the caseback which revealed a nice clean movement, Caliber 2581. It was surrounded by a substantial movement ring to which the movement was clamped. I decided to use the ring as a movement holder while I started disassembly.
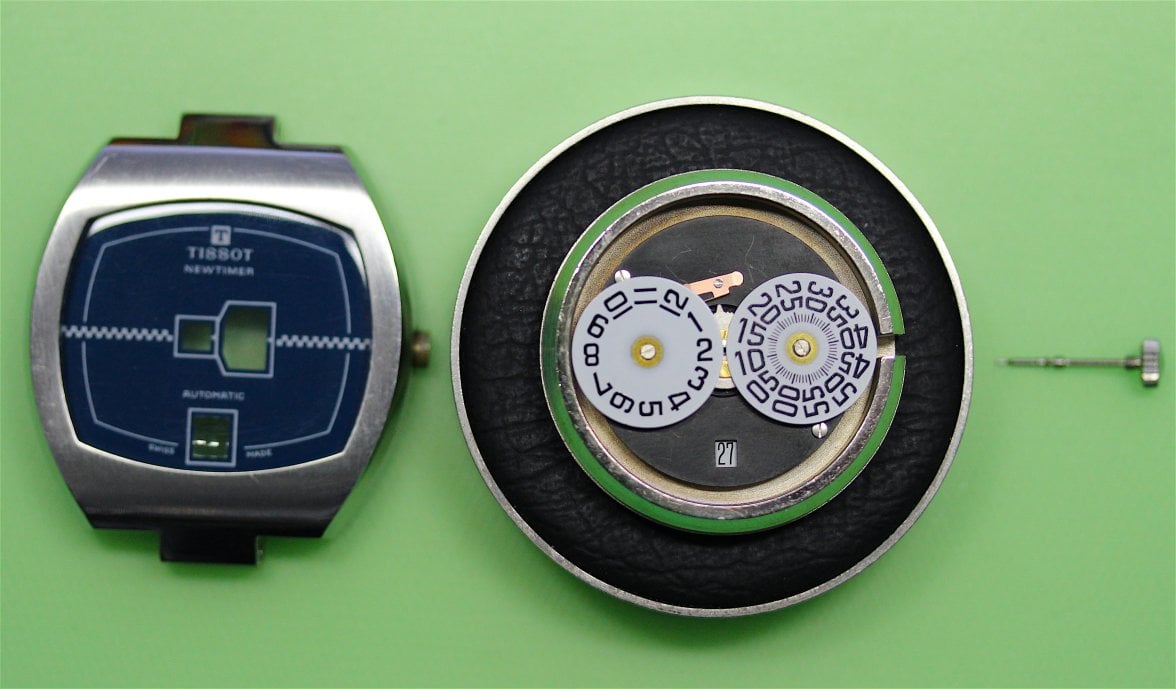
So with the crown removed the movement was dropped out onto a pad and work was started on the dial side.
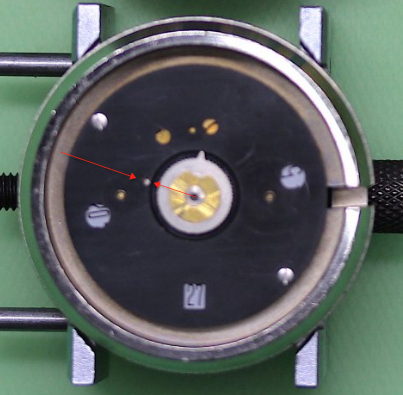
Here you can see the hour and minute wheels and the copper coloured click spring that ensures that the hour wheel snaps into place once an hour when prodded by the big tooth you can see between the upper side of the hour/minute wheels. Hiding below a plain black plate was the date wheel. Looks really simple, can't be too hard!
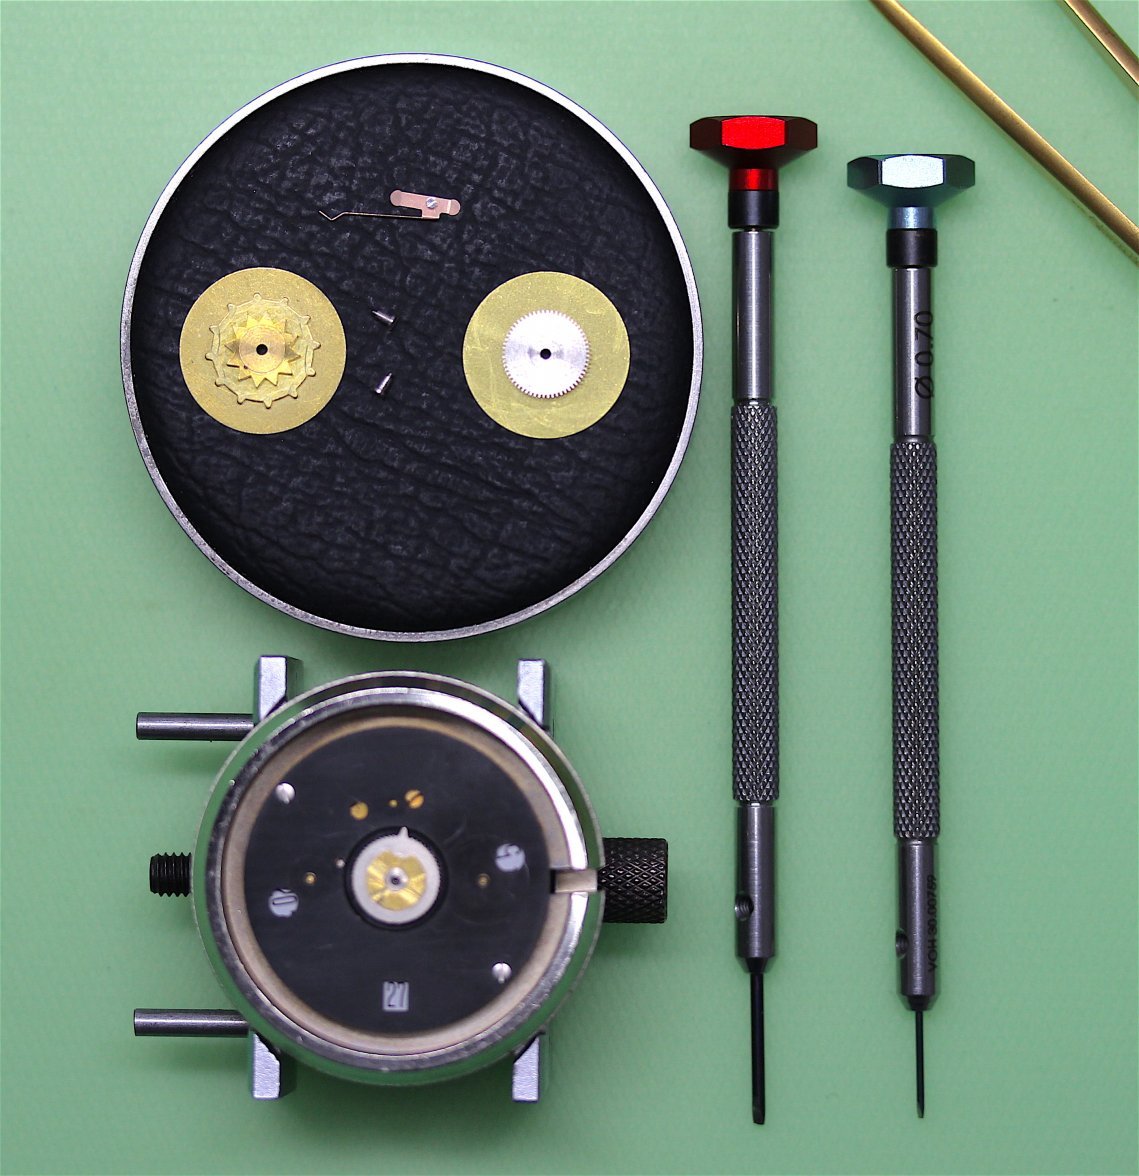
With the little wheels off we can see how the hour "jumps". The tooth or finger on the centre wheel pushes on one of the twelve knobs to move it anti-clockwise until the click spring drops into the next gap in the star wheel below it.
The minute wheel just idles along, driven by a 1:1 ratio wheel below the disc.
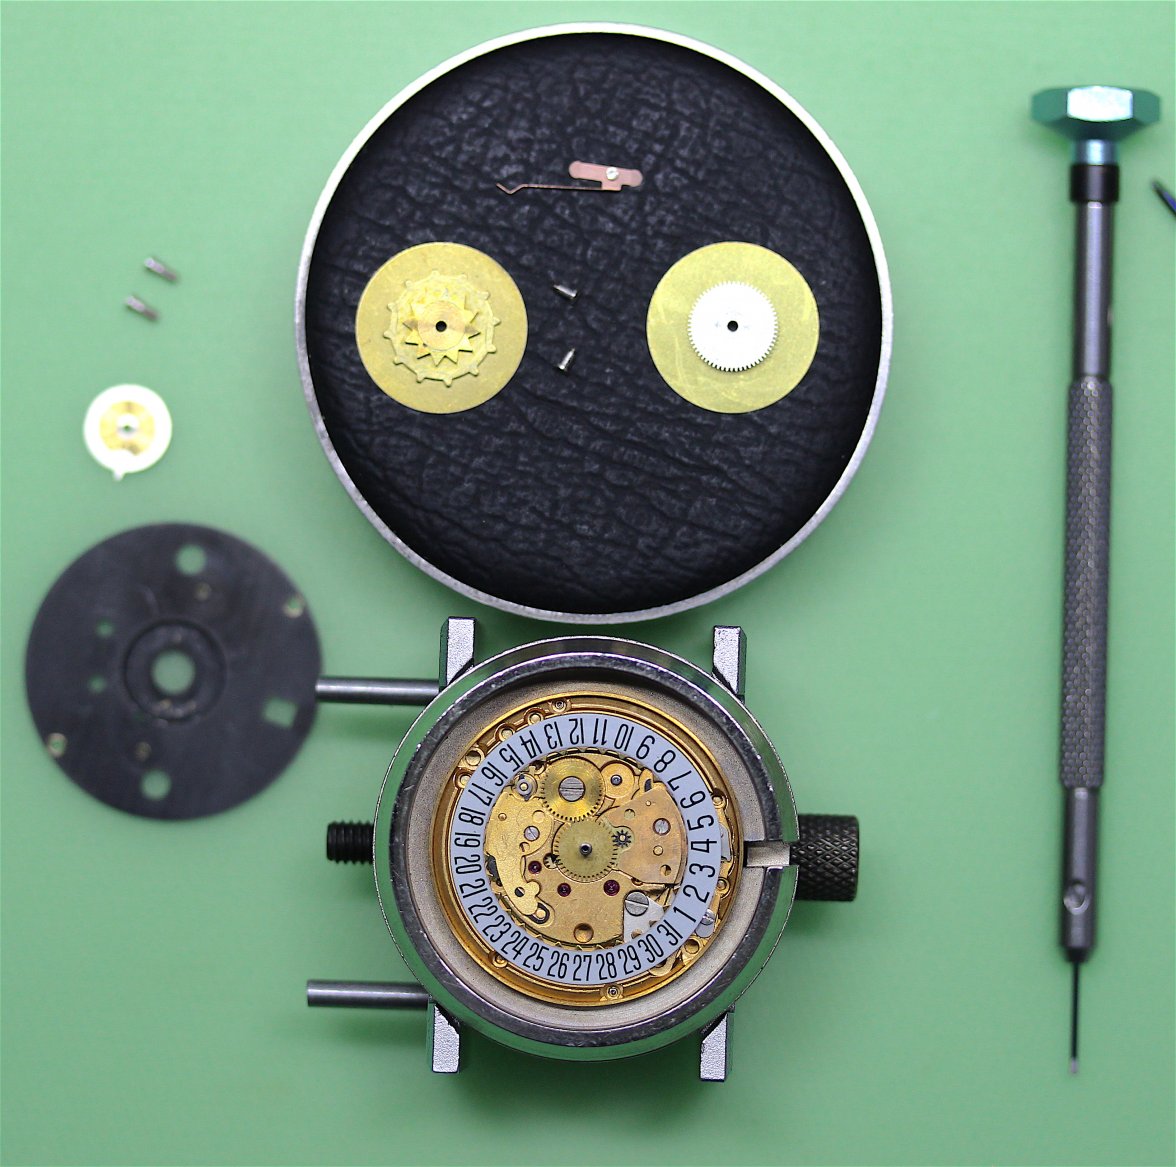
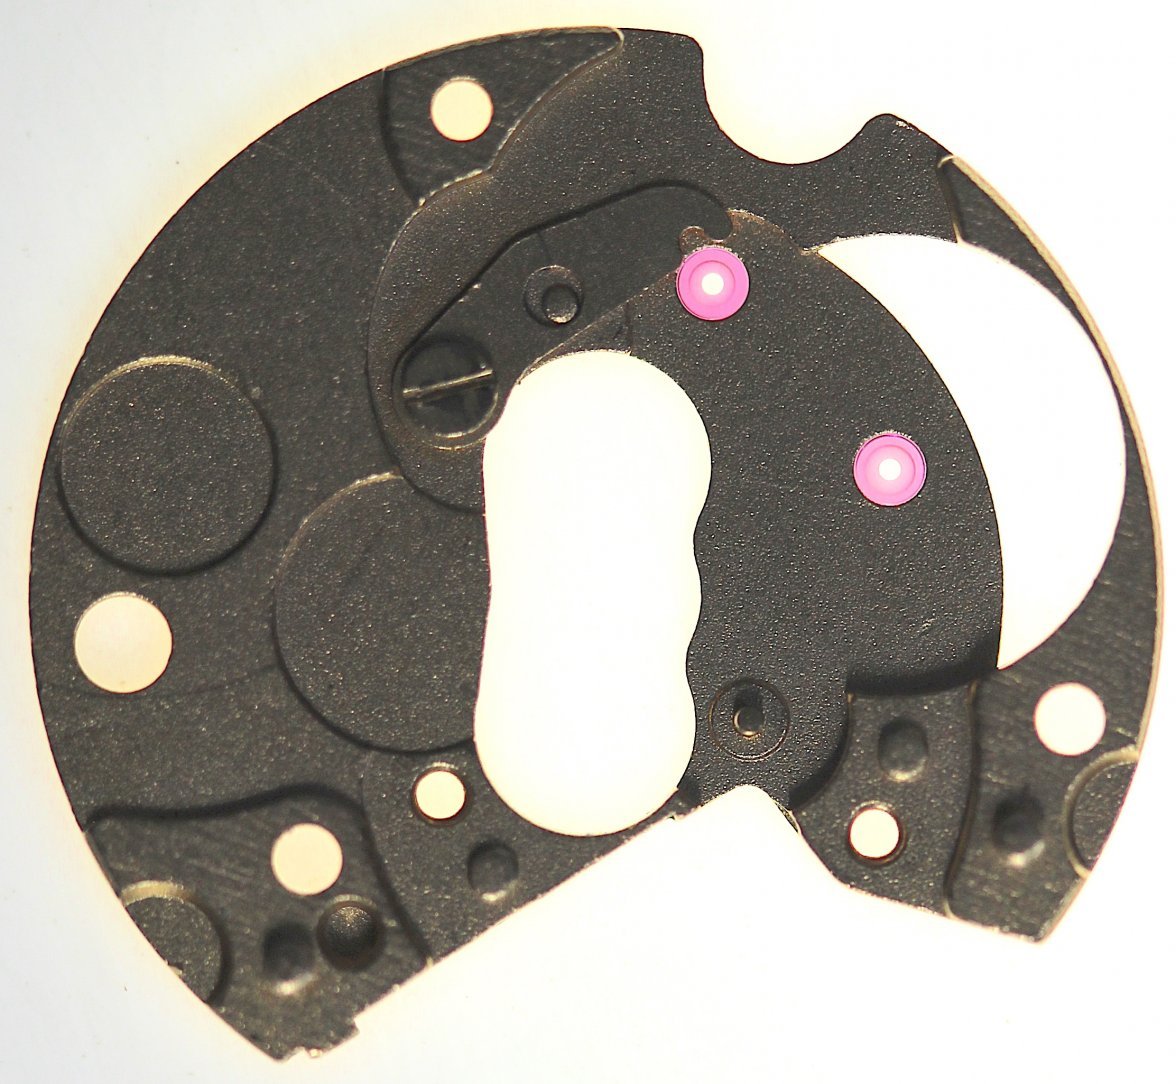
All I need to do us remove the plain black plate to finish off the dial side, can't be too much to that.
Whoa Neddy! This is just as complex as any Omega day/date. Must remember to take lots of shots as I go along as I don't have an OEM parts diagram.
More to follow.
