Thehighwayman
·I thought I'd document this repair, it may prove useful to any hobbyists working on older 2000's in the future.
The first thing I should say is that I'm working with a small travel kit of tools currently. We are living between two properties at the moment, spending the vast majority of the time at the one which will become our "forever" home. Most of my tools and equipment however are at the other house 150 miles away for now.
As a result this repair was done with minimal equipment in a less than ideal set up!
Ok, on to the watch.
This was a very poor example, found during my regular attempts at scraping the very bottom of the Heuer collectors barrel !
In truth, I get a lot pleasure from saving abused and neglected pieces. I feel a little short changed if I buy a watch that doesn't need some work! 🤣
The aim here is to create a usable and reliable watch which looks cohesive and presentable. Sure, with a new dial,new bezel etc it could be better but I don't mind patina,it tells a story.
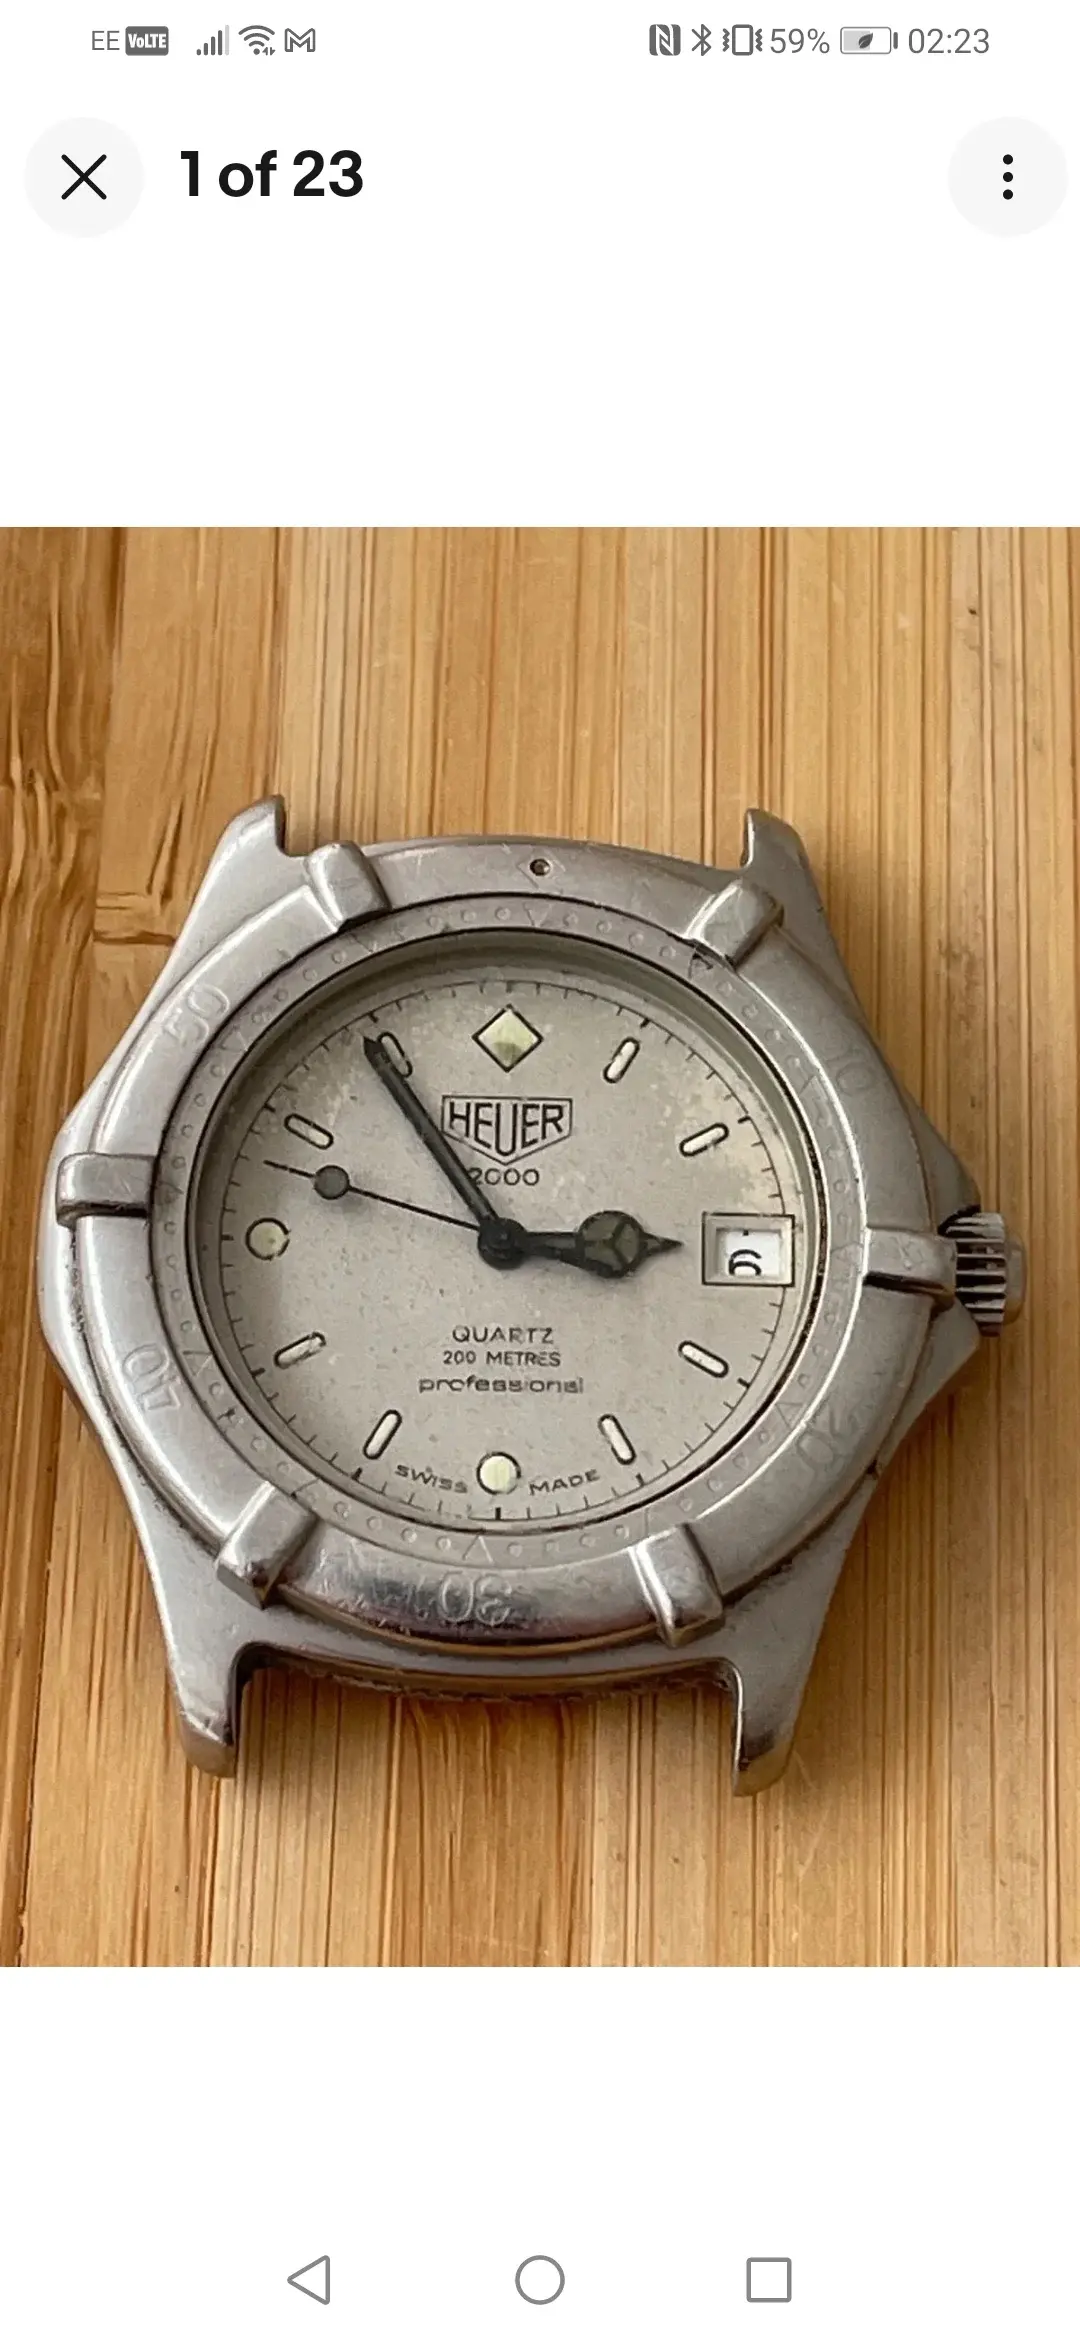
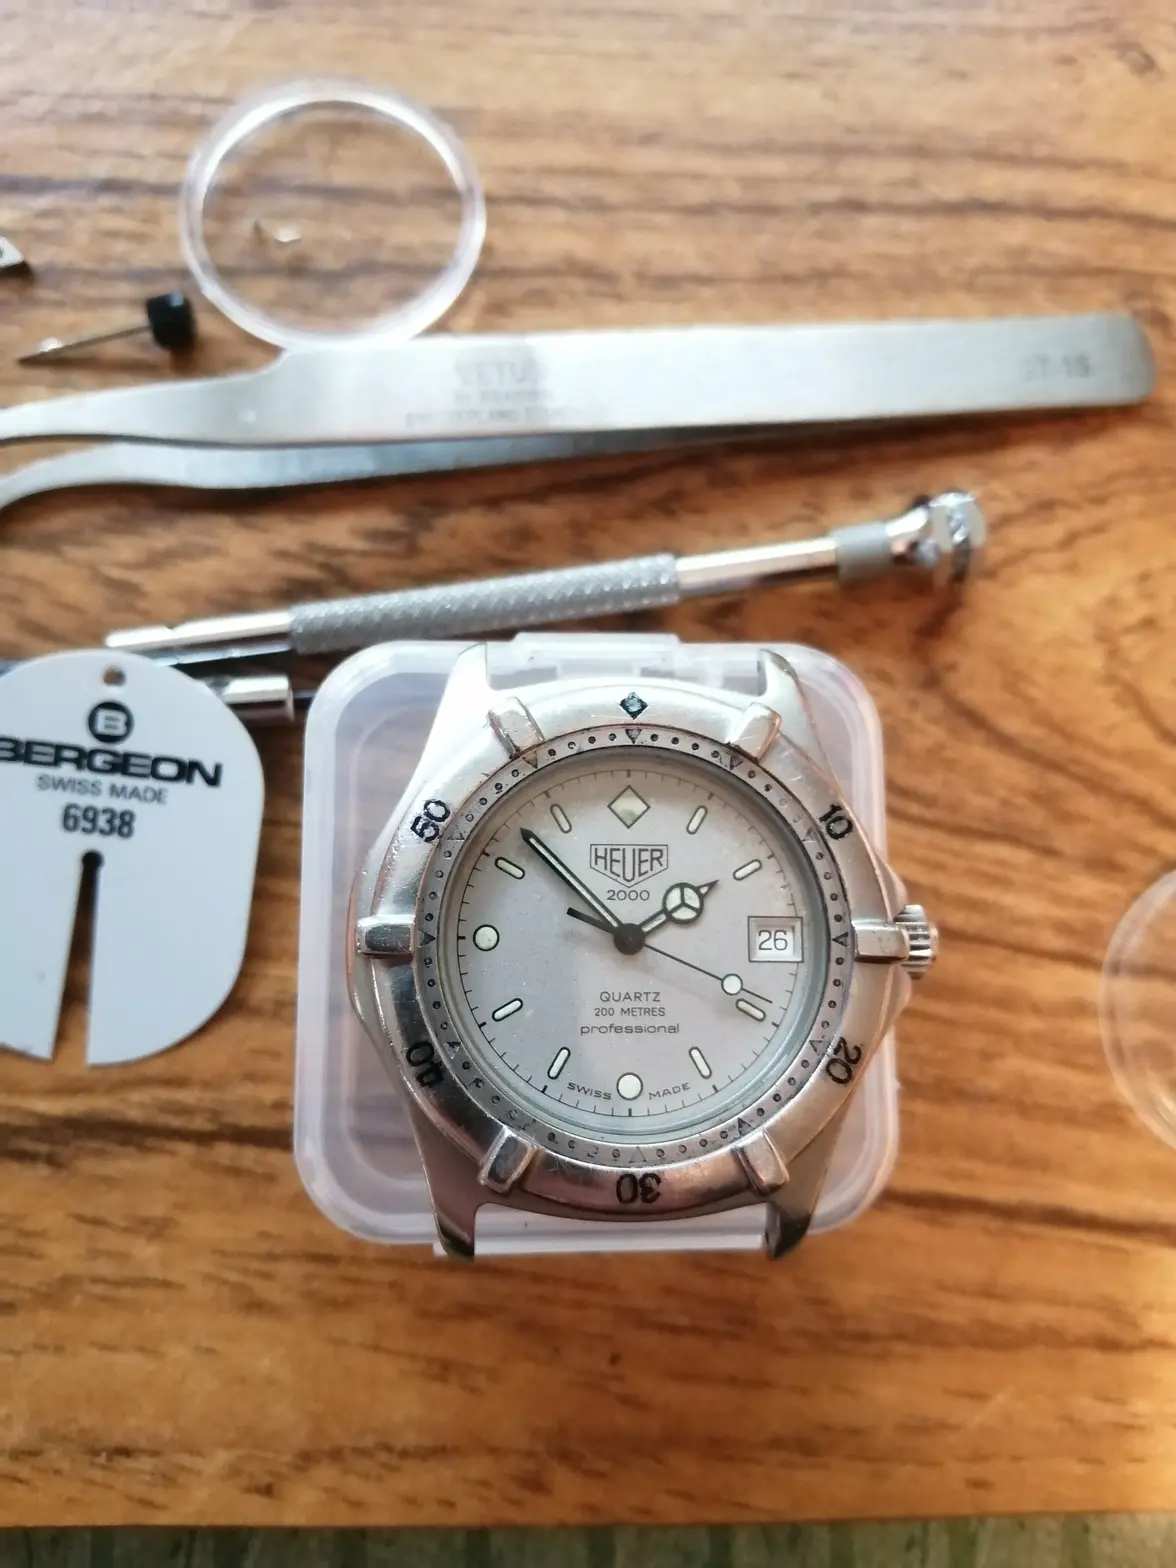
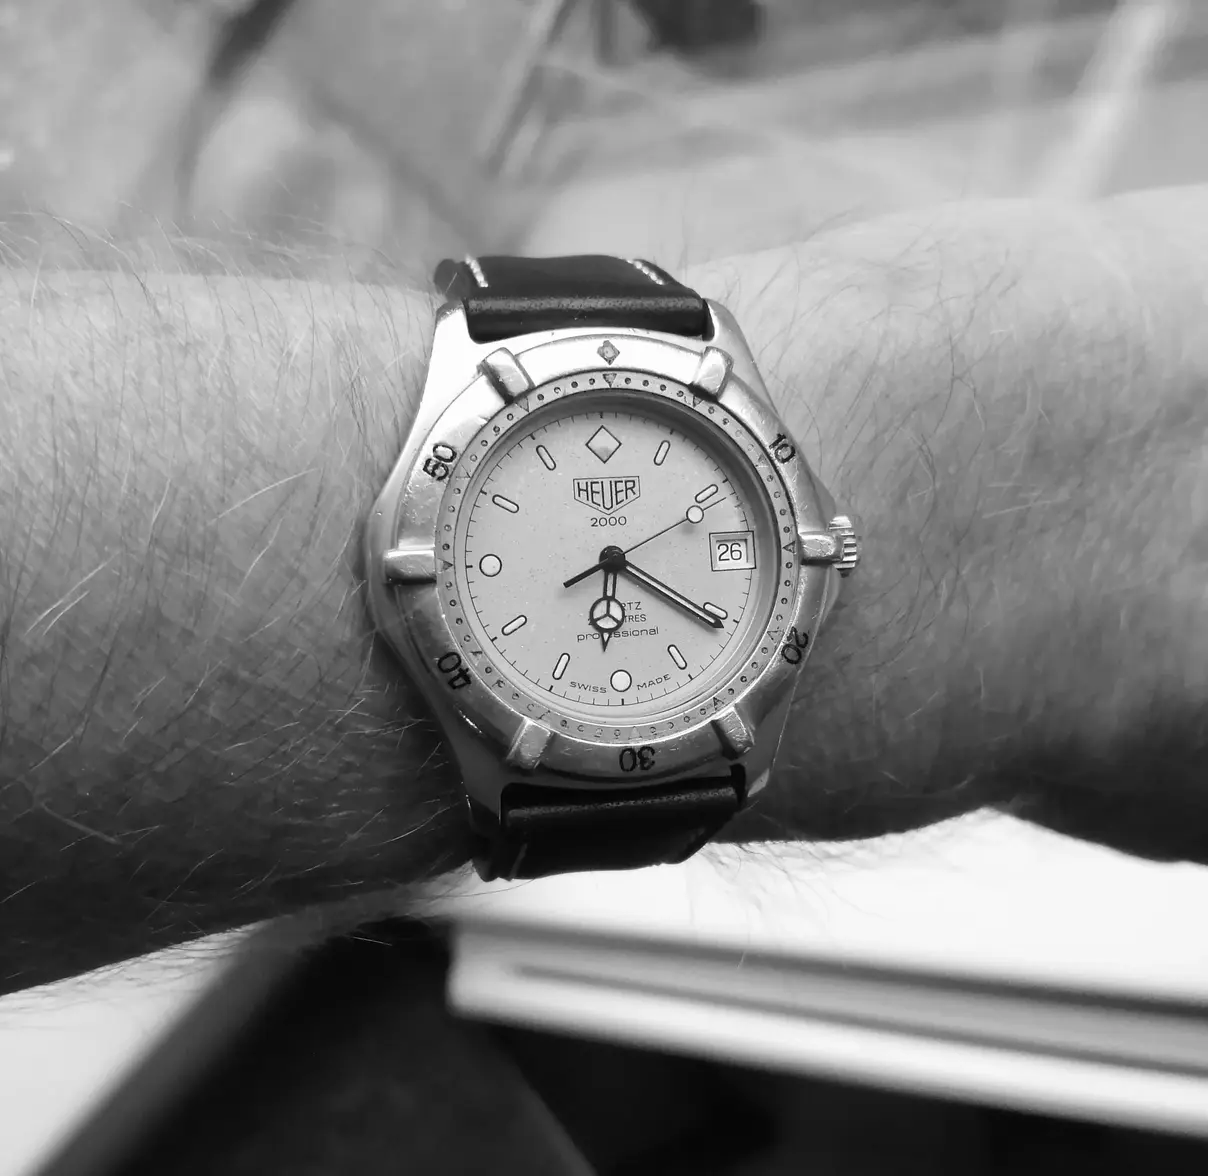
So this is what we started with, the picture really flatters it. The crystal was toast, the lume on the hands black, the dial fair to poor.
Worse still, the watch had significant water ingress through the crown. The movement tried to work but the keyless,setting mechanism and date wheel were corroded solid. The stem could not even be moved to setting position.
The bezel had also lost all its painted infill.
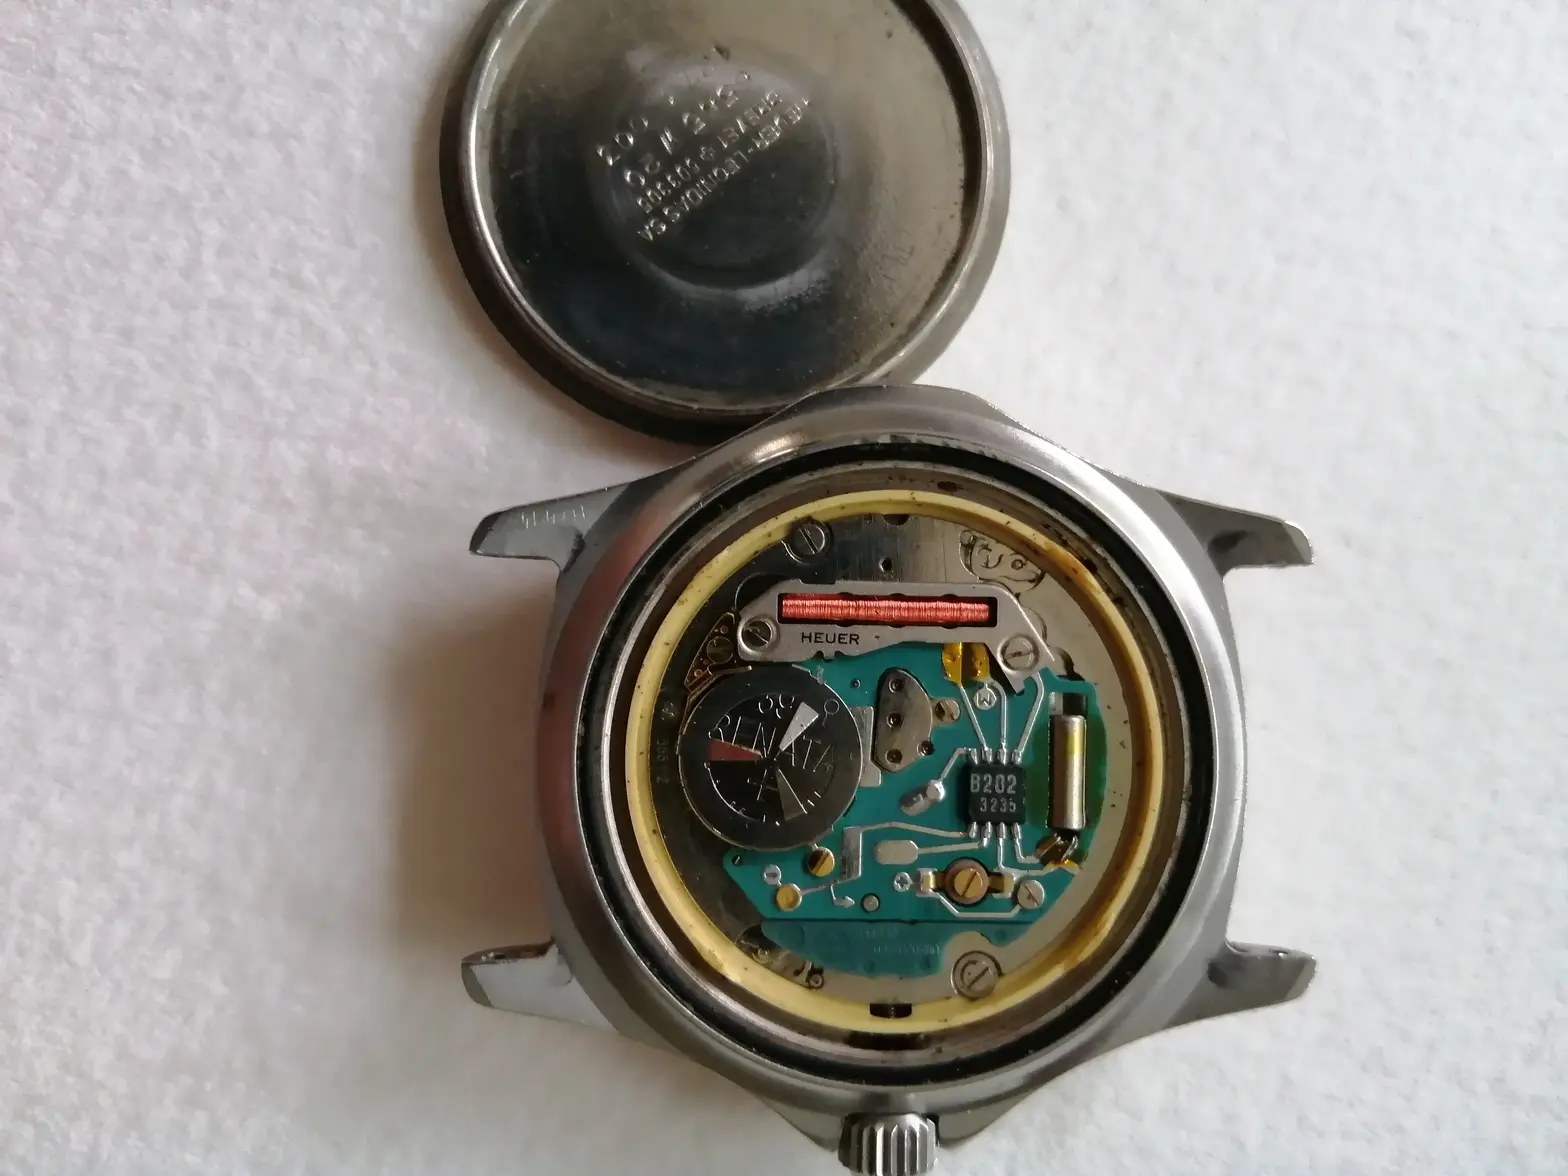
First glance inside shows lots of rust particles floating around and the tell tale orange staining to the movement ring. At least it has it's battery retainer 😏
So let's get it stripped down and see what we are dealing with.
To remove the movement and dial it's just a case of removing the crown and stem, the movement complete with ring will then lift out. The stem release is the small silver button with an arrow pointing to it. Use a screwdriver wider than the button so you don't press it in too far and gently pull the stem clear.
It makes no difference on these movements whether the stem is in set position or not, either is fine.
This watch put up a battle as rust residue was sealing the movement and ring into the case very effectively, some persuasion was required..
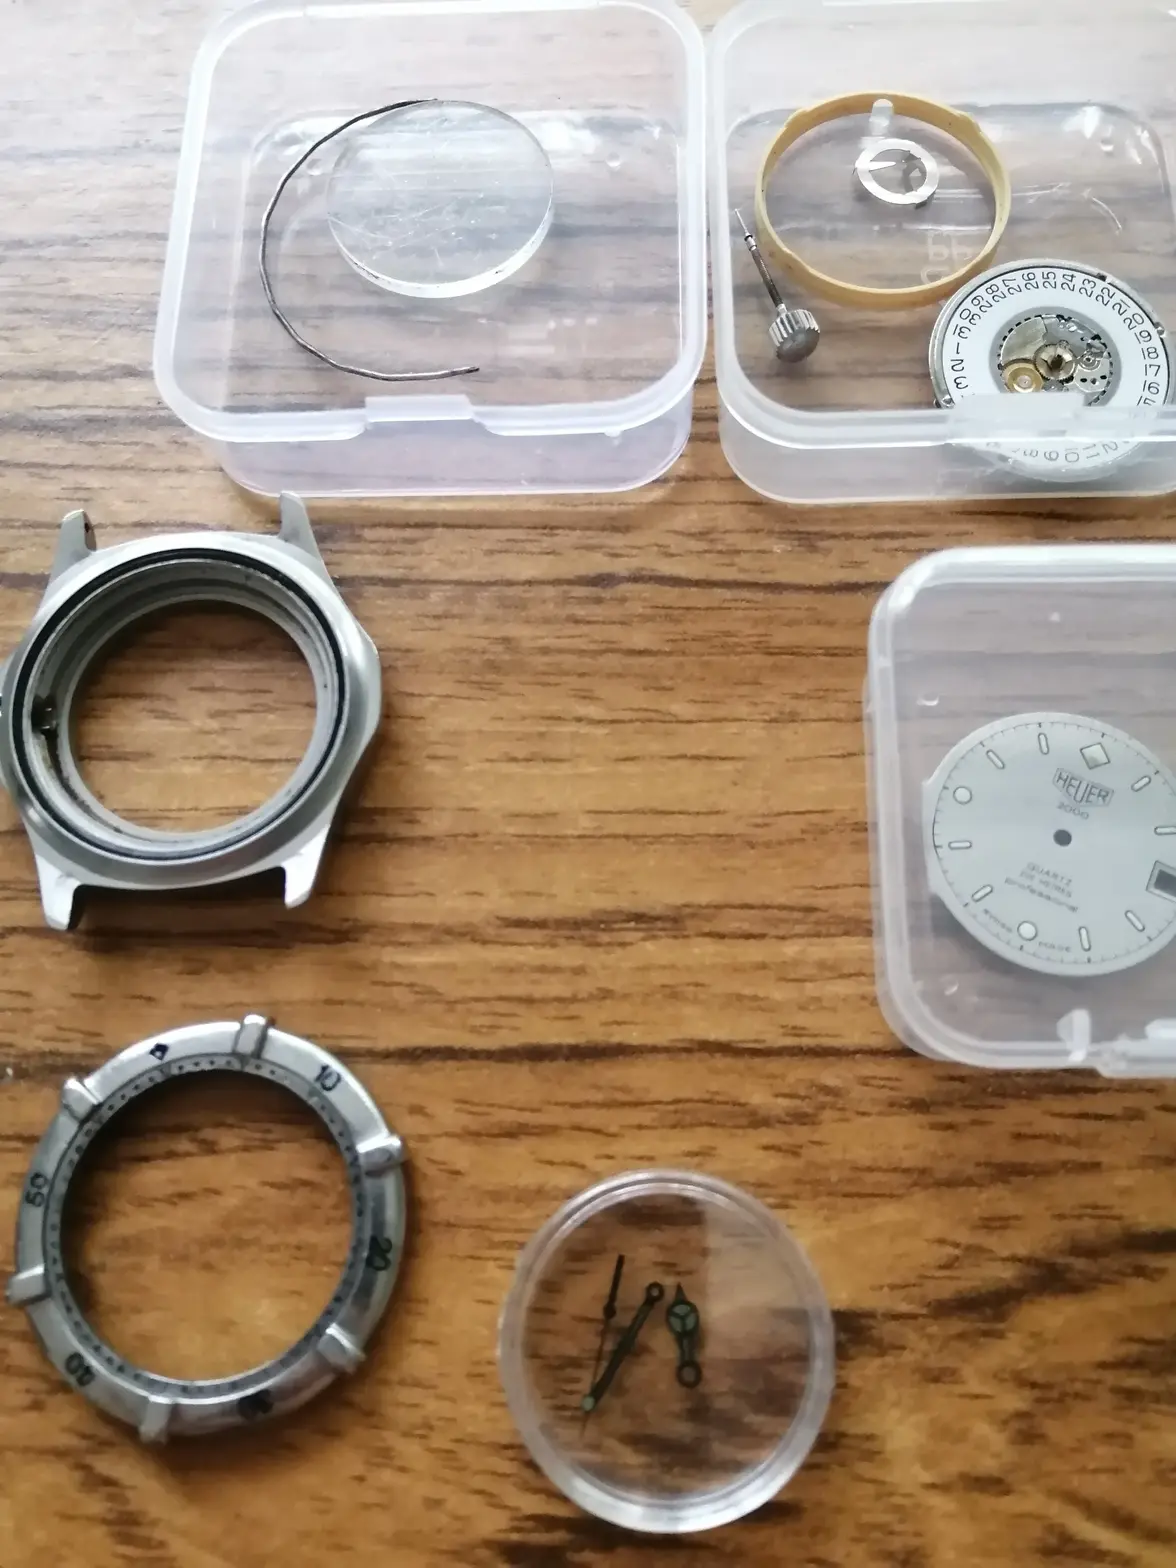
All stripped down and a few more horrors coming up....
Incidentally these early watches,have a bezel with two wire springs. One spring retains the bezel and the other provides the click. It works quite well. I actually prefer it to the later flat plate with spring tabs as they frequently break off.
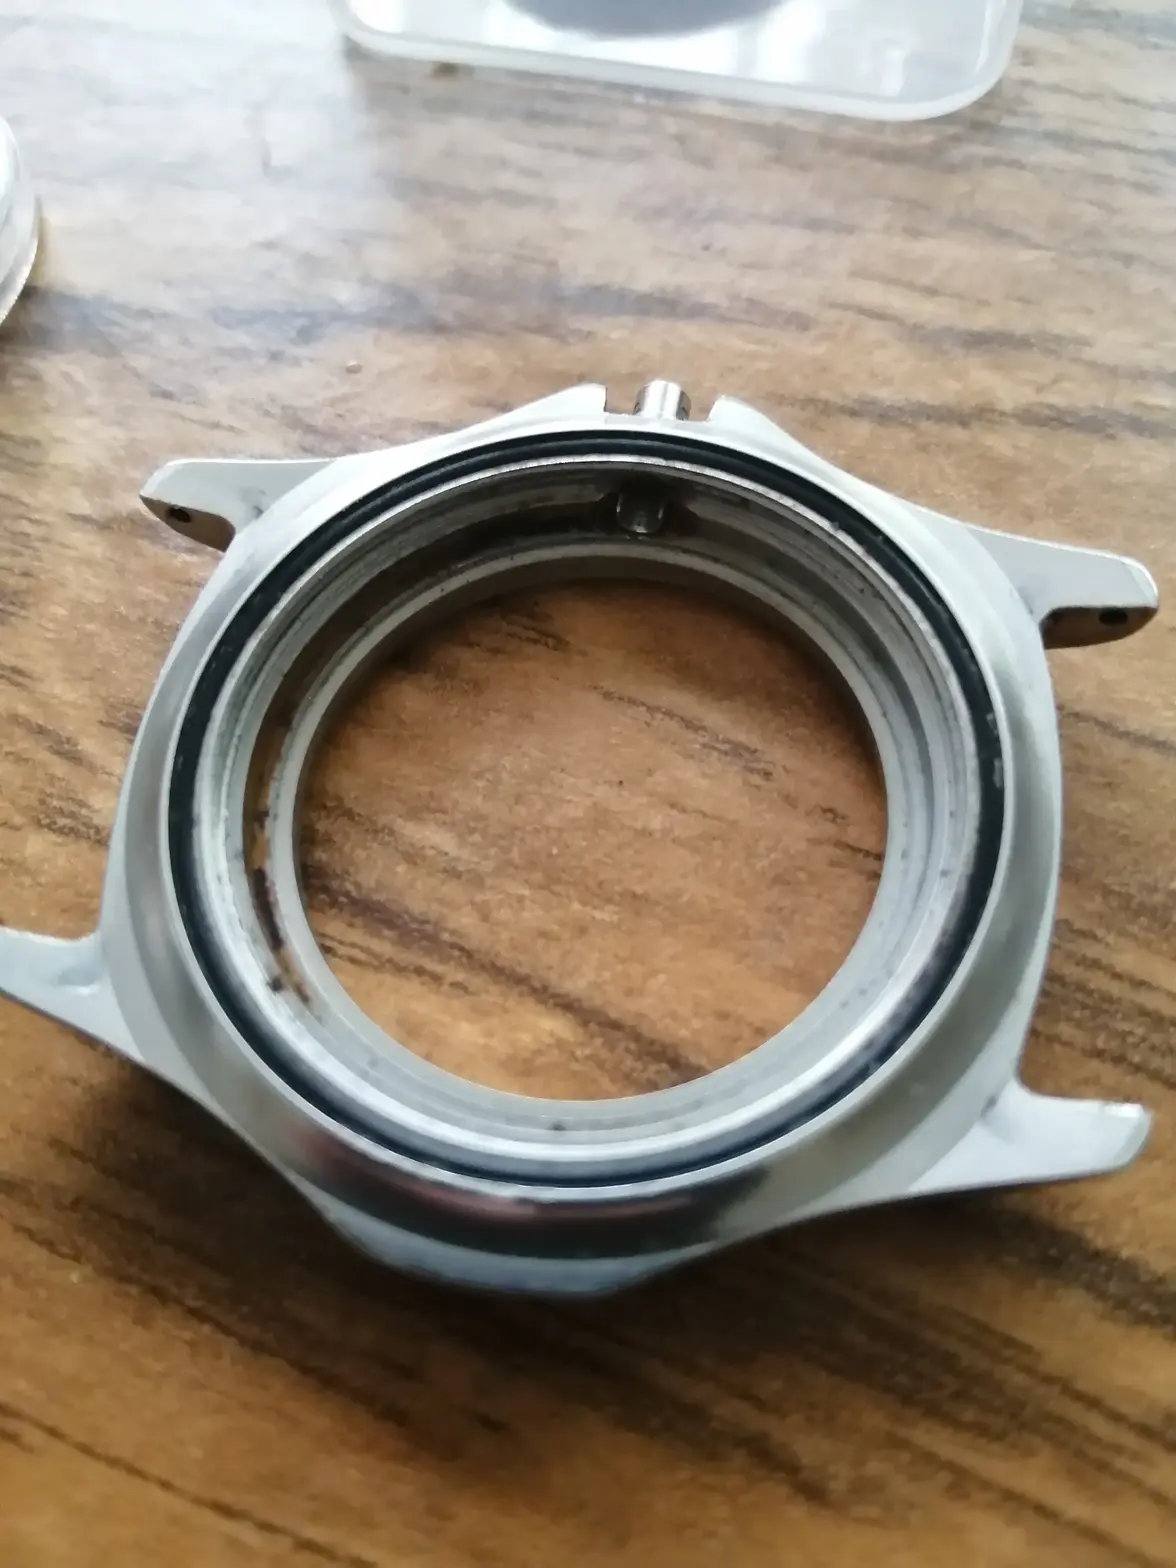
Ok, here we are looking inside the case, urghhh 😏
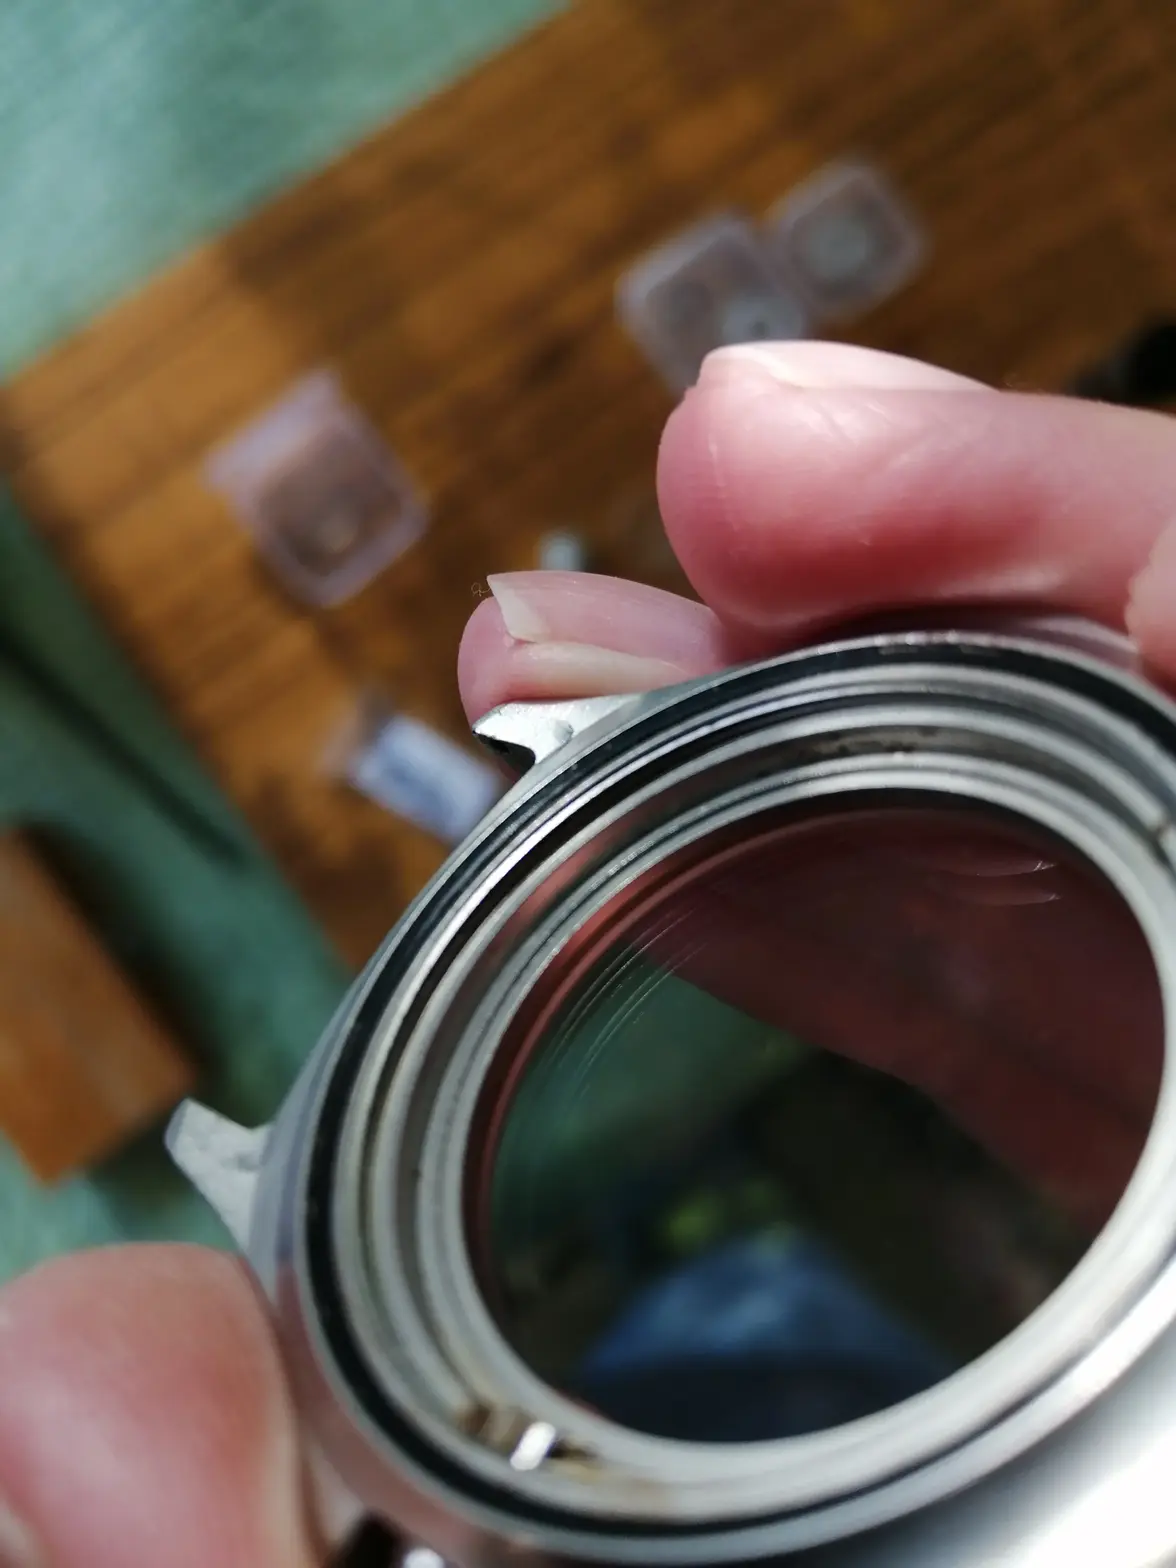
Lots of rust particles in the threads, hard, congealed rust residue around the dial seat and walls etc.
I use a small dental tool shaped like an angled chisel to scrape off the worst "barnacles".
Nearly there and looking much better. The rust "barnacles" have left some pitting to the case walls but its serviceable.
Now, the bezel which had lost all it's paint.
I've done a few numeral fills on 2000 bezels but never one as early as this. Either the early ones had very shallow engravings or this one has had so much wear they had worn that way. It presented a real challenge..
Normally i'd use an enamel paint and then a coat of lacquer,that wasn't possible with the depth available. In the end I used a permanent marker and removed the excess with isopropyl,that left me just enough recess to get a good coat of lacquer in there to seal the numbers.I think it will wear ok,I sat rubbing my finger over the numbers for a hour with no wear.
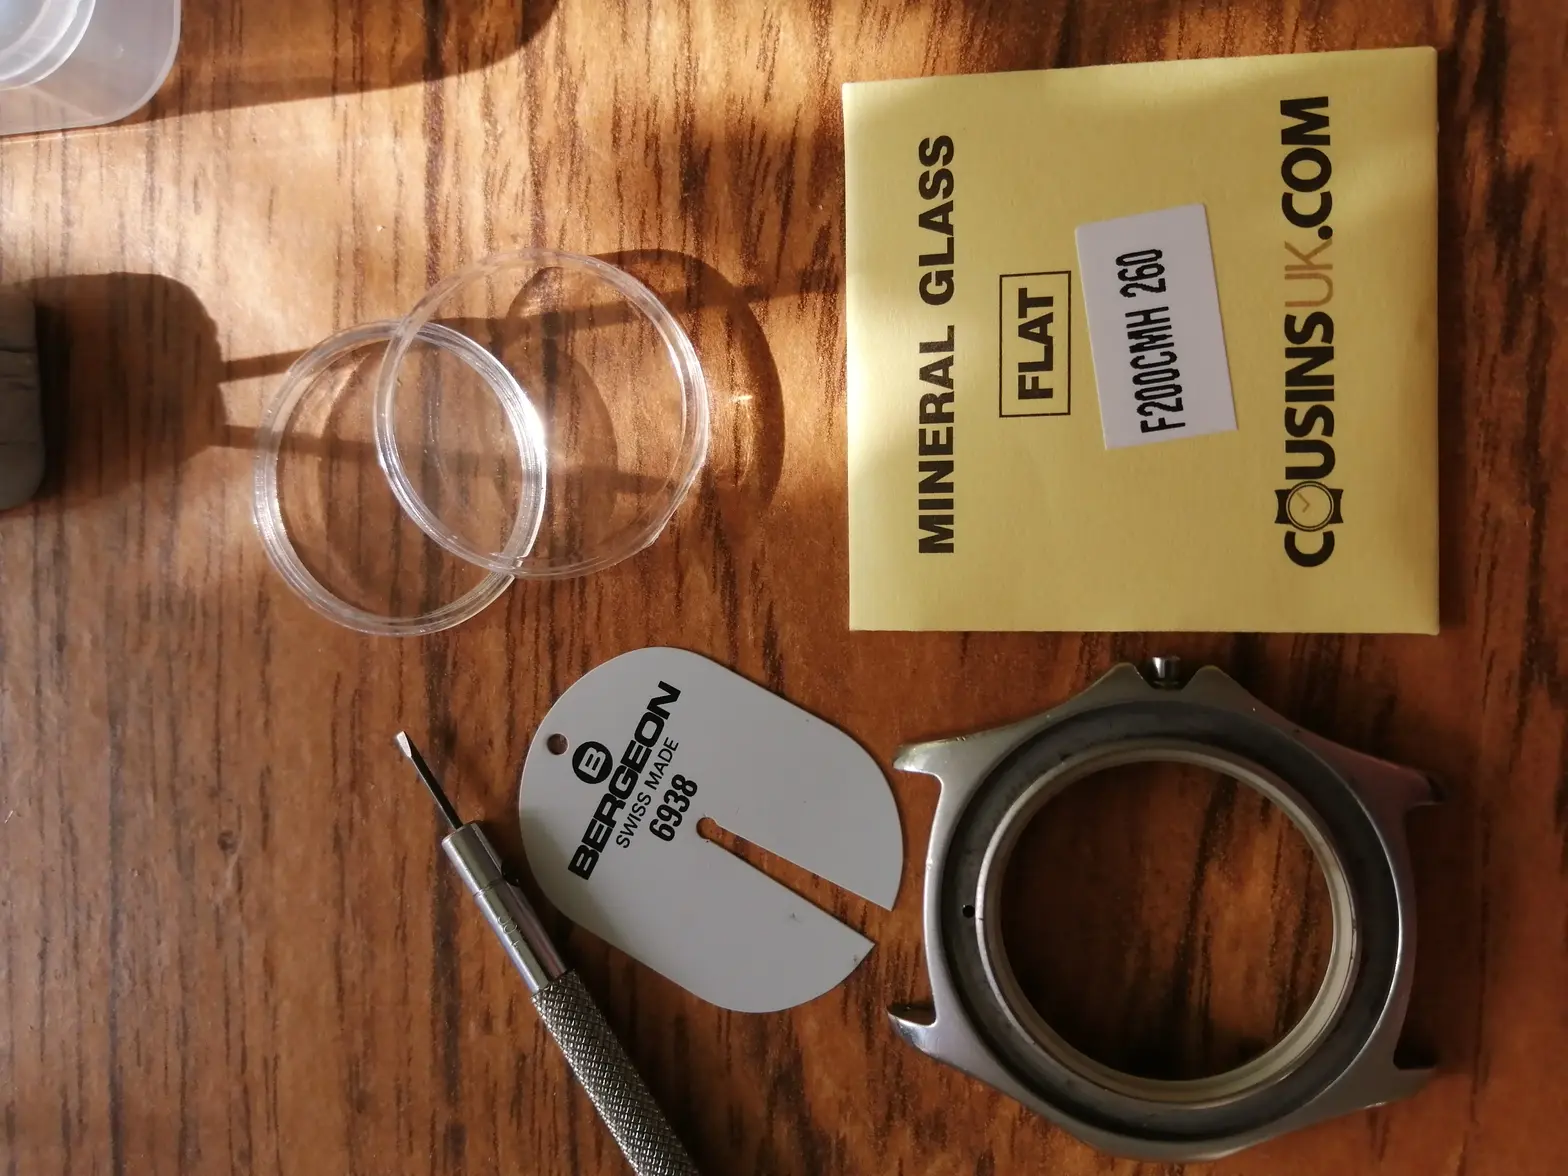
Last job on the case is a new crystal. I could have gone sapphire but mineral is period correct and i'm a cheapskate as well !
The crystal for these is 26mm diameter x 2mm thick,same as a gents F1. The crystal is a press fit into an L profile nylon gasket.
Ideally you want a crystal press to put this type of crystal in,doesn't need to be anything special,a cheap one from Ali X will do the job.
Only about 1mm of the crystal goes into the gasket,the remaining height sits up above the case so it looks flush to the bezel.
With the case done I can turn my attention to the hands.
Generally, I don't like reluming hands unless they are badly mismatched to the dial. A watch is only original once after all.
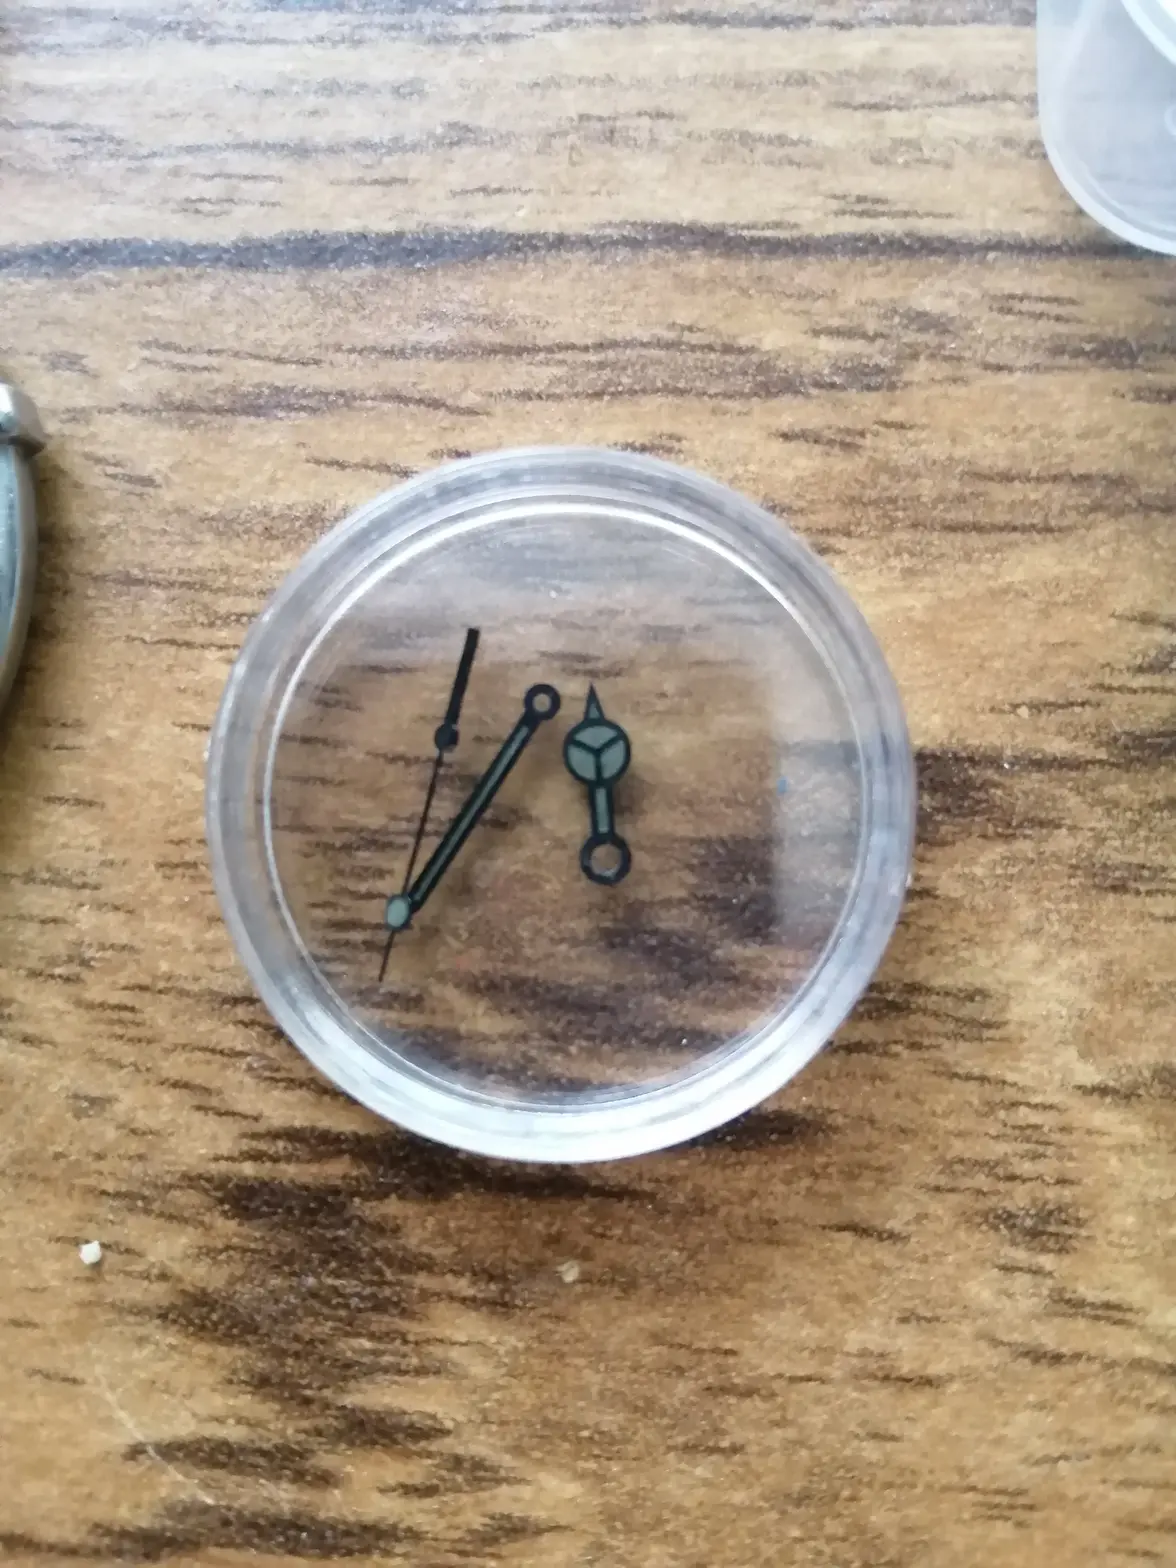
These were nearly black though and aesthetics won the day.
The hands themselves were suprisingly good with no corrosion.
A brush over with acetone and all the old lume fell off in one piece.
When it comes to reluming everyone has their own techniques.
A lot of people like to use old oilers but I've never got on with them.
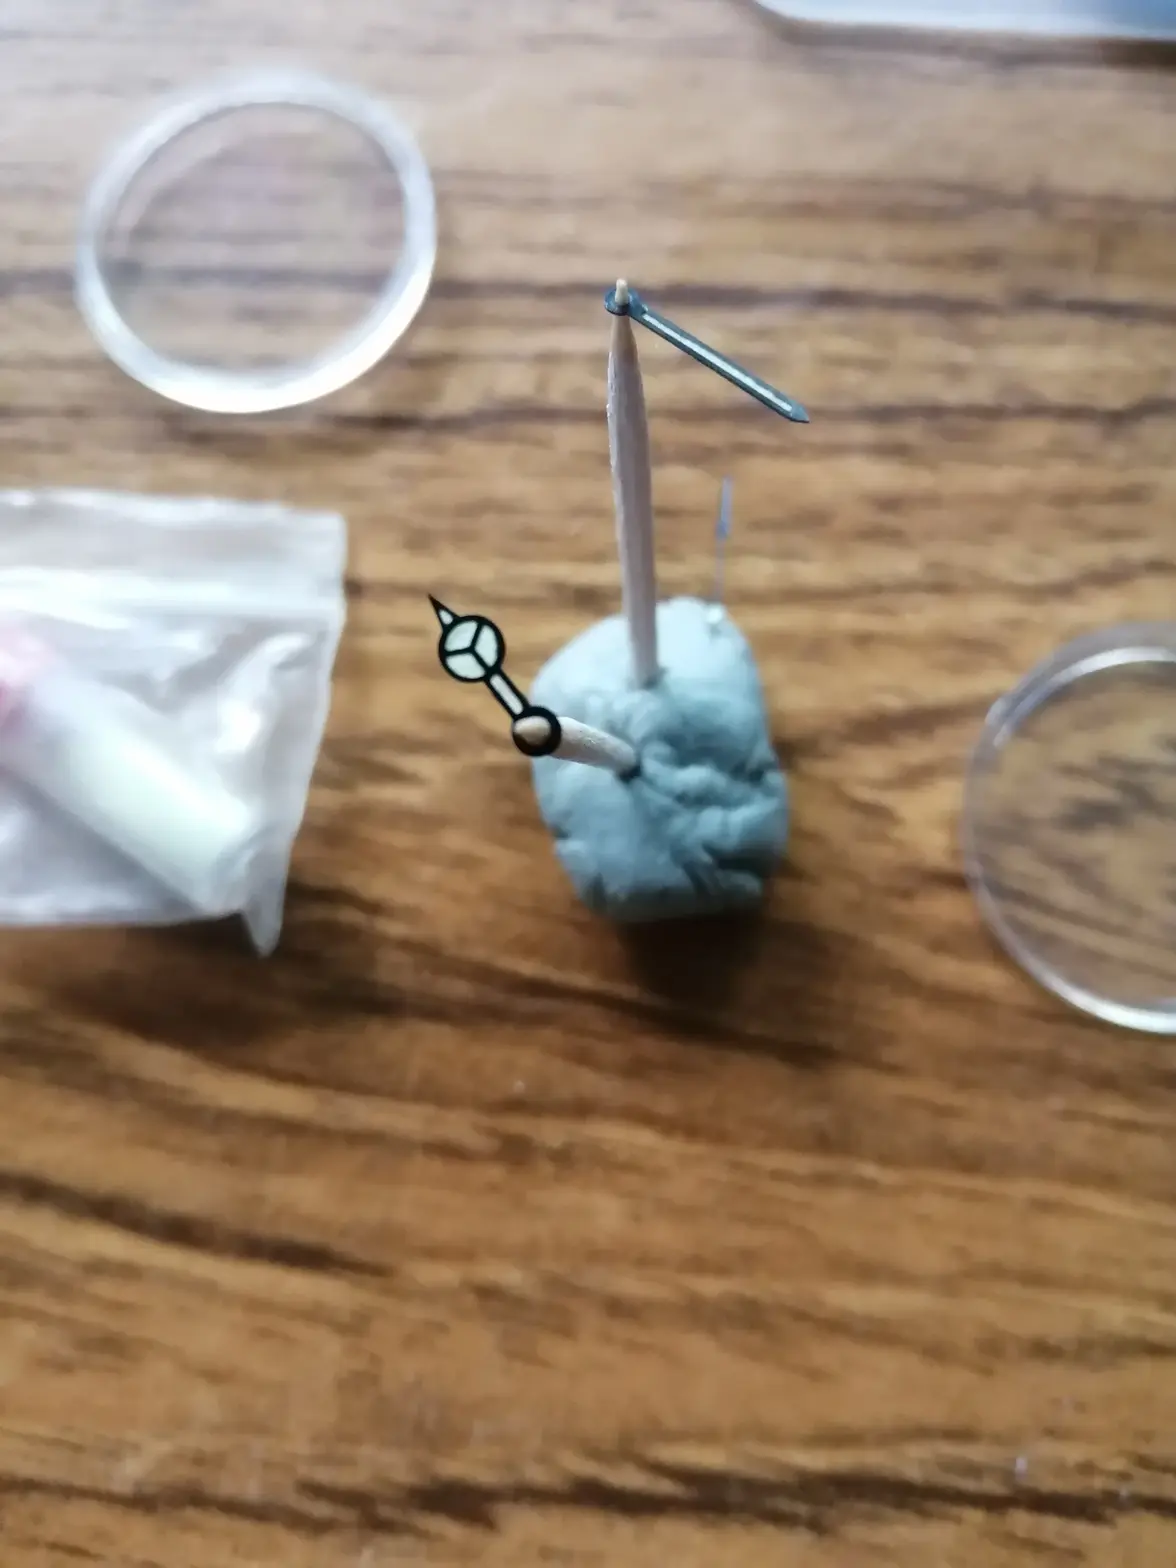
I use a sharpened cocktail stick with a flat on it. I then put a little lume on to the flat and with it angled so that the back edge of the flat is touching the underside of the hand drag it along the full length. The lume will fill the void in the hands with surface tension keeping it in place. The back edge of the flat acts as a scraper removing excess lume as you run along the hand and gives a nice flush fill.
This is important on a watch such as this where the hour hand sits very close to the dial with barely any clearance.
Too much lume on the underside and it will catch on the dial leaving you with nice concentric rub rings after a few days.
Hands re lumed and drying..
So we now move on to the movement.
I'd already decided I was going to replace it but wanted to keep it as original looking as possible.
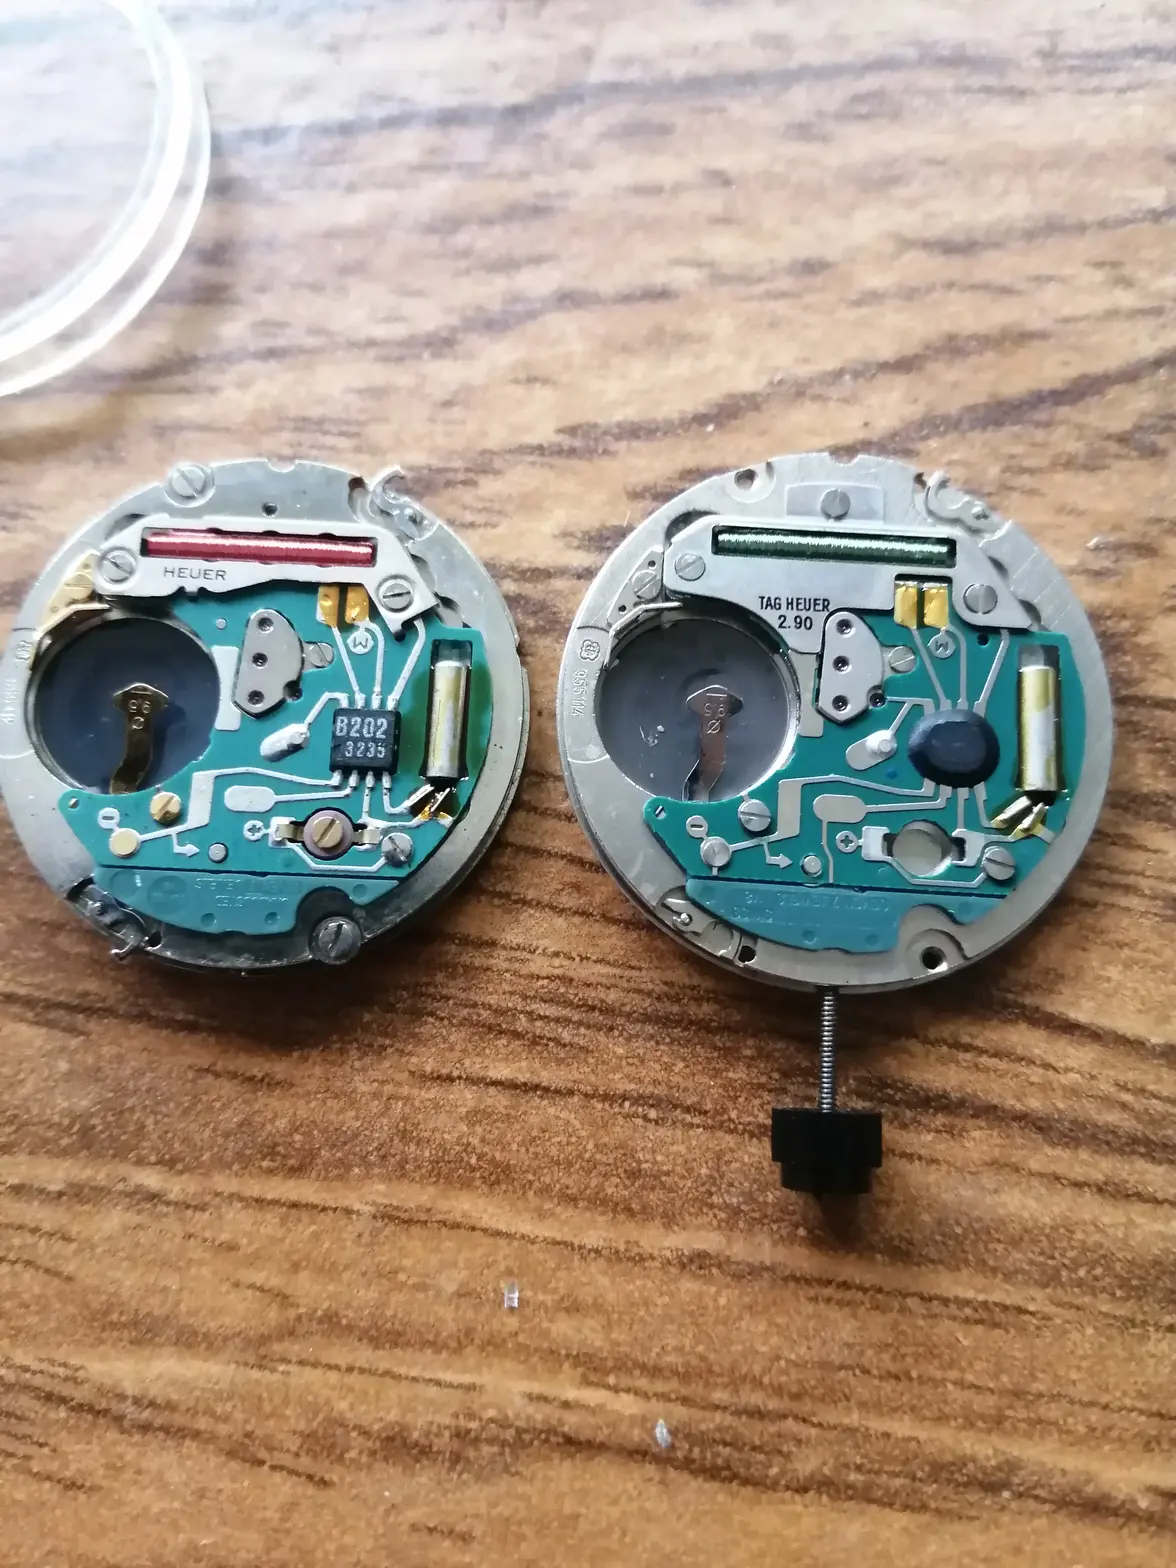
The old movement has a good circuit and coil but the rest is beyond saving,the circuit and coil will eventually find a home in another project.
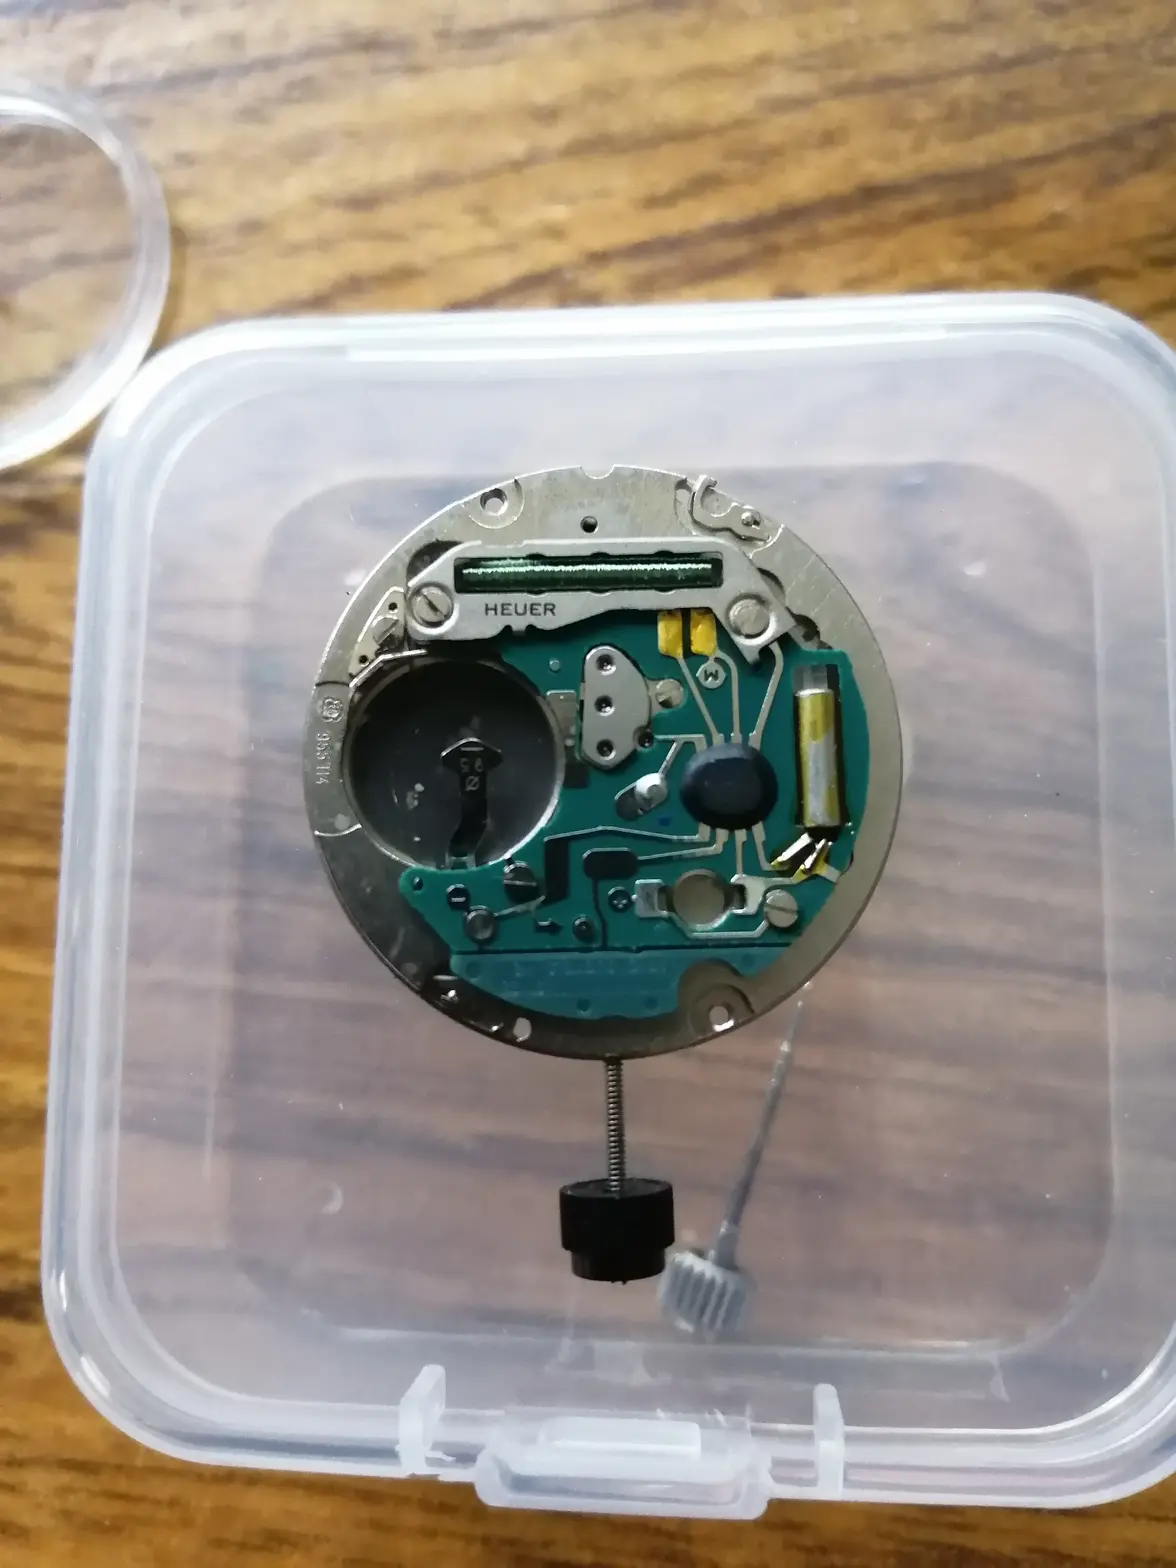
I had a slightly later TAG branded 955.114 to hand. This is a slight upgrade but retains the silver base plate and green coloured circuit so it looks correct. The eagle eyed will note the later movement omits the adjustable trimmer of the earlier movement. I will swap the Heuer stamped coil guard on to the replacement movement and it will basically look period correct.
Coil guard swapped over. When working on any quartz movement always be extremely careful around the coil.Use well fitting screwdrivers and take your time.One slip with a screwdriver blade across the coil and it's toast.
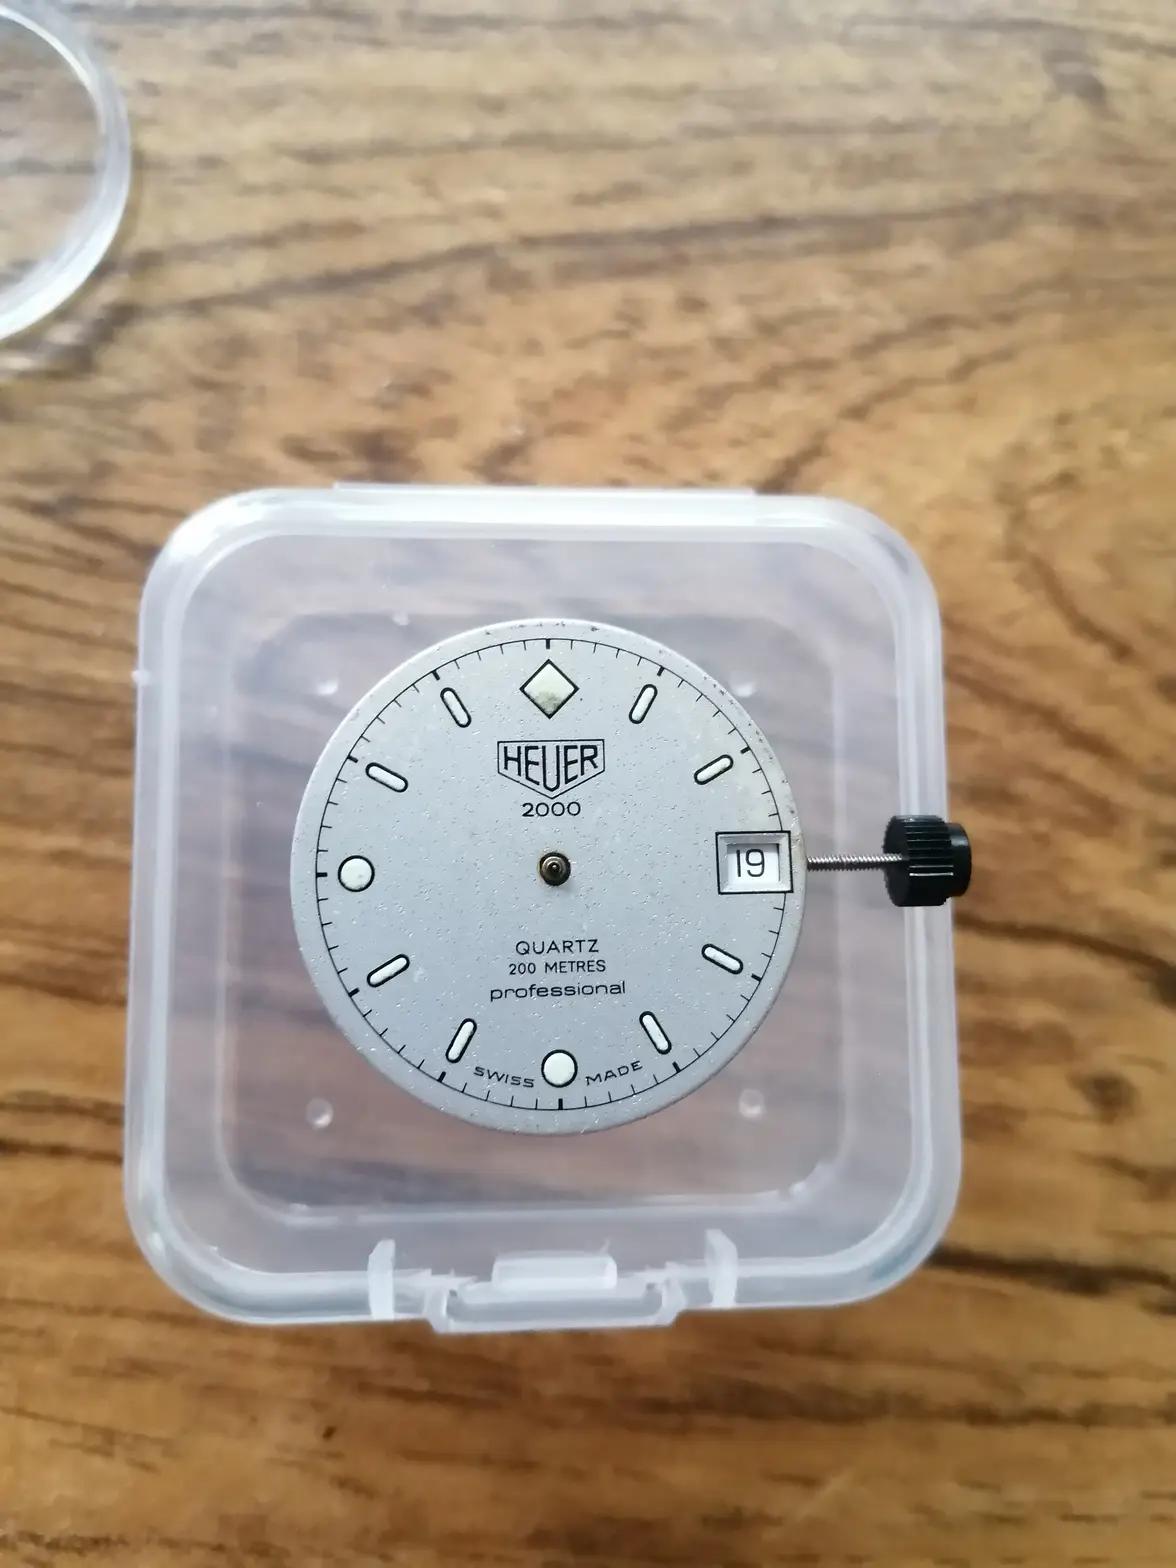
Now we can replace the dial on the movement. This is secured with two U shaped clips which you can see on the edge of the movement in the photo's above.Swing them out from the movement to release the dial and swing them in to grab the dial feet when replacing.
Now it's just a case of replacing the hands. Move the stem to time setting position and turn until the date flicks over. Stop at that point and replace the hour hand precisely at 12. Replace the minute hand directly above and then the second hand. Try and get the second hand lined up so it will hit the second markers.This can be tricky as often it moves on the pinion as you seat it,usually takes a couple of attempts.
With that done we are ready to case up again.
Place the movement and dial in the case,line up the three position with the stem tube and re insert the stem and crown.
No need to press the release button when reinserting the stem,just turn the stem a little as you insert it and gently push it home.
Last thing to do on this watch was put a smear of silicone grease on the caseback seal and then button it up.
I put a new crown seal in but the old one was actually ok,someone left the crown open and got water in I suspect.
All buttoned up and good for many more years. If i find a better dial I may well swap it at some time but overall it looks pretty good .
A well loved working watch with some patina.
I had the replacement movement in stock,same with the lume,silicone grease etc. Total cost of the restoration was therefore £1.20 for the crystal.
Edited:
