Thehighwayman
·Here we go again with another project... This one will be a two part thread as it became quite involved.
Most will have noticed by now that I very rarely buy a watch that is working...no fun in that ! 🤣
Sometimes these watches only need a battery, usually it's rather more involved but it seems to go in phases. At the moment everything I buy seems to have water ingress or battery leakage issues, at other times everything seems to need a circuit. My limited parts stock fluctuates to match !
Currently I have quite a few good circuits but not many decent base plates.
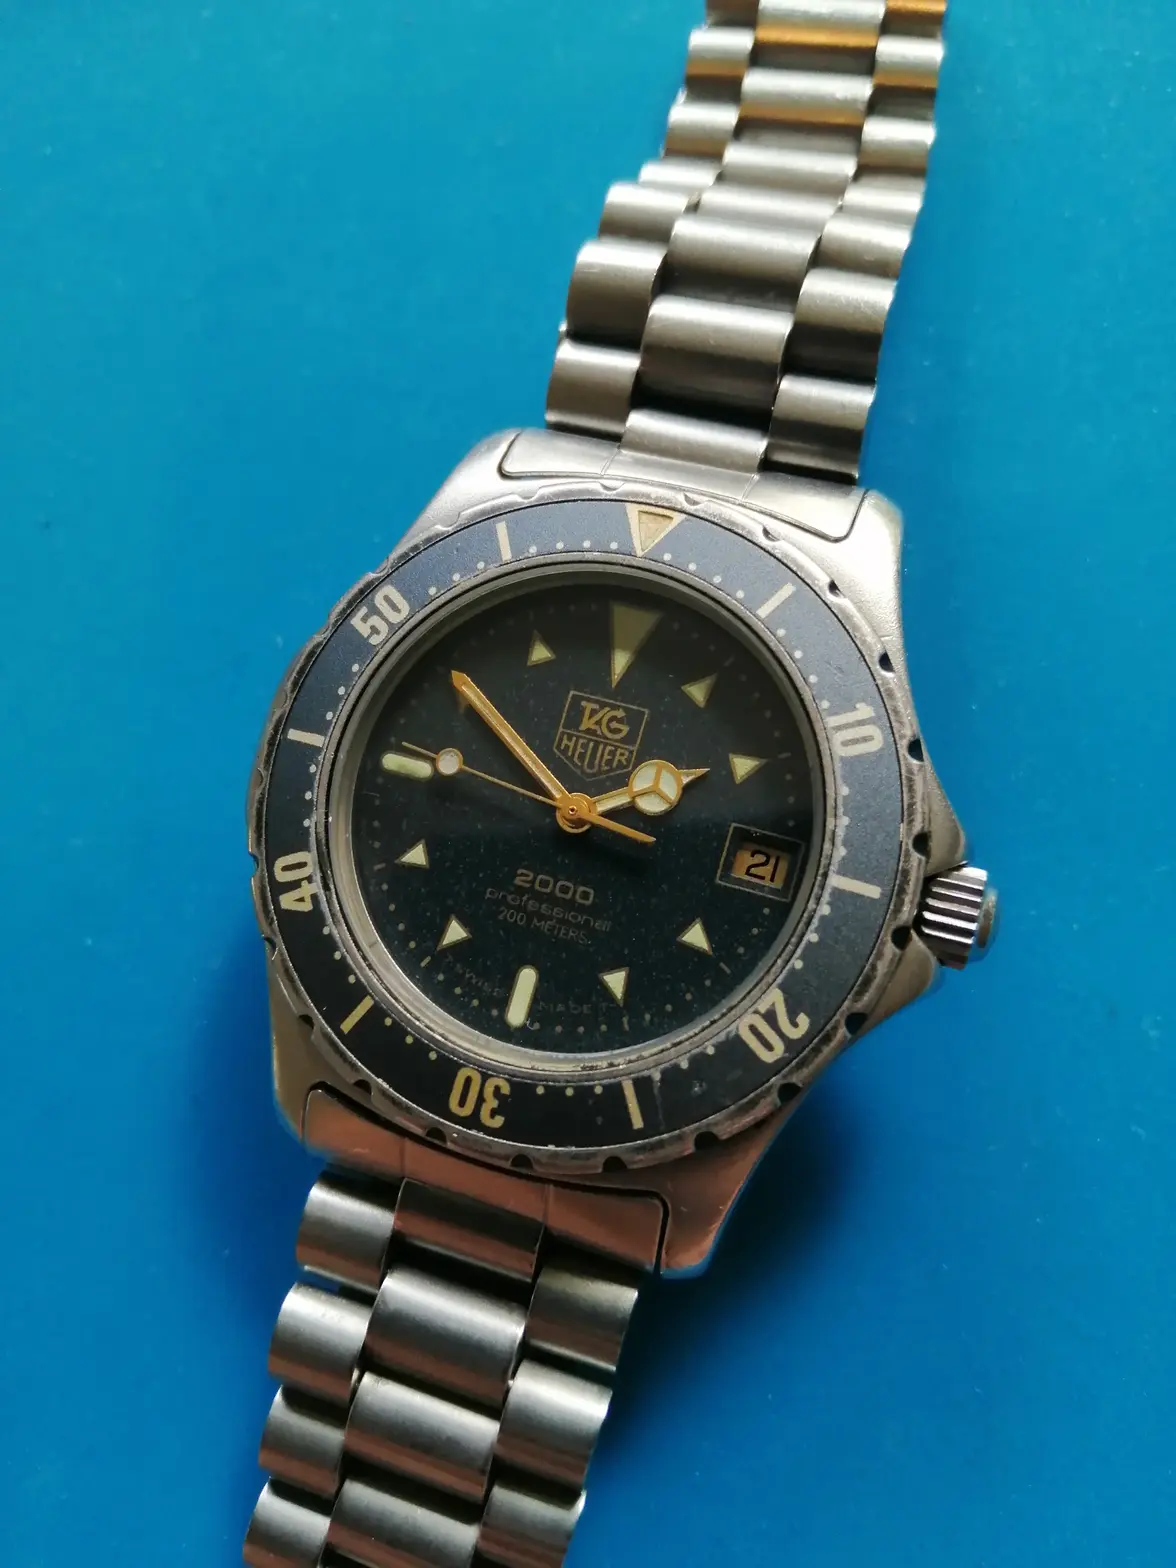
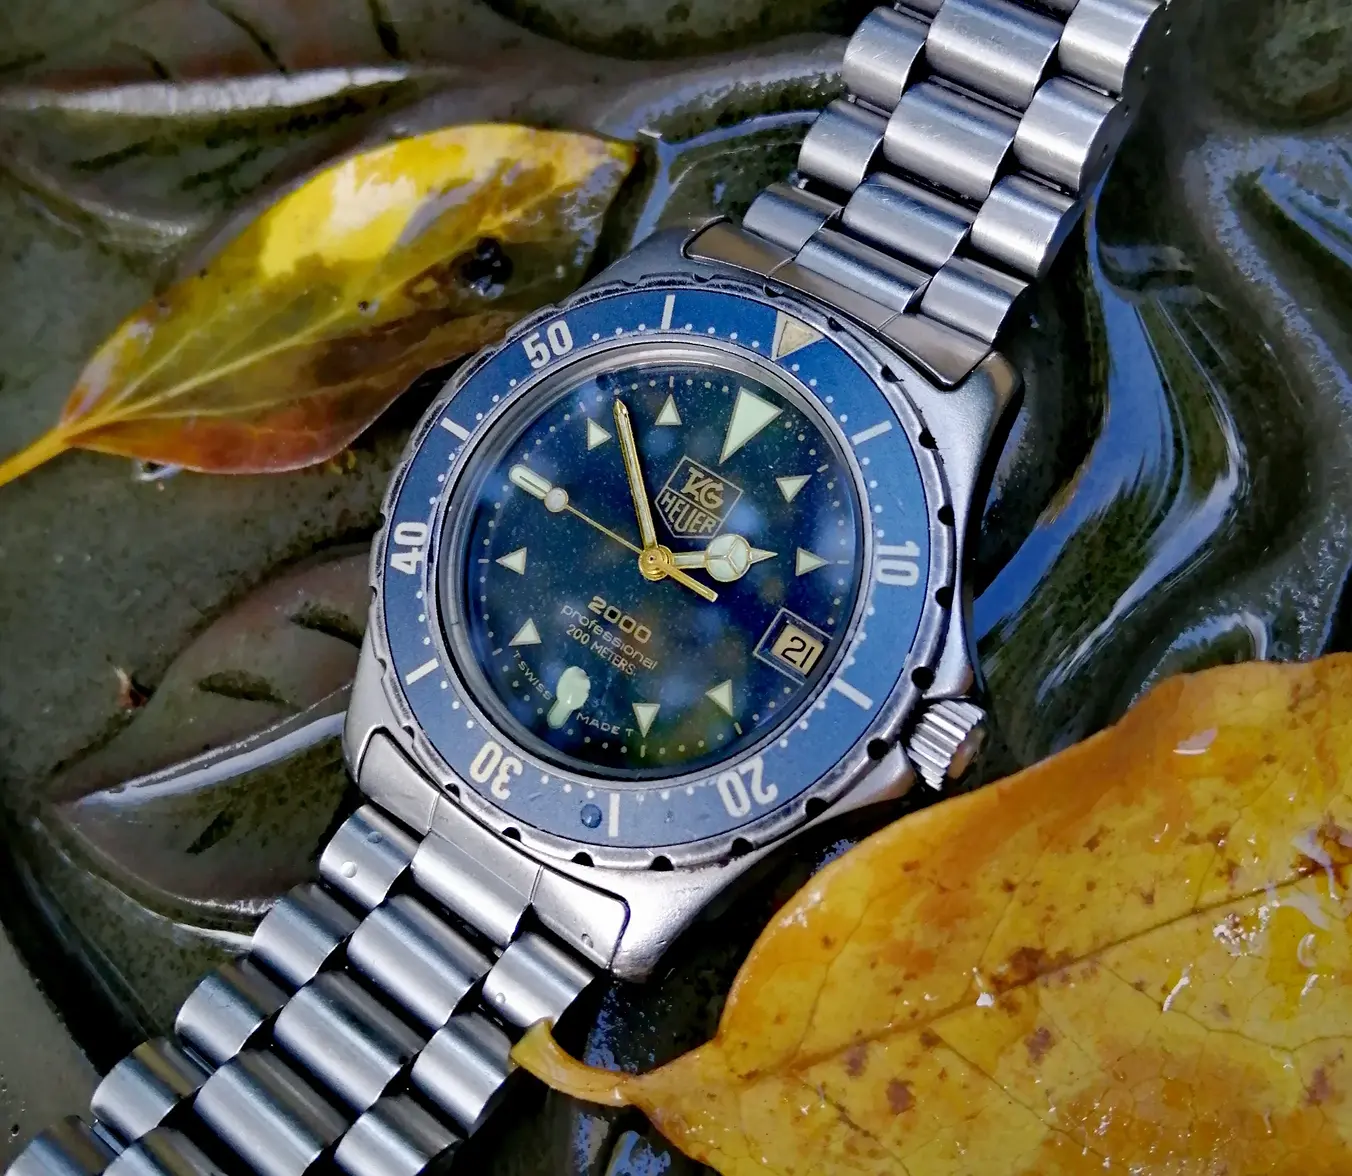
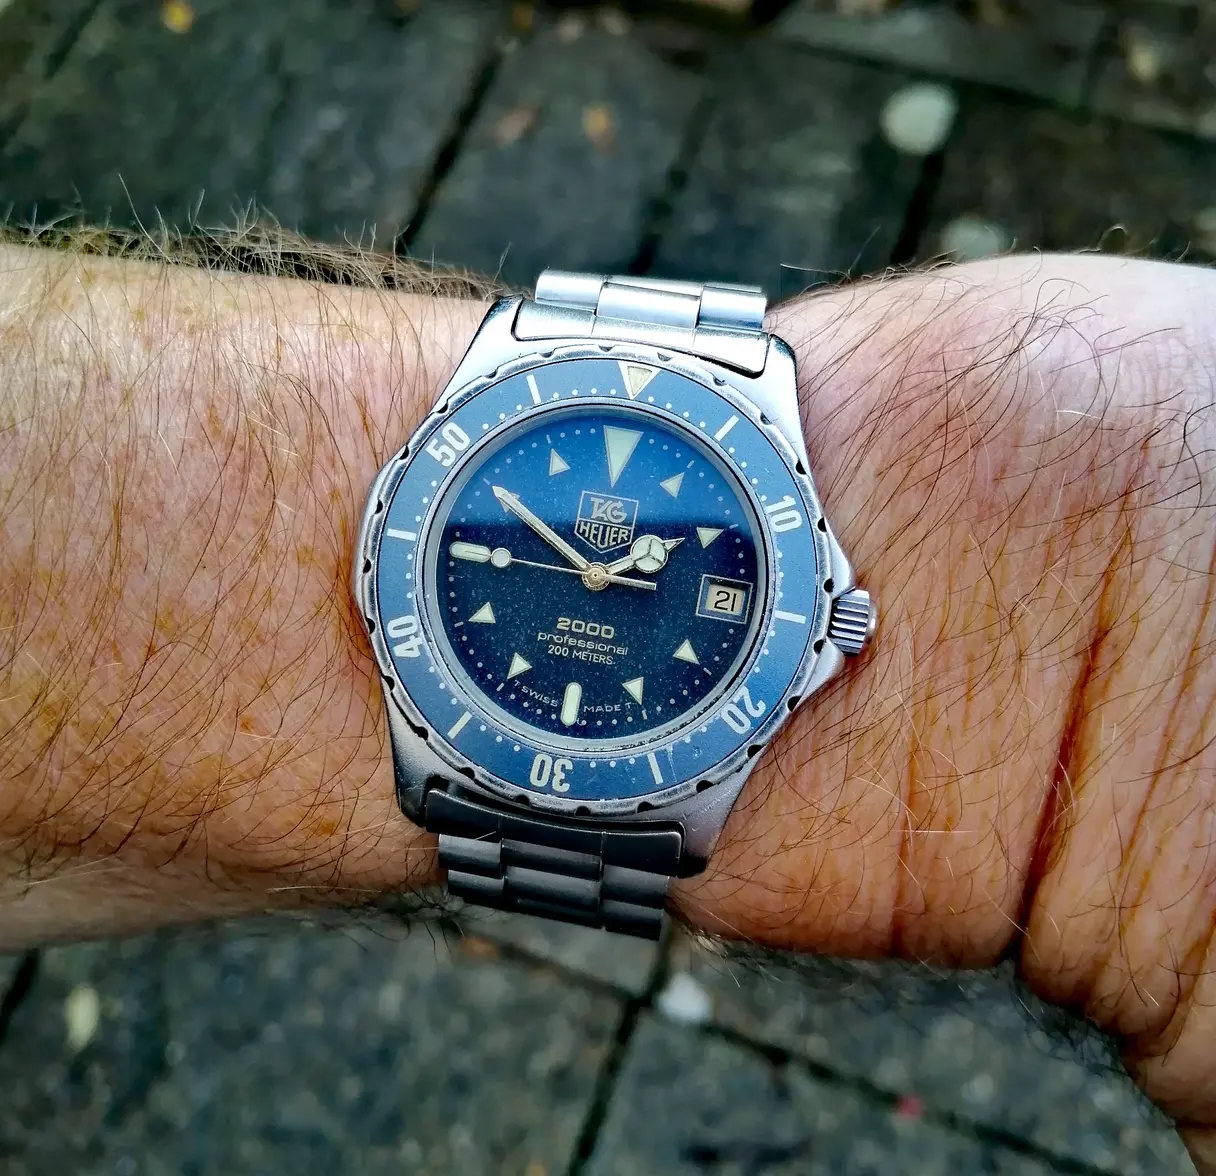
The victim this time is an early transitional Tag Heuer 972.606, the full size 2000 "Moondust".
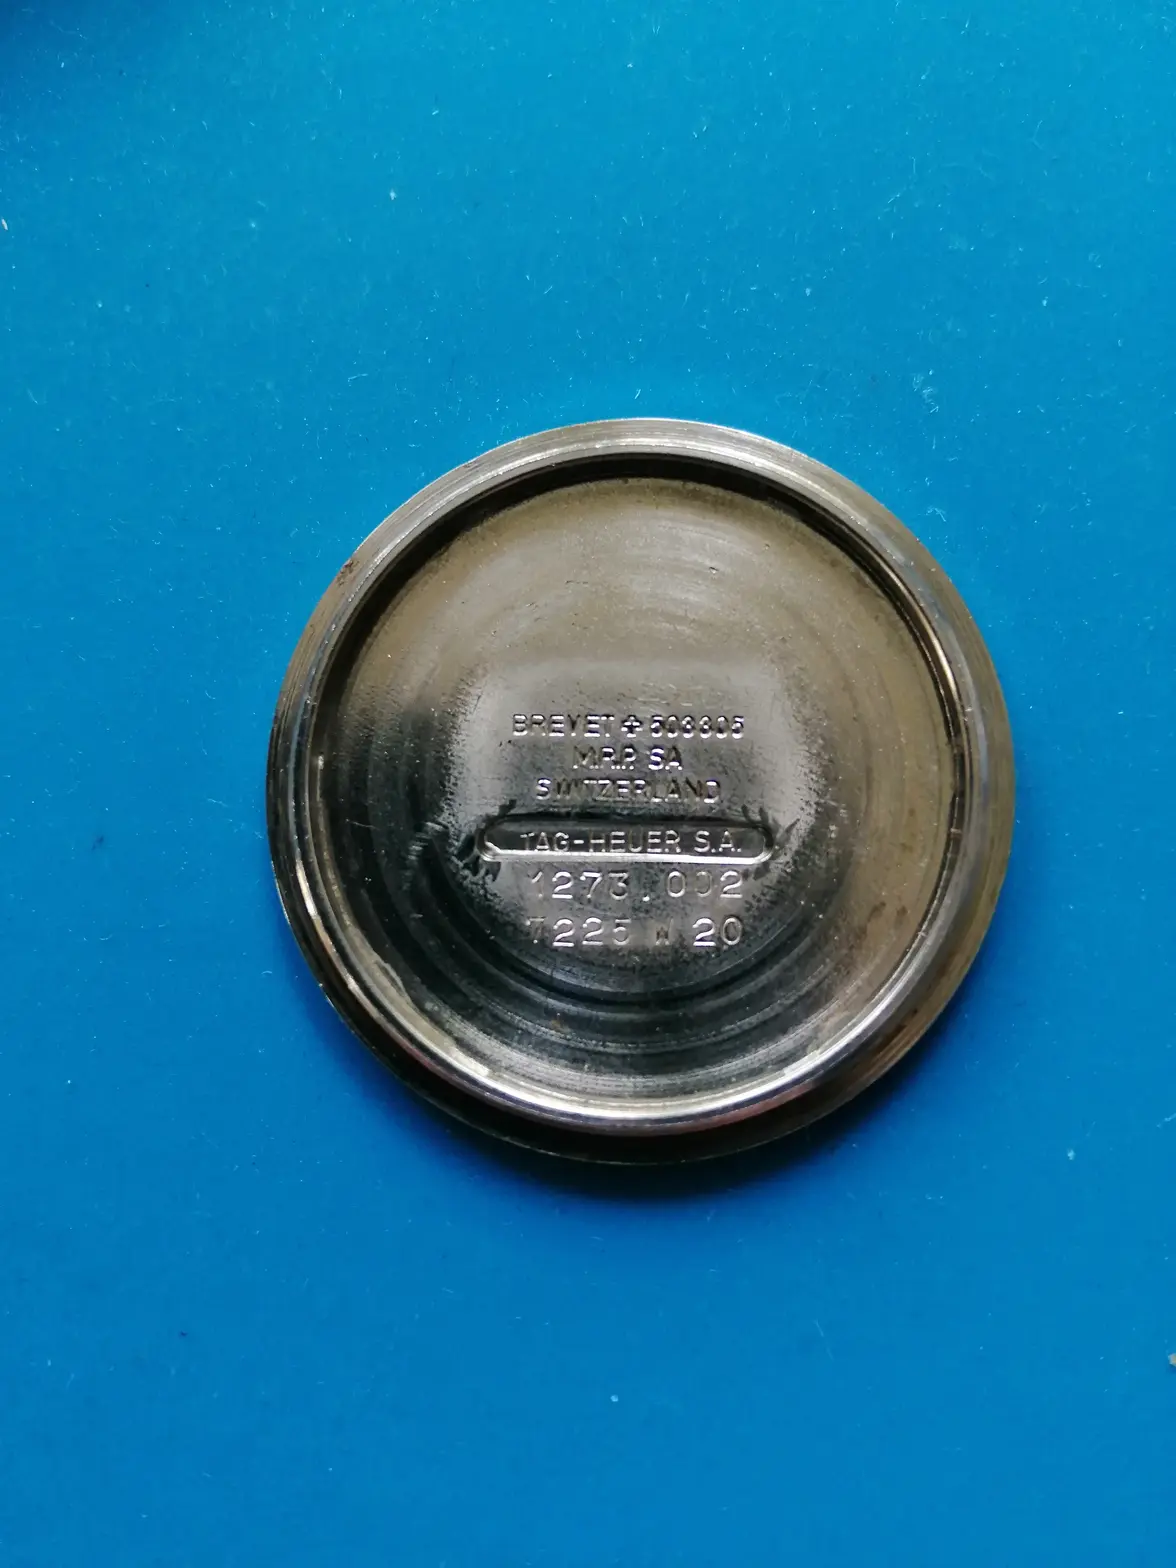
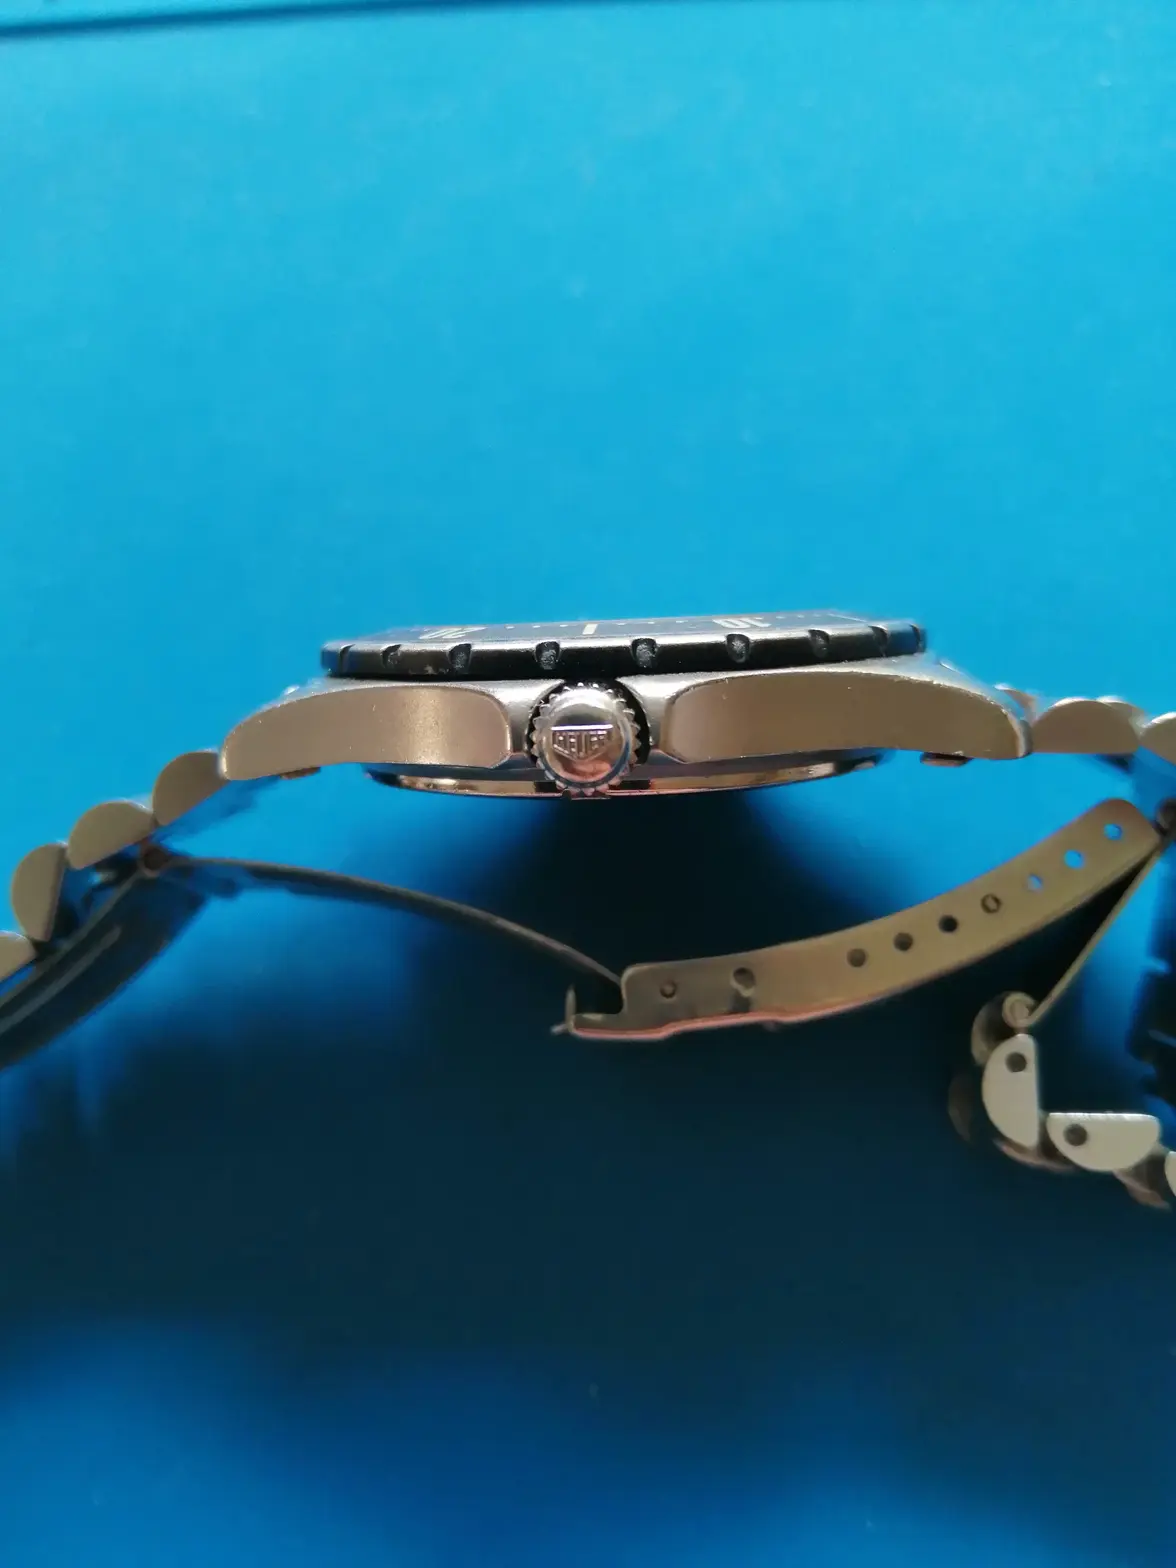
It's an early watch,the original movement was date stamped 2.86 . It has a Heuer signed bracelet and crown but Tag dial and outer caseback,typical of that transitional period. The inner caseback was originally signed Heuer Leonidas but that was milled out and restamped Tag Heuer, interesting.
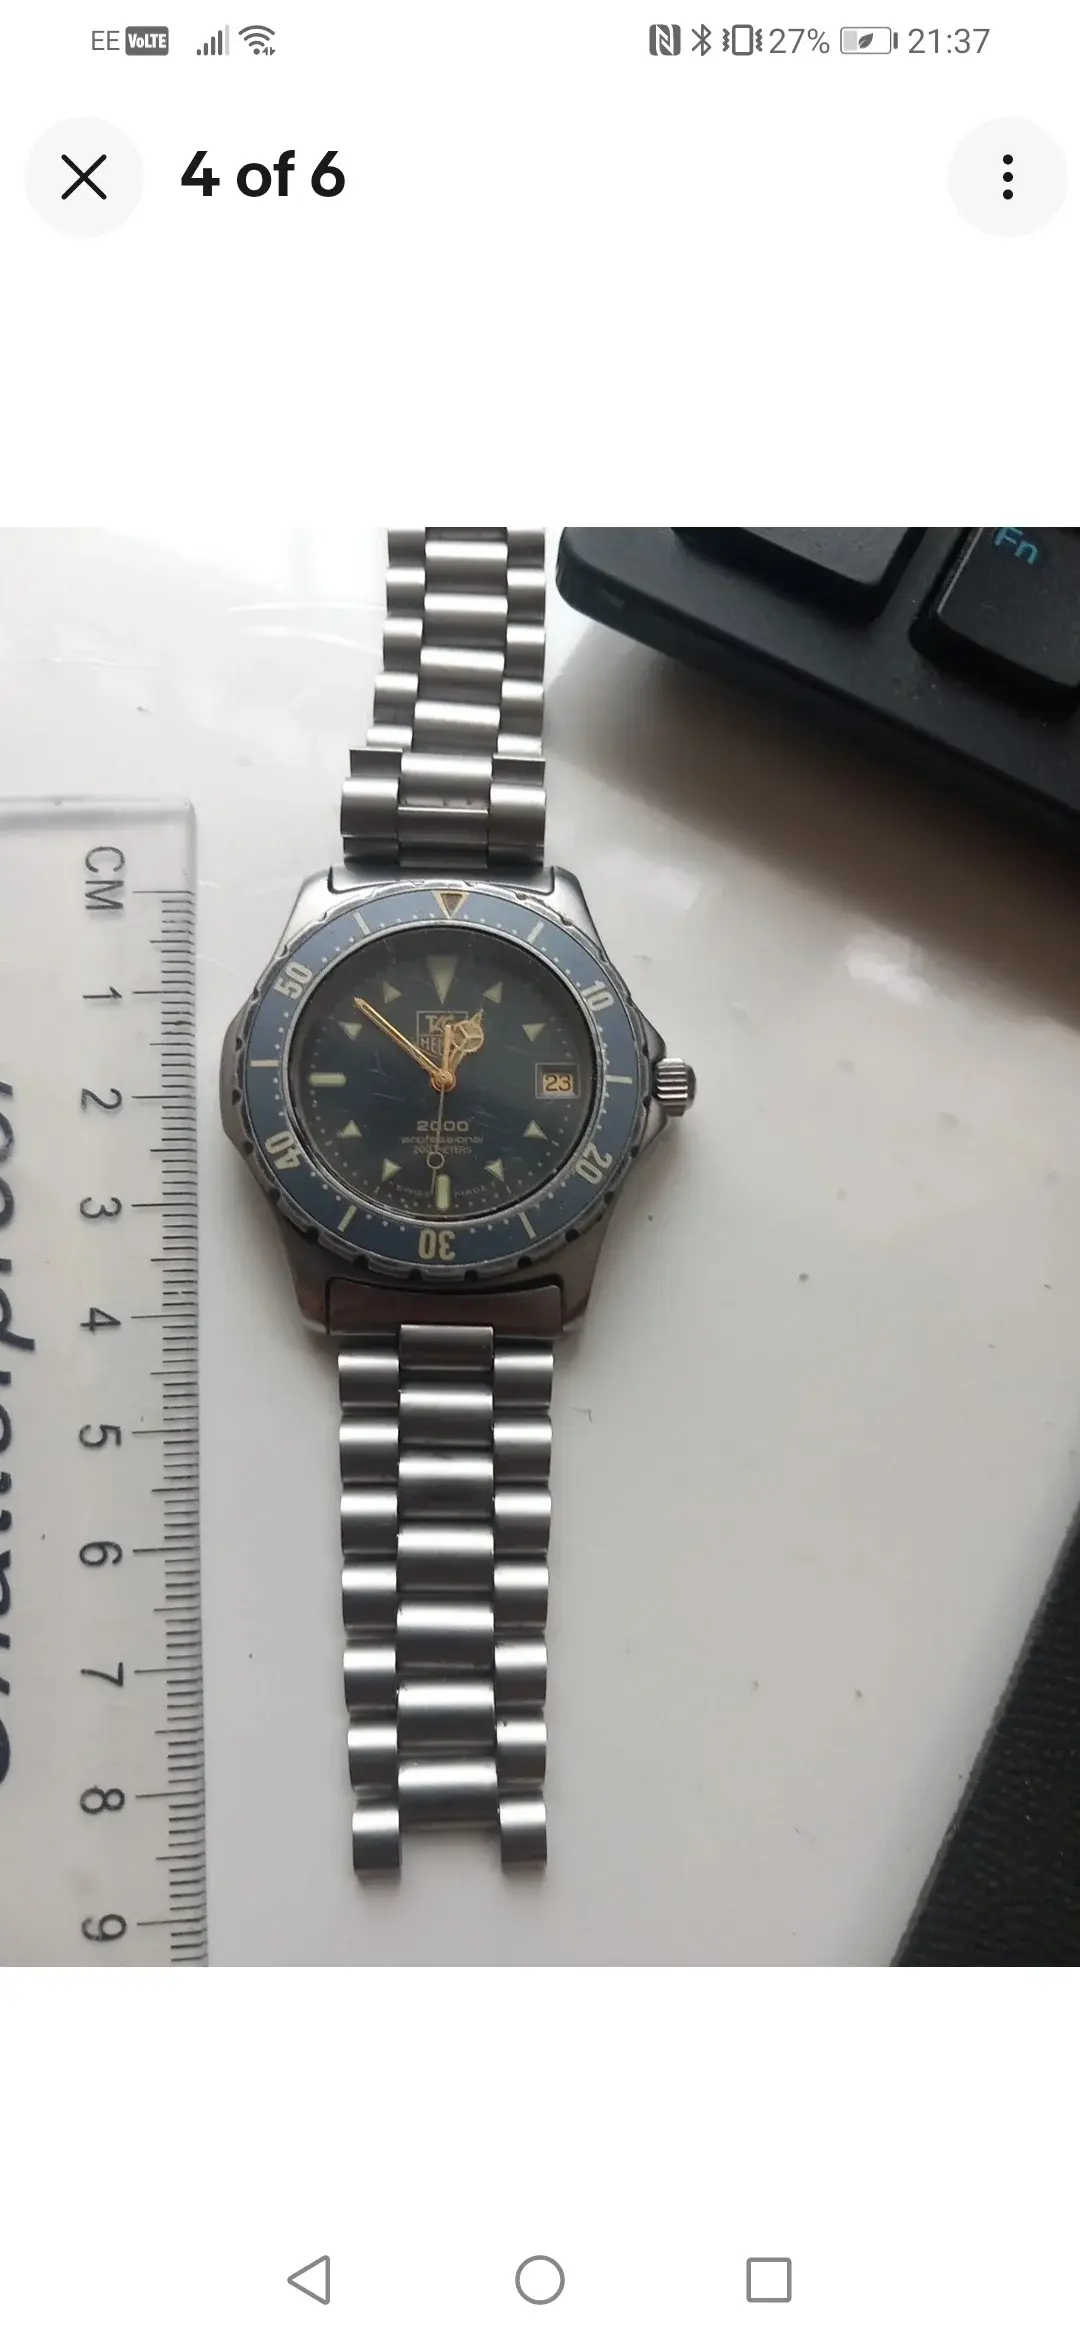
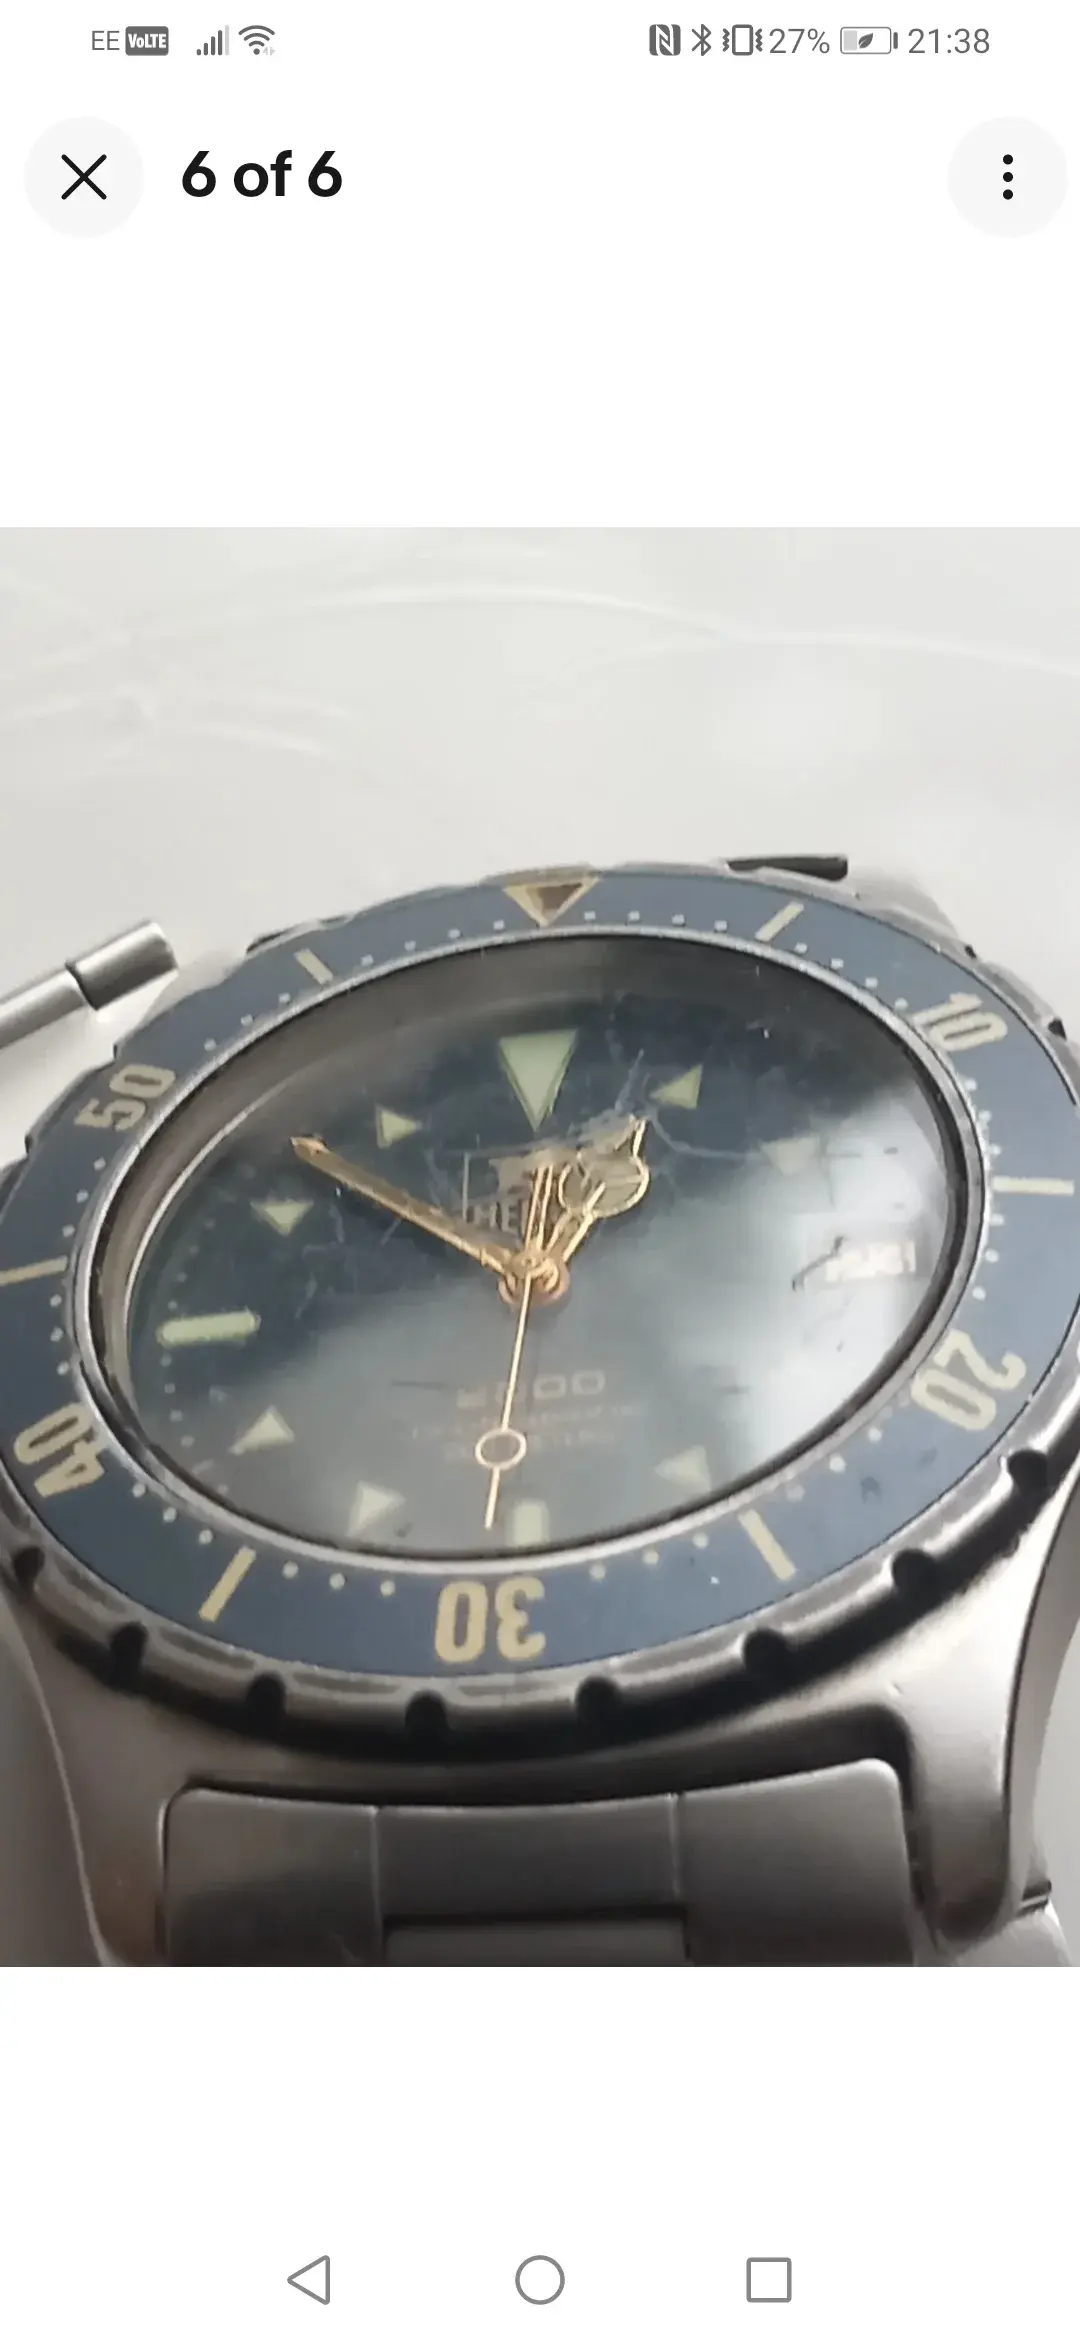
So here is the watch as found, these are the sellers photos.
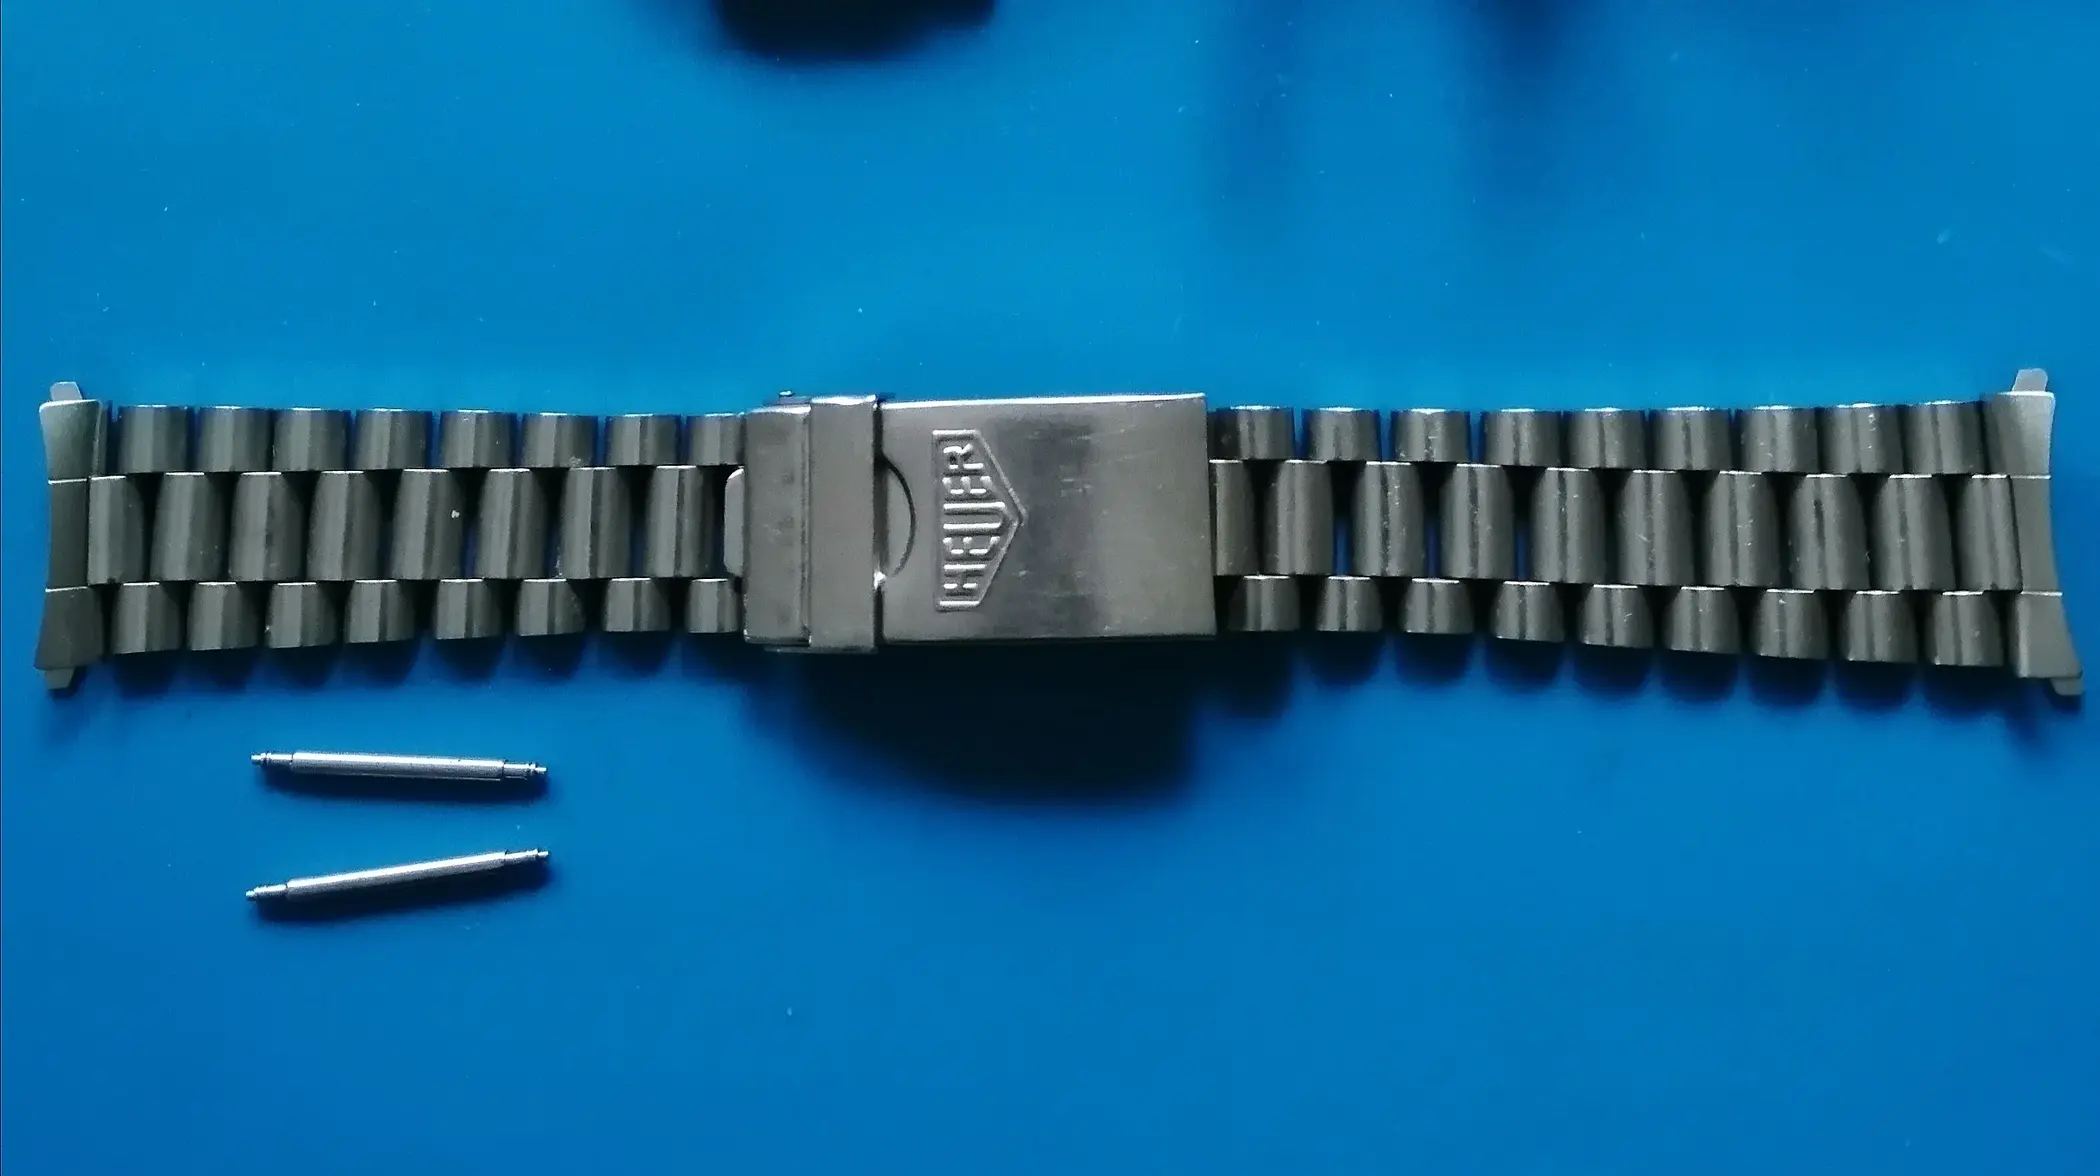
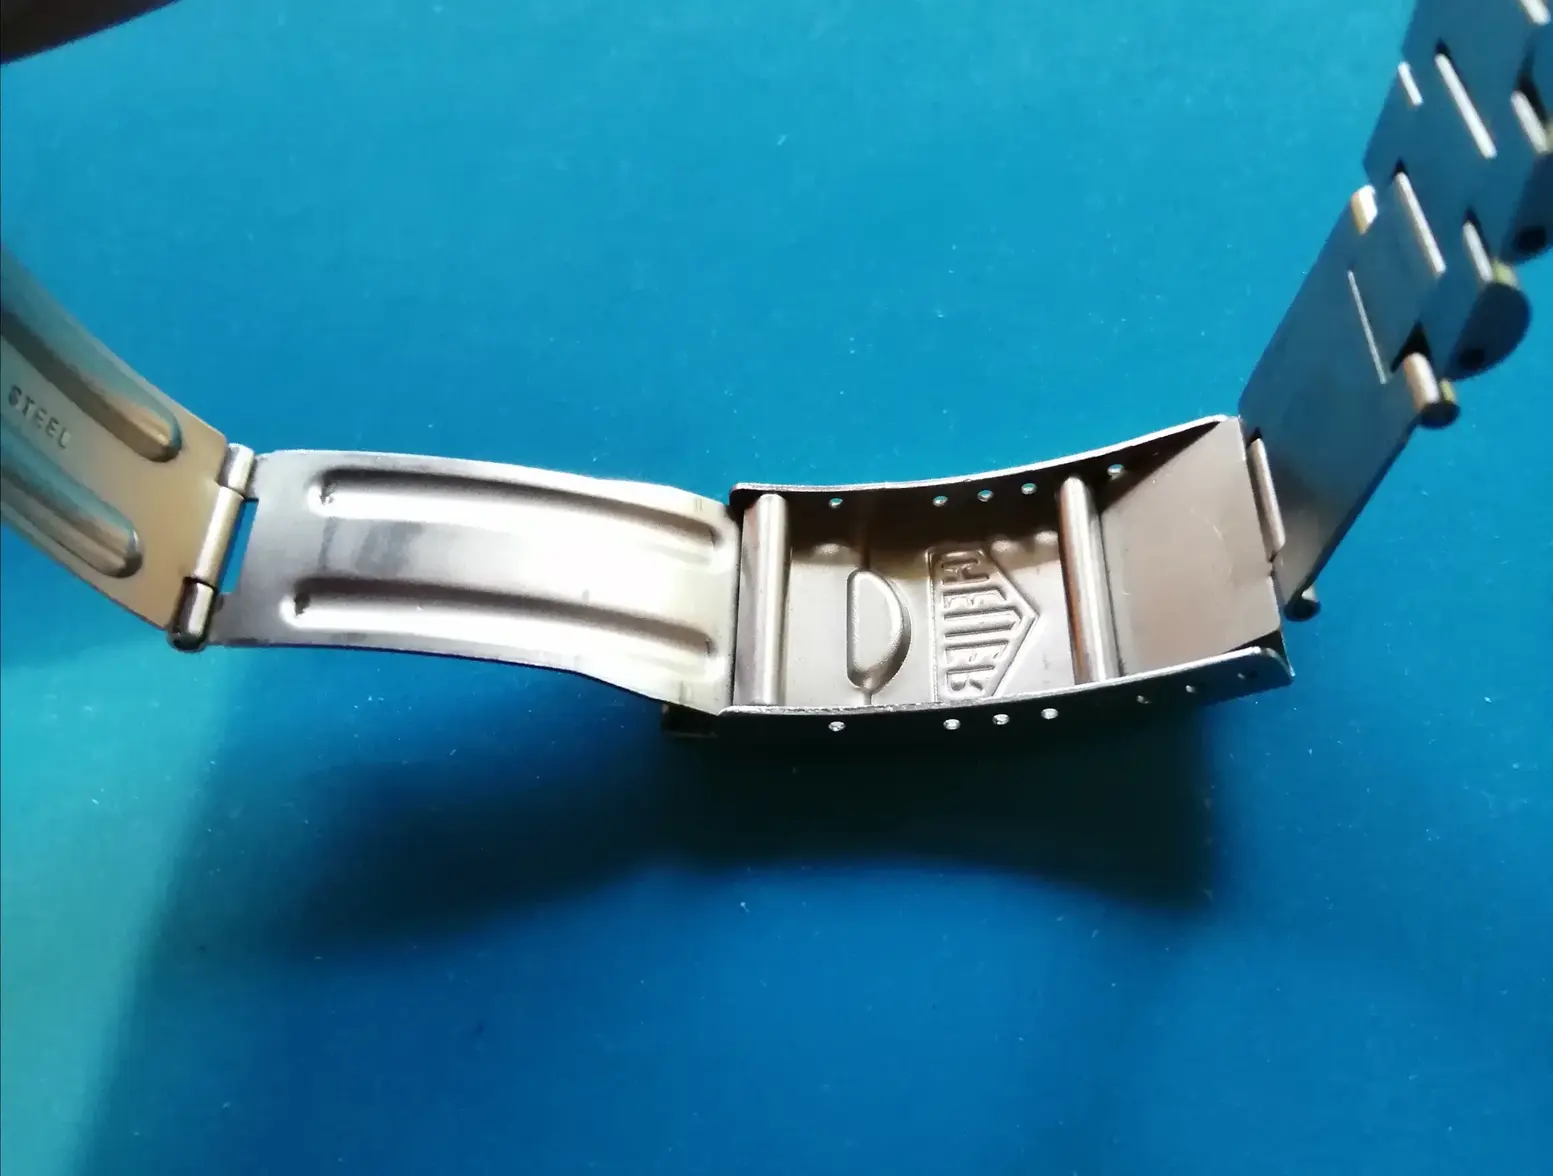
I paid £150 GBP for this and it has good potential. The Heuer signed bracelet is worth the purchase price alone.
The bad:
Non runner
Scratched crystal
Lume missing from the second hand and other hands show lume ageing.
Crown and stem pulls straight out of the movement.
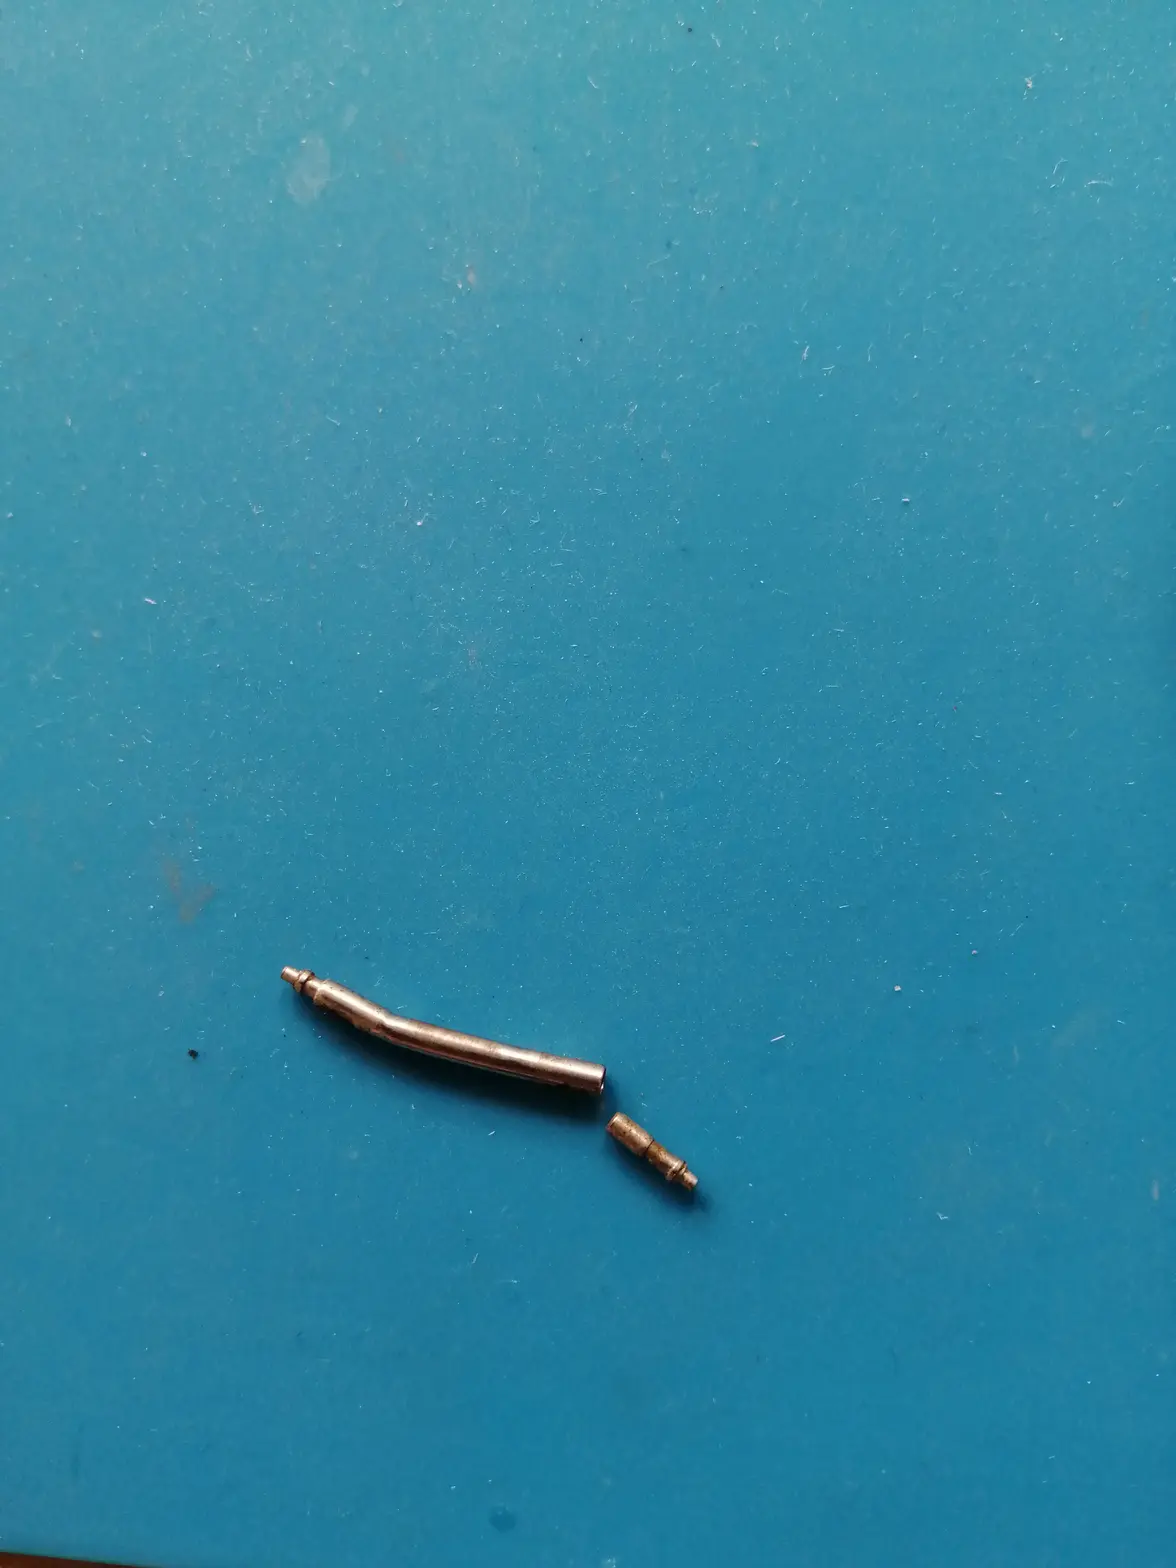
Bracelet in bits but all there.
The good:
Near mint dial
Good bezel insert largely without the "ghosting" that these suffer from.
Good case
Heuer bracelet
Good gilt hands
Original gold date wheel.
The first task was to de case the movement remove dial and hands and see what was going on inside.
The circuit had a pulse so at least that can be re used.
The stem made no attempt to engage with the keyless,it felt as though the set lever was broken.
I then removed the date wheel to inspect and sure enough the setting lever had snapped.
I quickly installed a replacement lever and the stem then engaged and moved between positions but did not move the hands. There was no resistance at all. I then noticed that there didn't appear to be a setting wheel for the pinion to engage with, very odd 😏
Off came the minute bridge to inspect,there was a setting wheel but "was" is the operative word,it was broken into 3 tiny pieces.
I was beginning to form a picture of what happened here. The time setting mechanism had seized,someone tried to force it and snapped the wheel.Thinking the stem wasn't in set position they probably gave it a good tug as well and snapped the set lever at the same time.
It didn't look good and so I then removed the hour wheel to see what was going on..hmmm
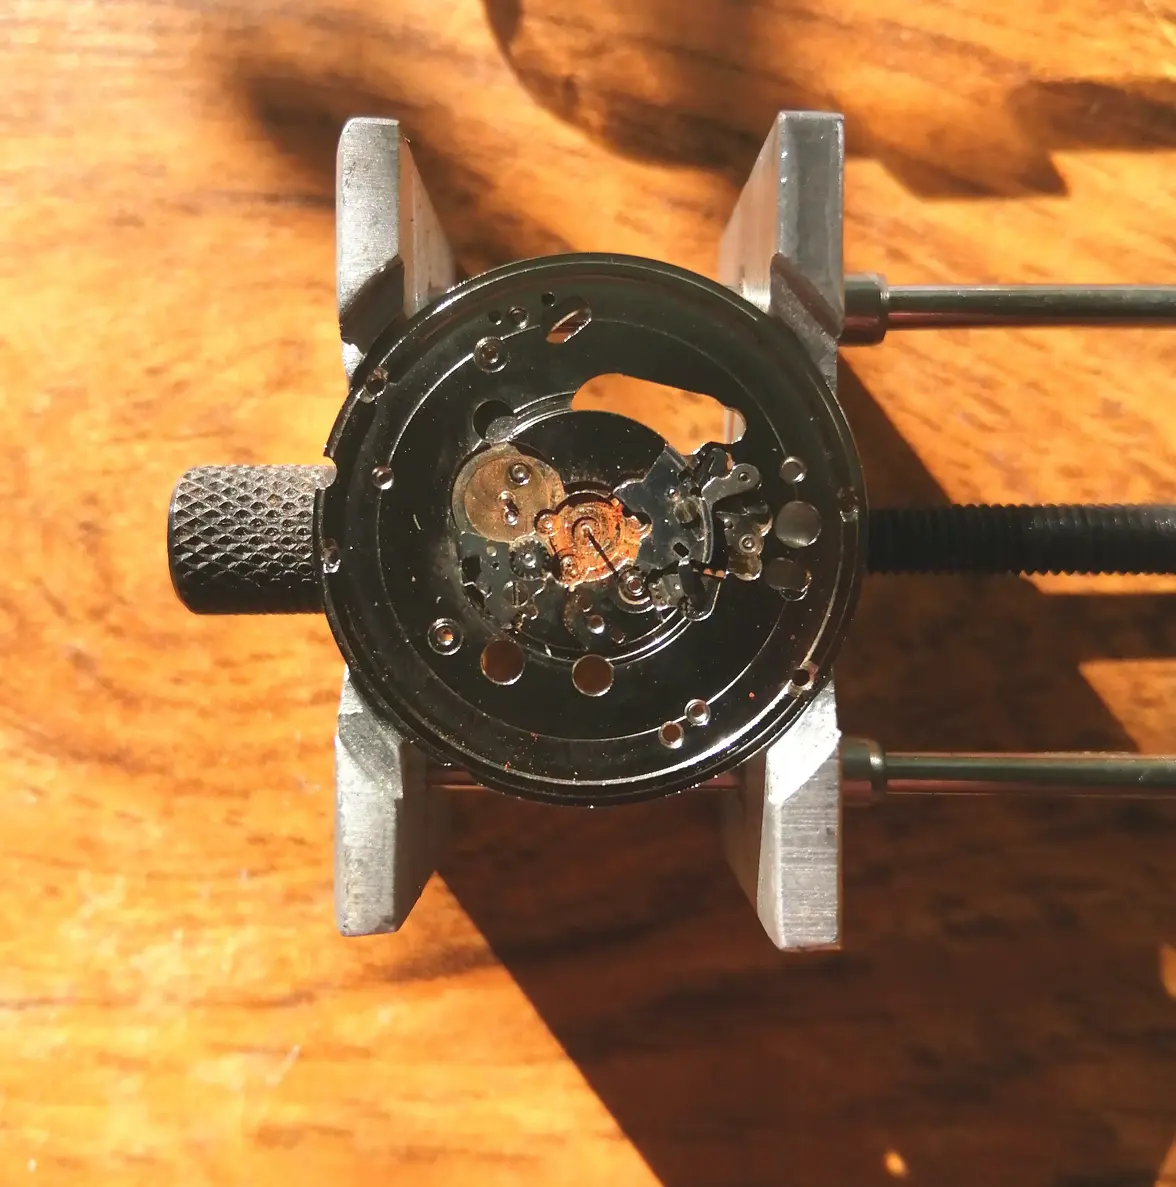
The hour wheel came off with the largely disintegrated cannon pinion seized to it,what a mess !
This is scrap basically,surfaces are heavily pitted and corroded,the rotor gear is rusty etc.
The really strange thing is this movement showed no external signs of water ingress at all,the only clue was a small amount of surface rust on one securing screw. The corrosion was entirely limited to the centre of the movement and all completely out of sight.I can't recall ever seeing corrosion so well hidden !🤣
So a new movement was required but I didn't have a 955.112 in my stash,I seem to have used them all up recently !
I could have bought one but that's the easy way out !
What I did have was a 955.132,this was a day/date version that came out of a Bulova I think. It had the "President" style day wheel where the full day is displayed at 12.I had serviced this movement last year and then subsequently cannibalised it for some keyless and calendar parts. I decided to build it up again in 955.112 spec using the circuit and gold date wheel from the original movement.
The 955.132 also had a higher cannon pinion,hour wheel and centre second post. This is because the day wheel runs directly above the date wheel which makes the movement slightly taller.
Doing this would be a good opportunity to show what makes these movements tick and show some of the parts most will never get to see.
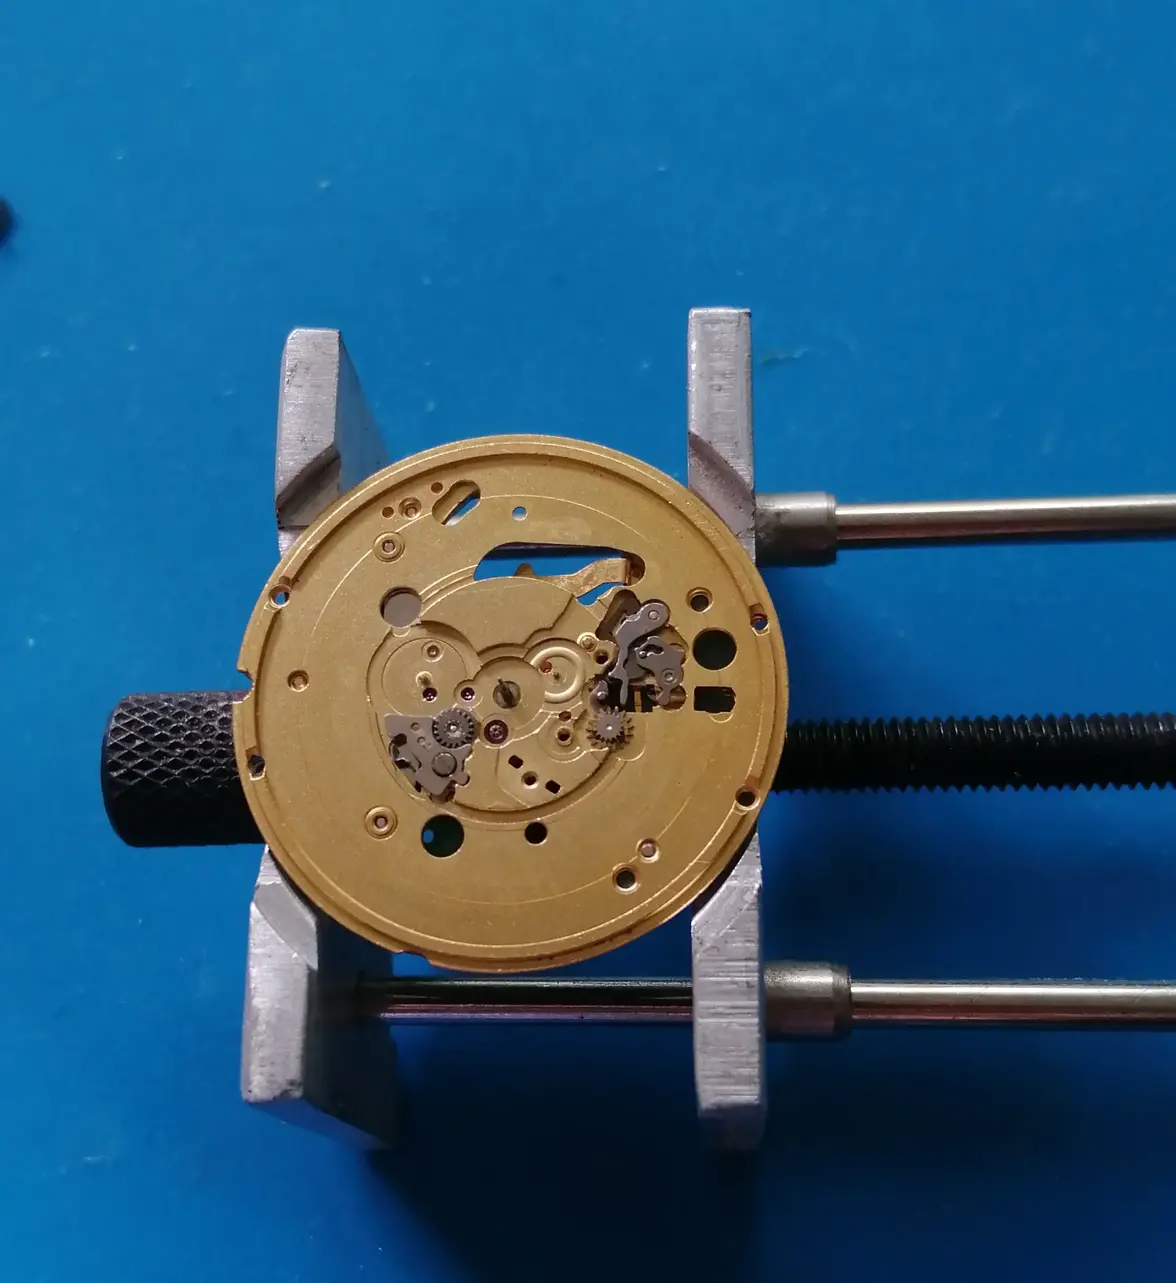
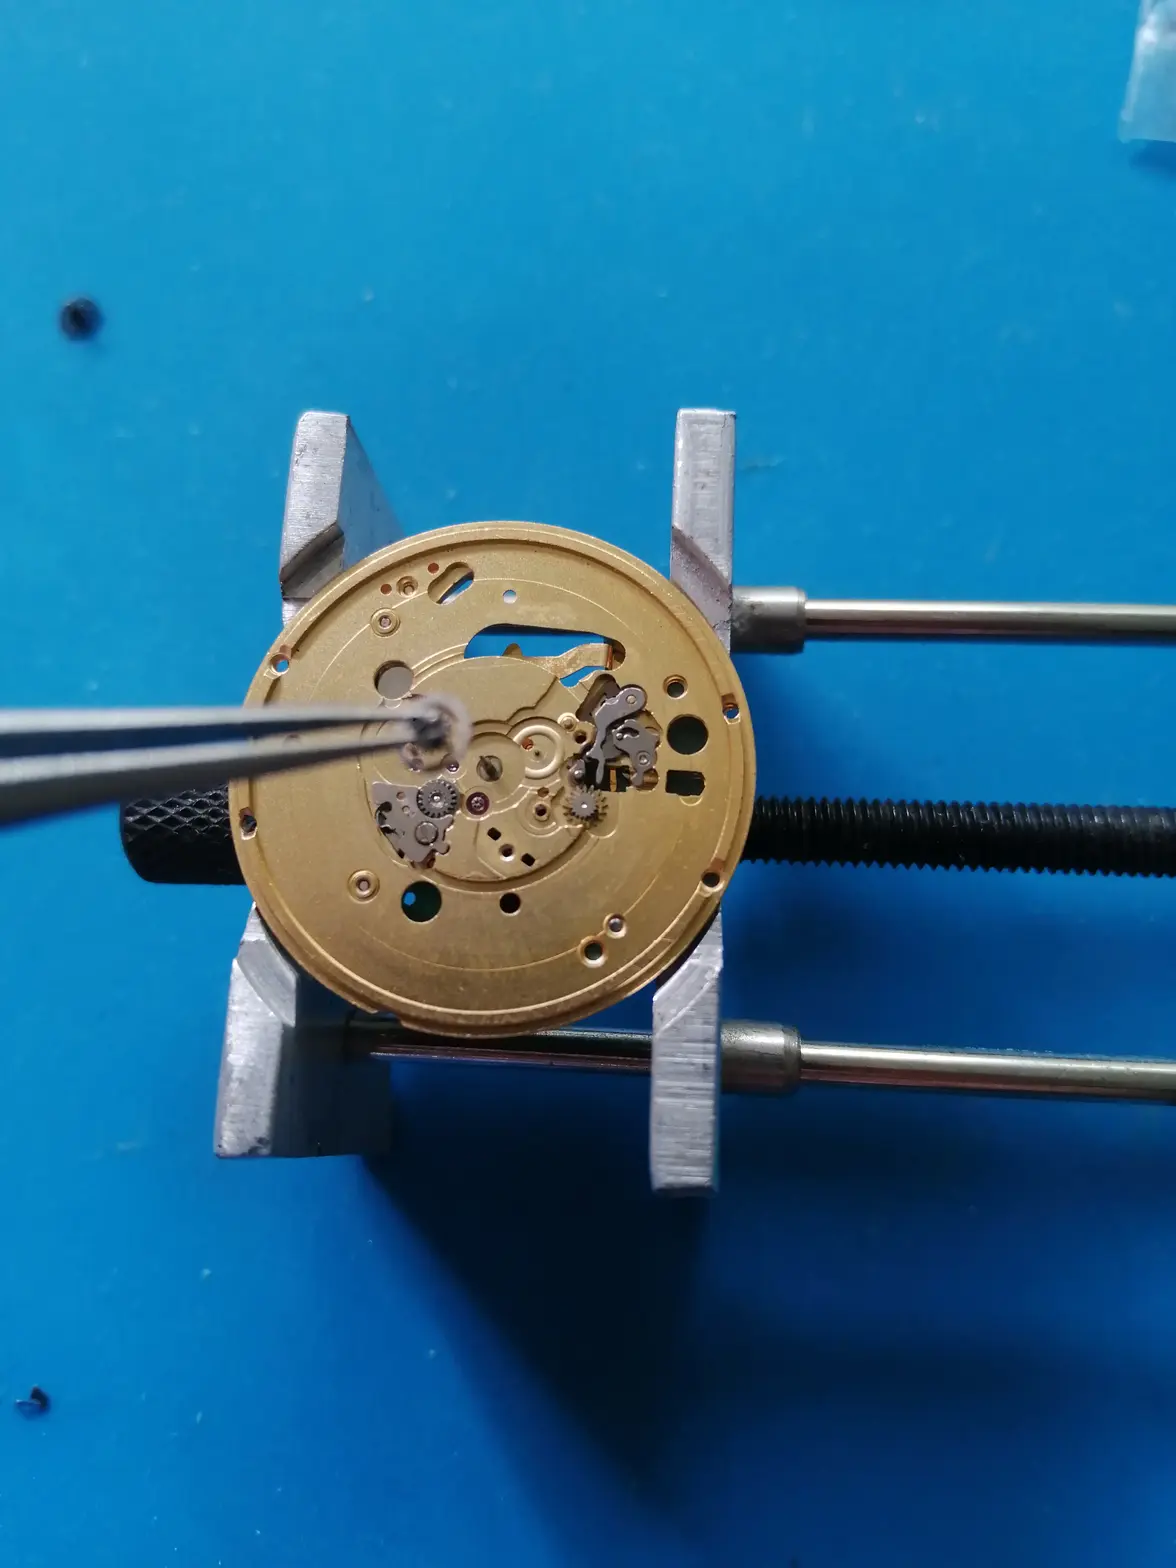
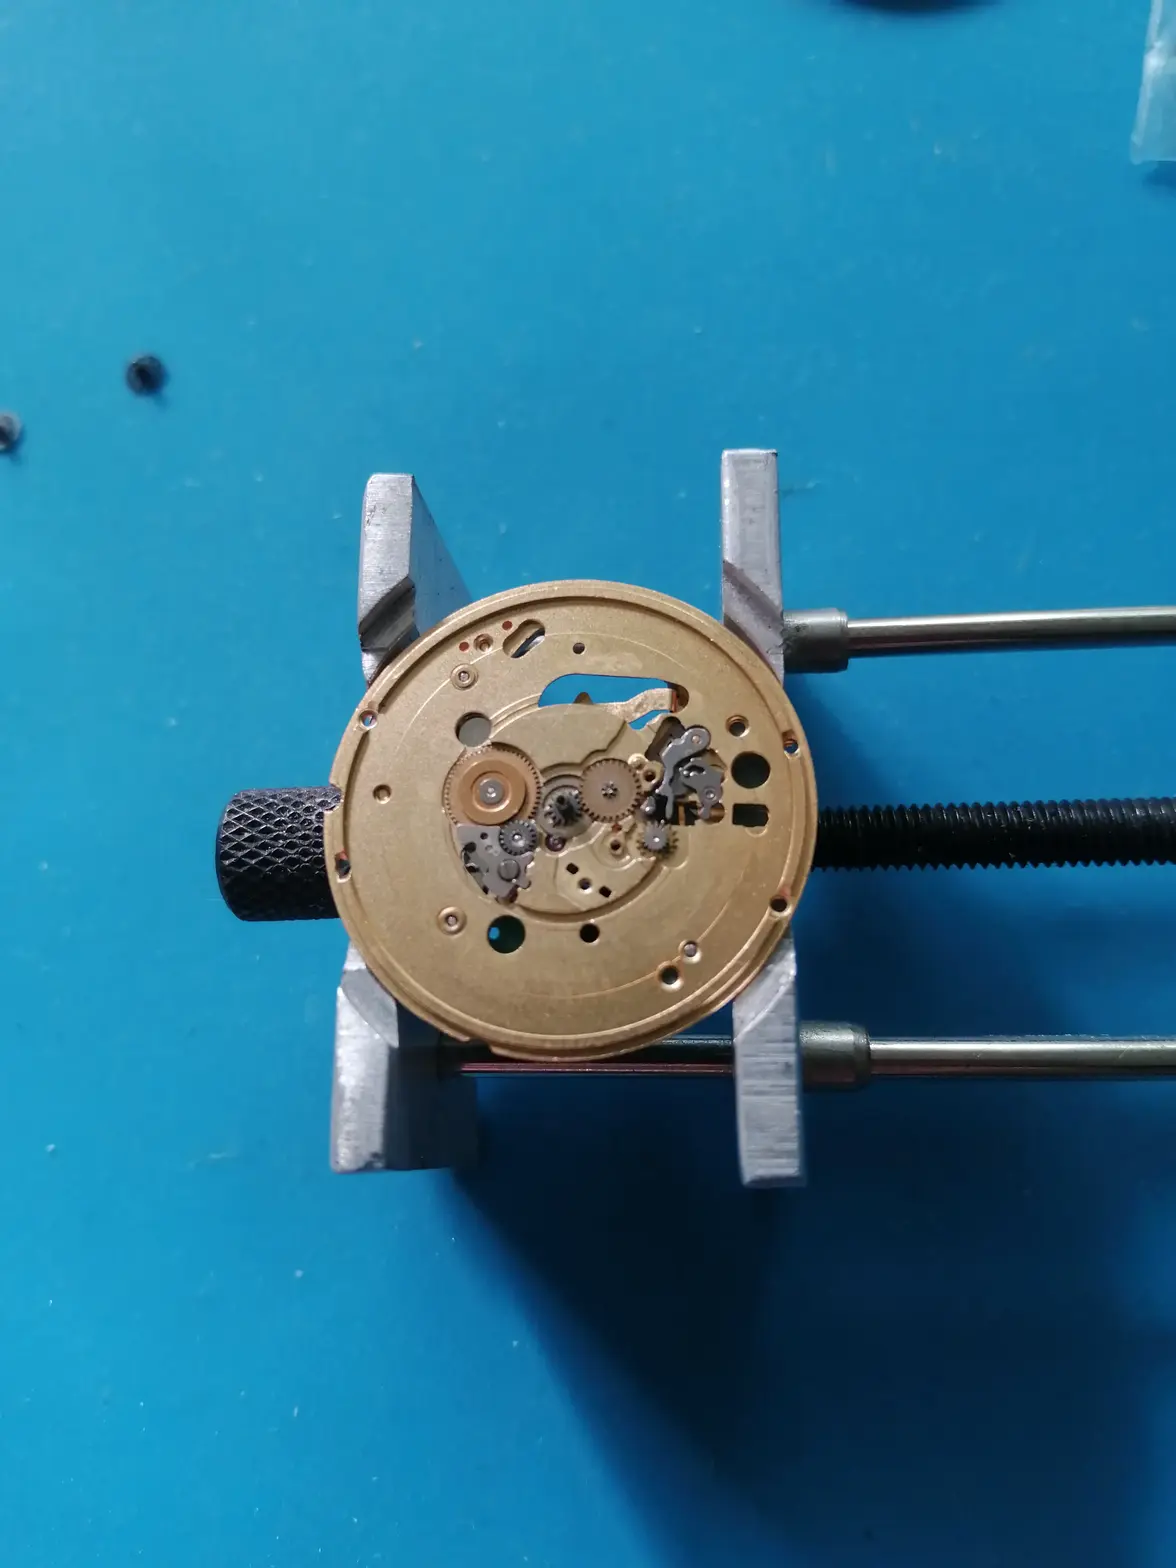
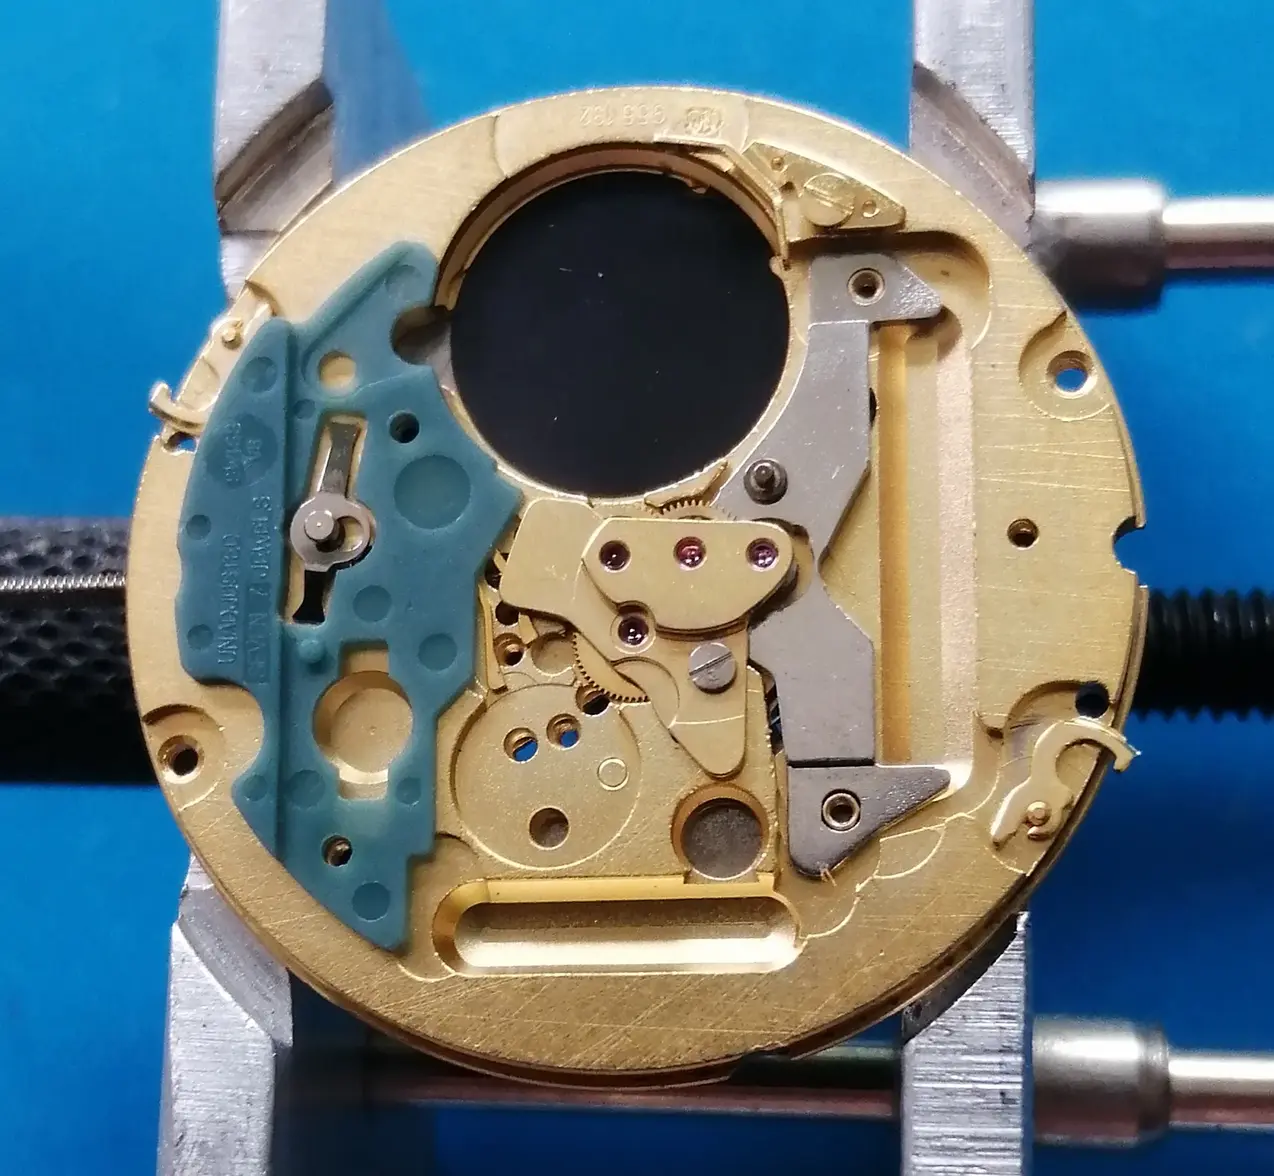
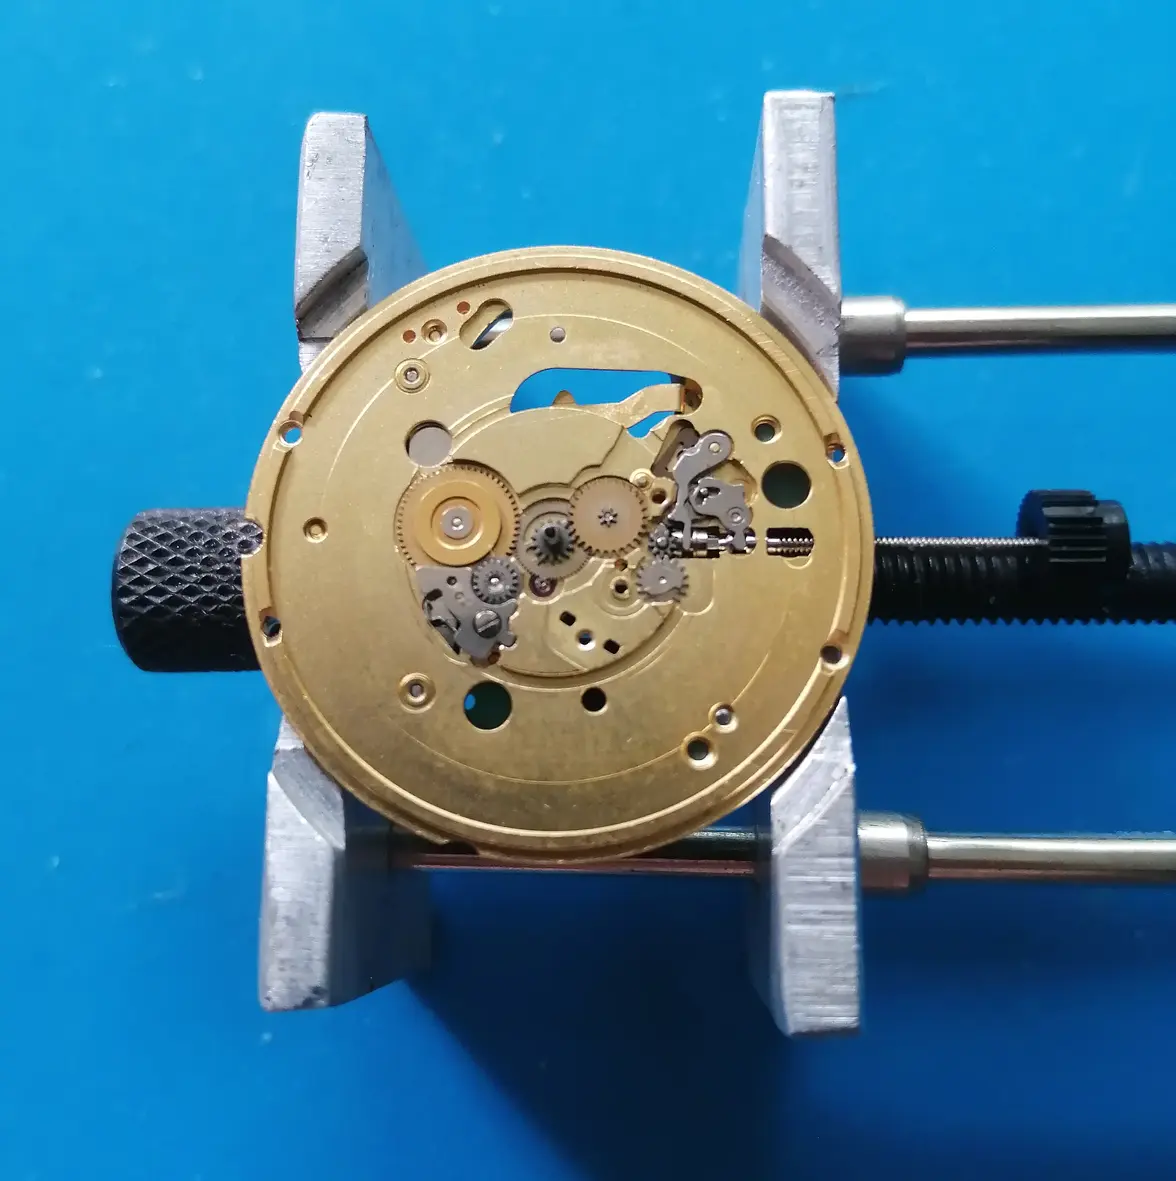
So this is where we started,some keyless and calendar work is already in place but we will build from here.
First a standard 955.112 cannon pinion.
Then the minute wheel and date corrector wheel.
Then the setting wheel and sliding pinion in the keyless. Always put a stem in when the keyless is built up to keep everything in place. The sliding pinion in particular will fall out or drop at an awkward angle at every opportunity !
The hour wheel now slides over the top of the cannon pinion,the minute wheel bridge is replaced and the dial side is nearly complete.
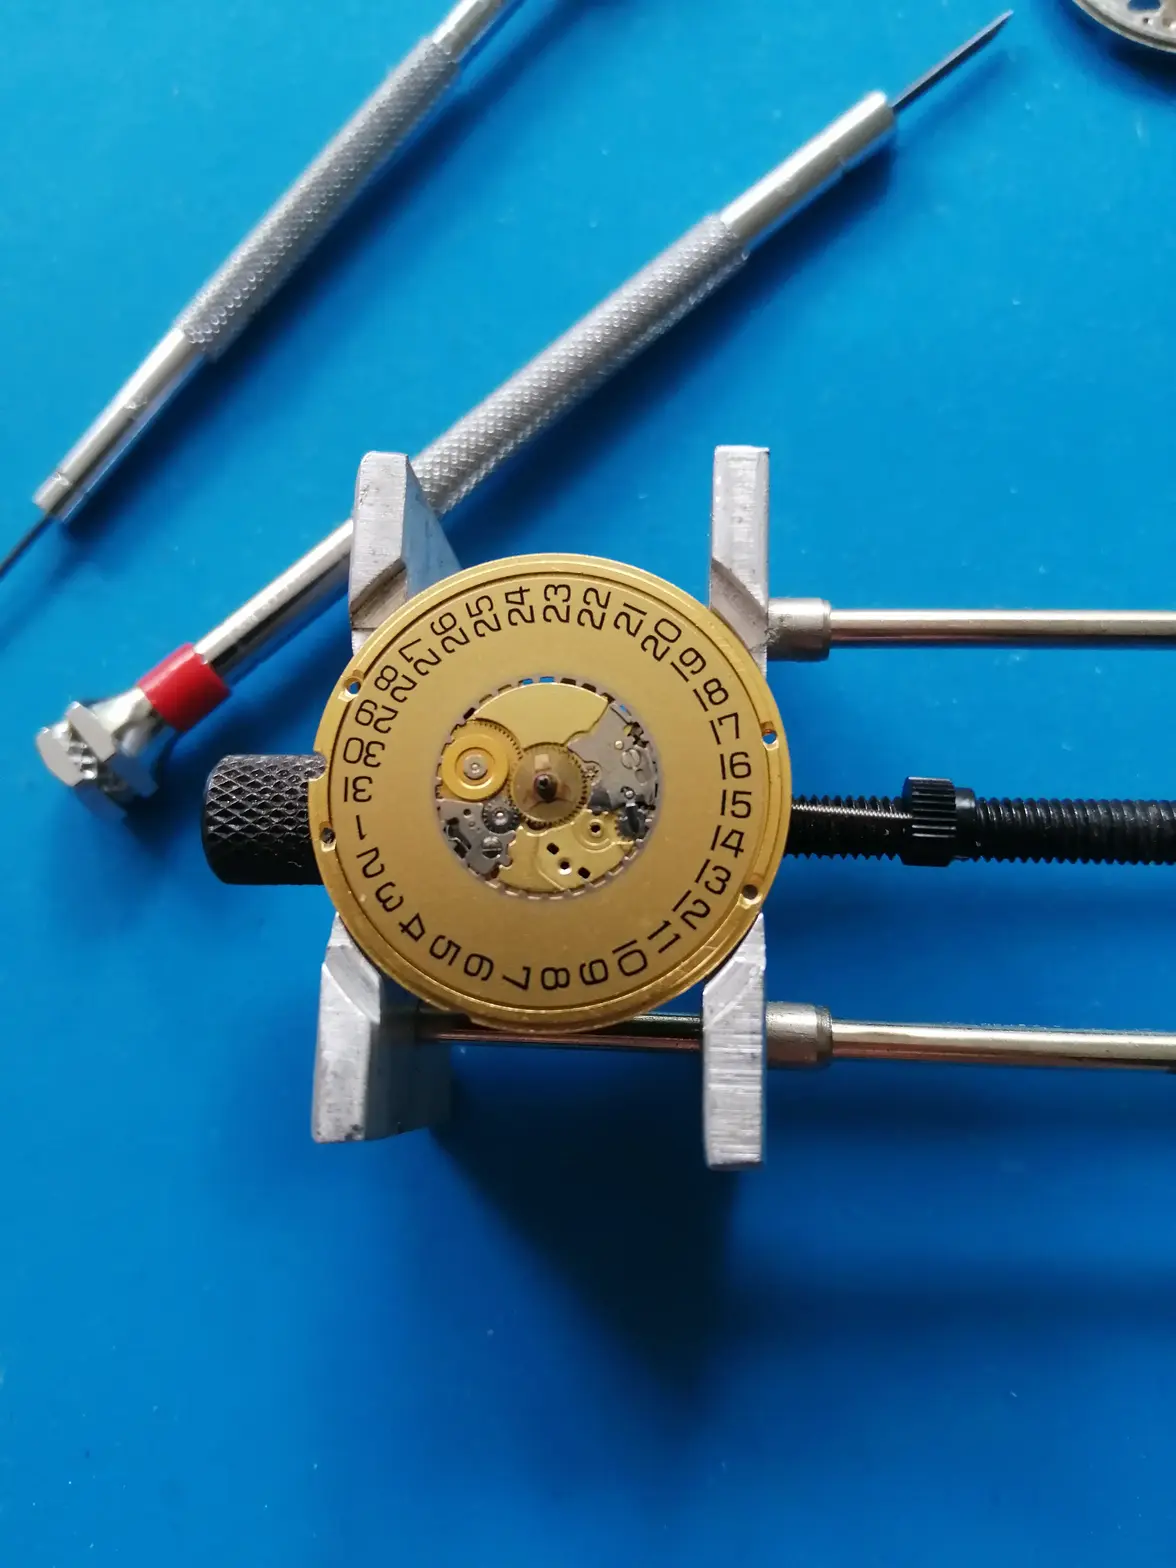
Now I can refit the gold date wheel from the original movement and dial side is done.
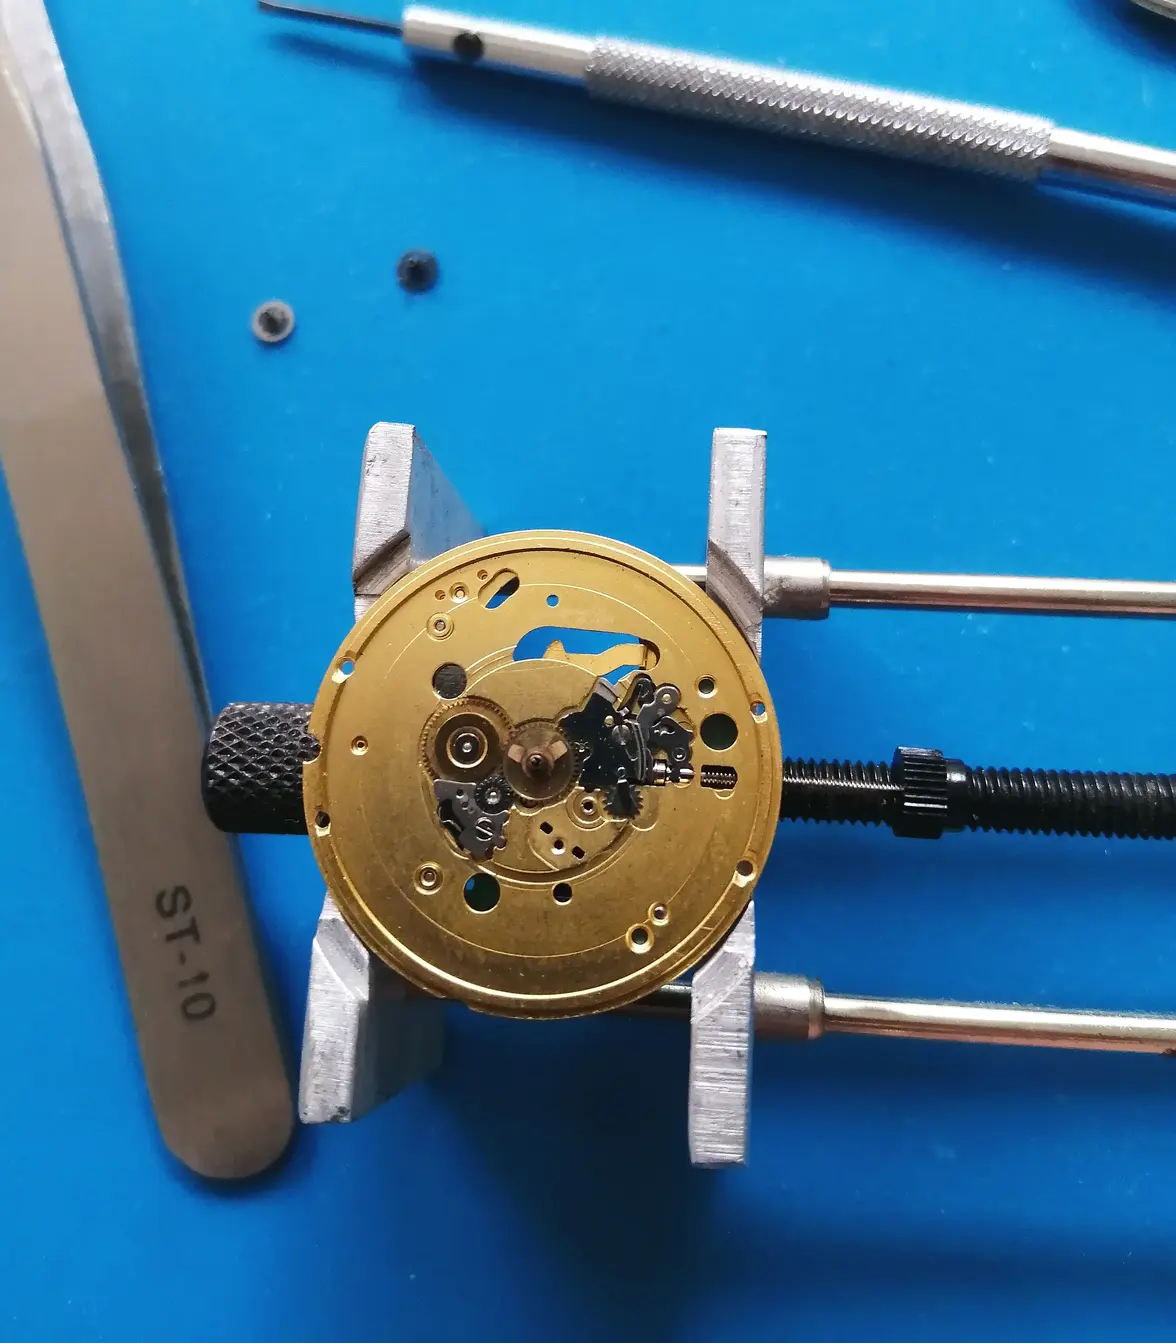
Now I turned attention to the other side of the movement. I need to change the long second hand post to one of standard length. The post is attached to the 2nd wheel in the gear train.
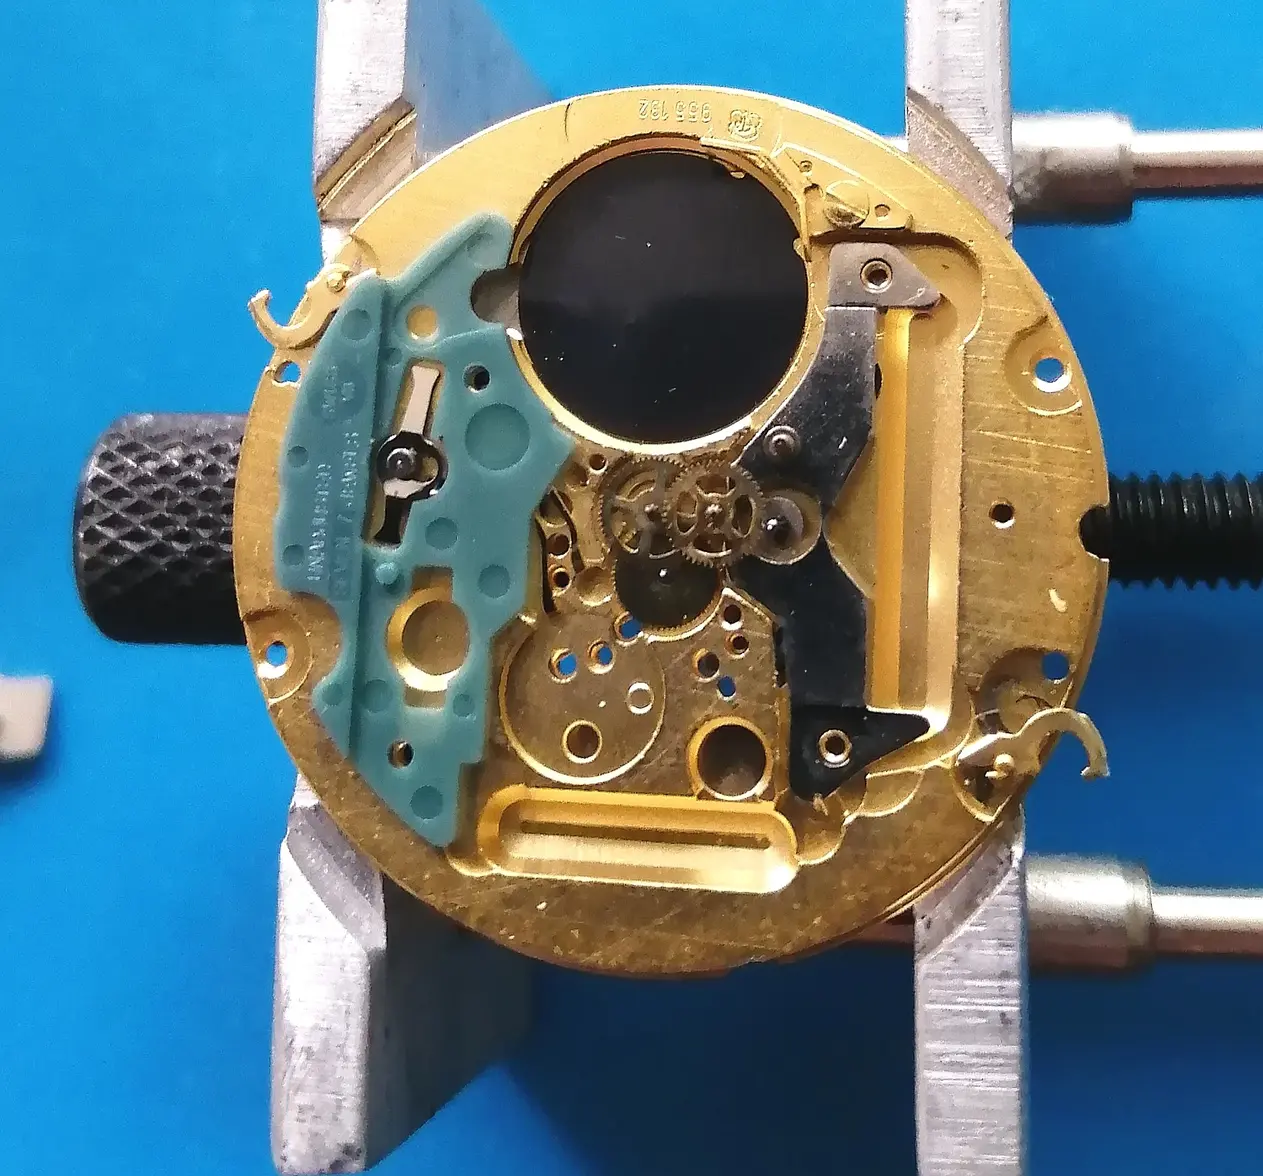
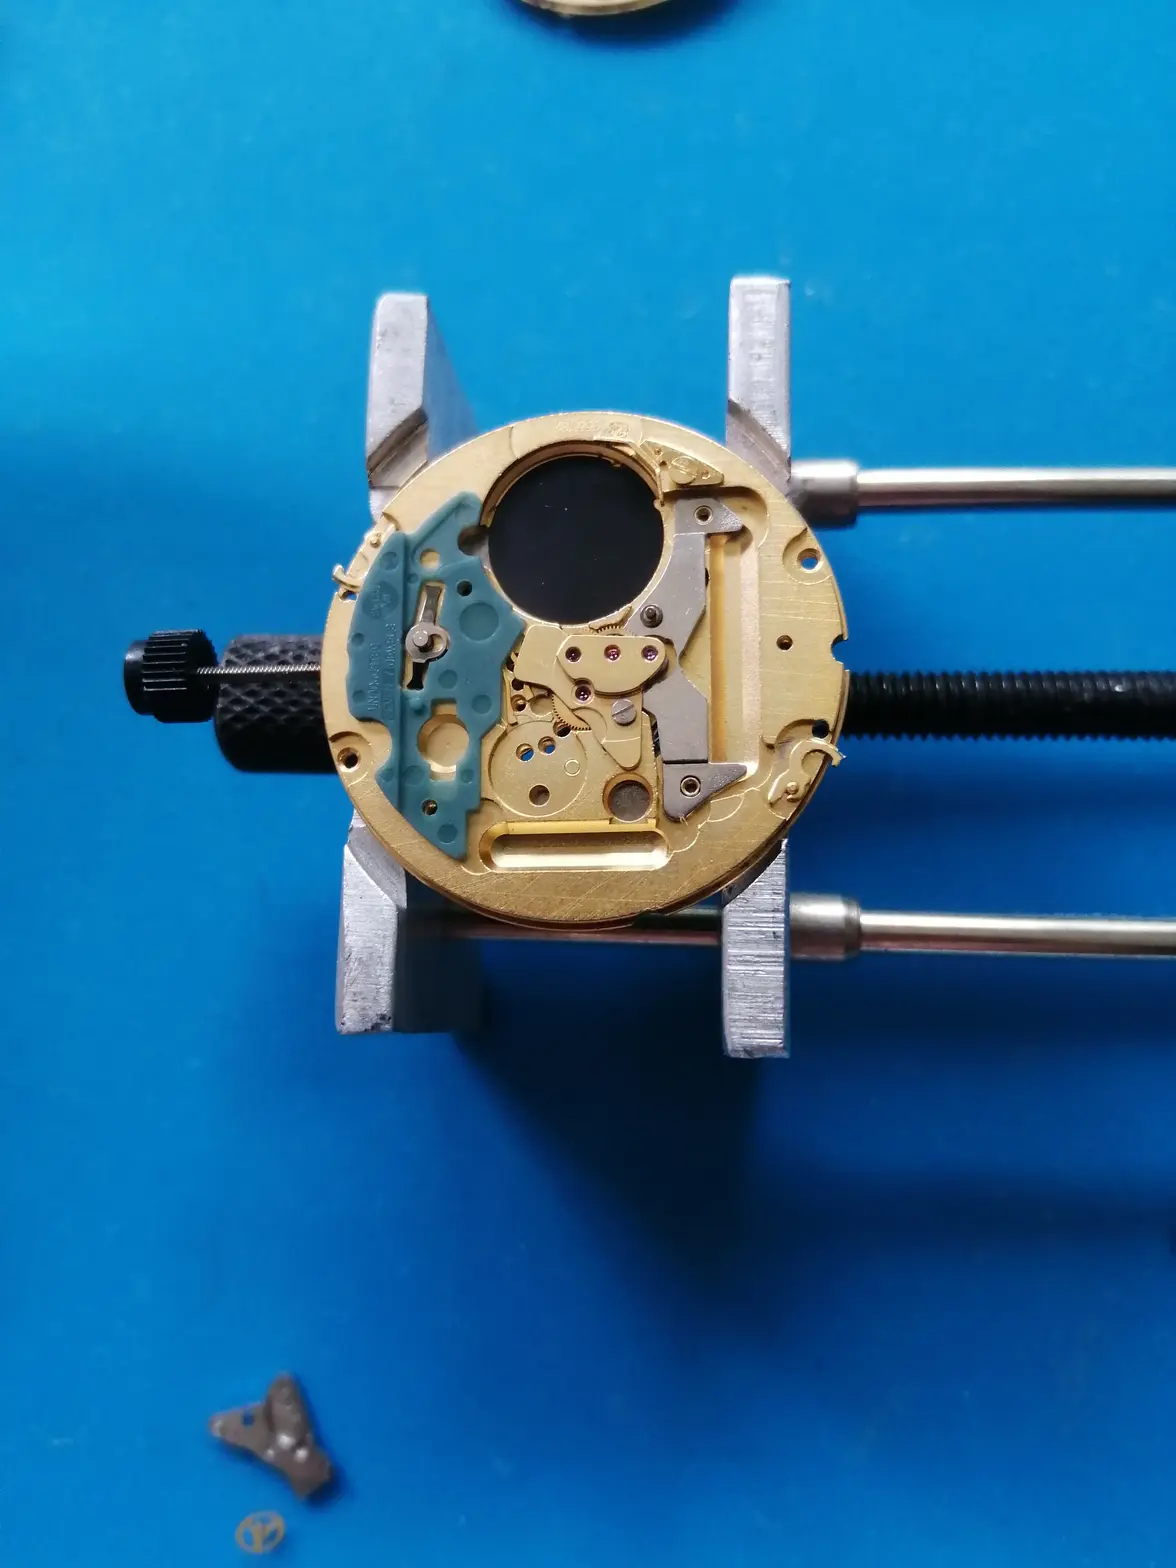
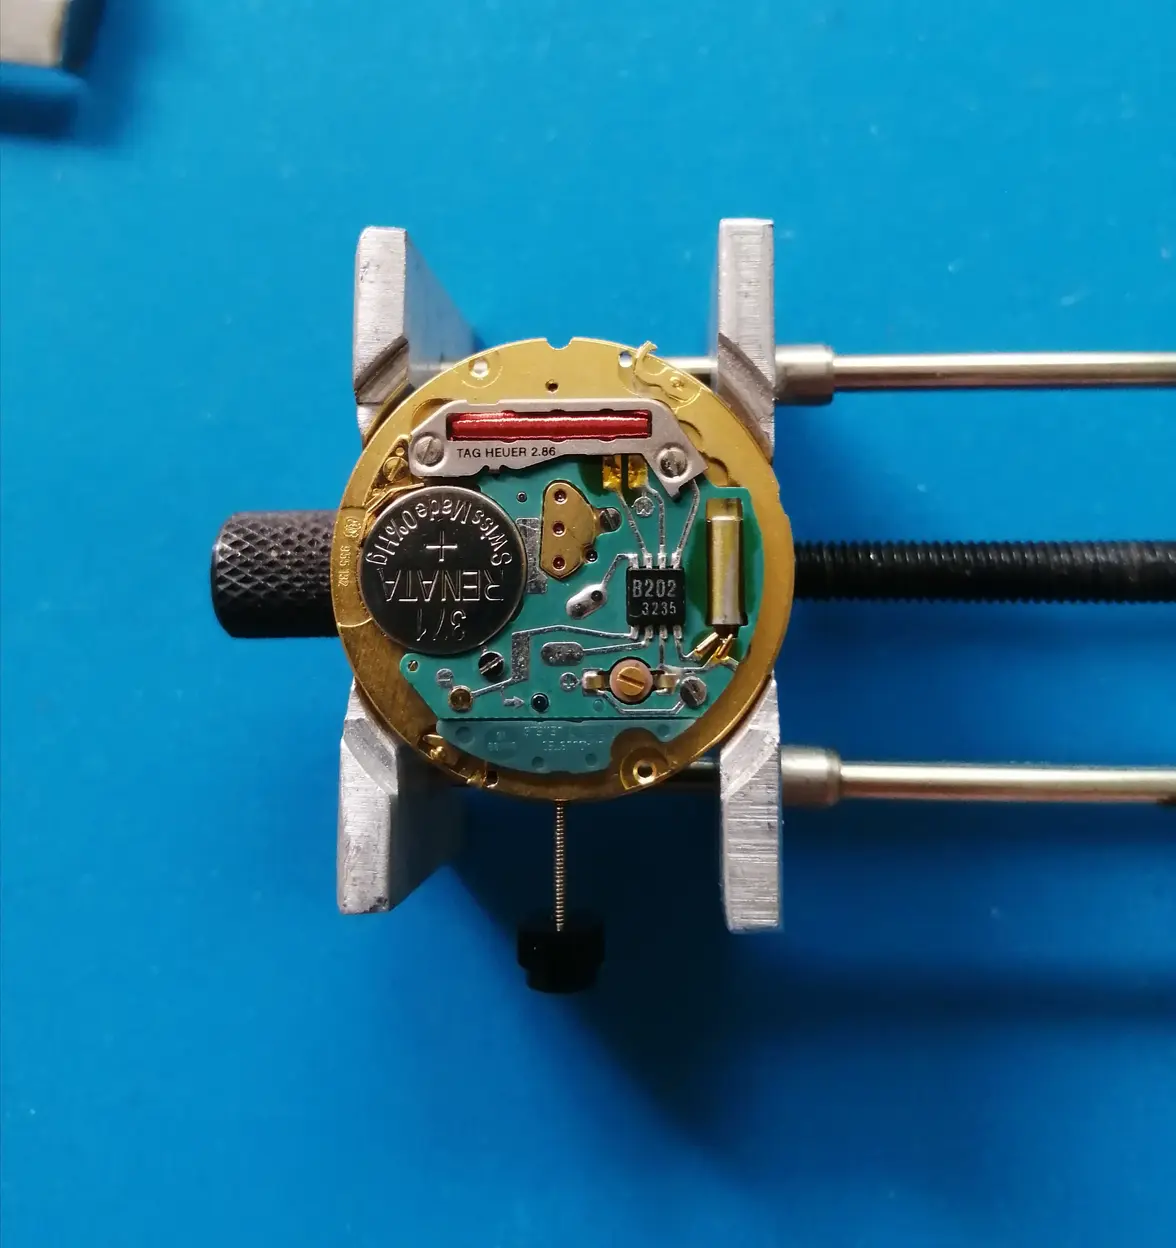
I will be removing the train bridge in the centre which is secured by one screw. You can see from the four jewelled holes that 3x train wheels sit underneath the bridge and also the pivot for the rotor component of the stepping motor.
To the right of the movement,the shiny steel part is the stator,that is also an integral part of the step motor.
The shiny steel spring clip on the left of the movement secures the setting lever. The post you can see is the button that protudes through the circuit that you press to remove the stem.
So .. train bridge off
Now from the right, the rotor is the tiny part sat in the circular cut out of the stator. The rotor has a tiny gear on the end which engages with the intermediate wheel sat next to it.That in turn connects to the 2nd wheel which carries the second hand post and the 3rd wheel which sits below.
To remove the 2nd wheel I need to remove the intermediate wheel but the 3rd wheel and rotor can stay in place.
When the circuit is on the movement the coil sits between the stator. When the coil is energised it creates an alternating magnetic field in the stator which causes the rotor to turn.This is where the mechanical motion of the watch begins.
I am digressing slightly from the task but it's worth talking a little about the rotor and how it is removed and replaced.
You would remove the rotor for cleaning and servicing,you may want to swap one if doing the conversion from Cal 185 to 183 which has been discussed in the 2000 chrono thread too.
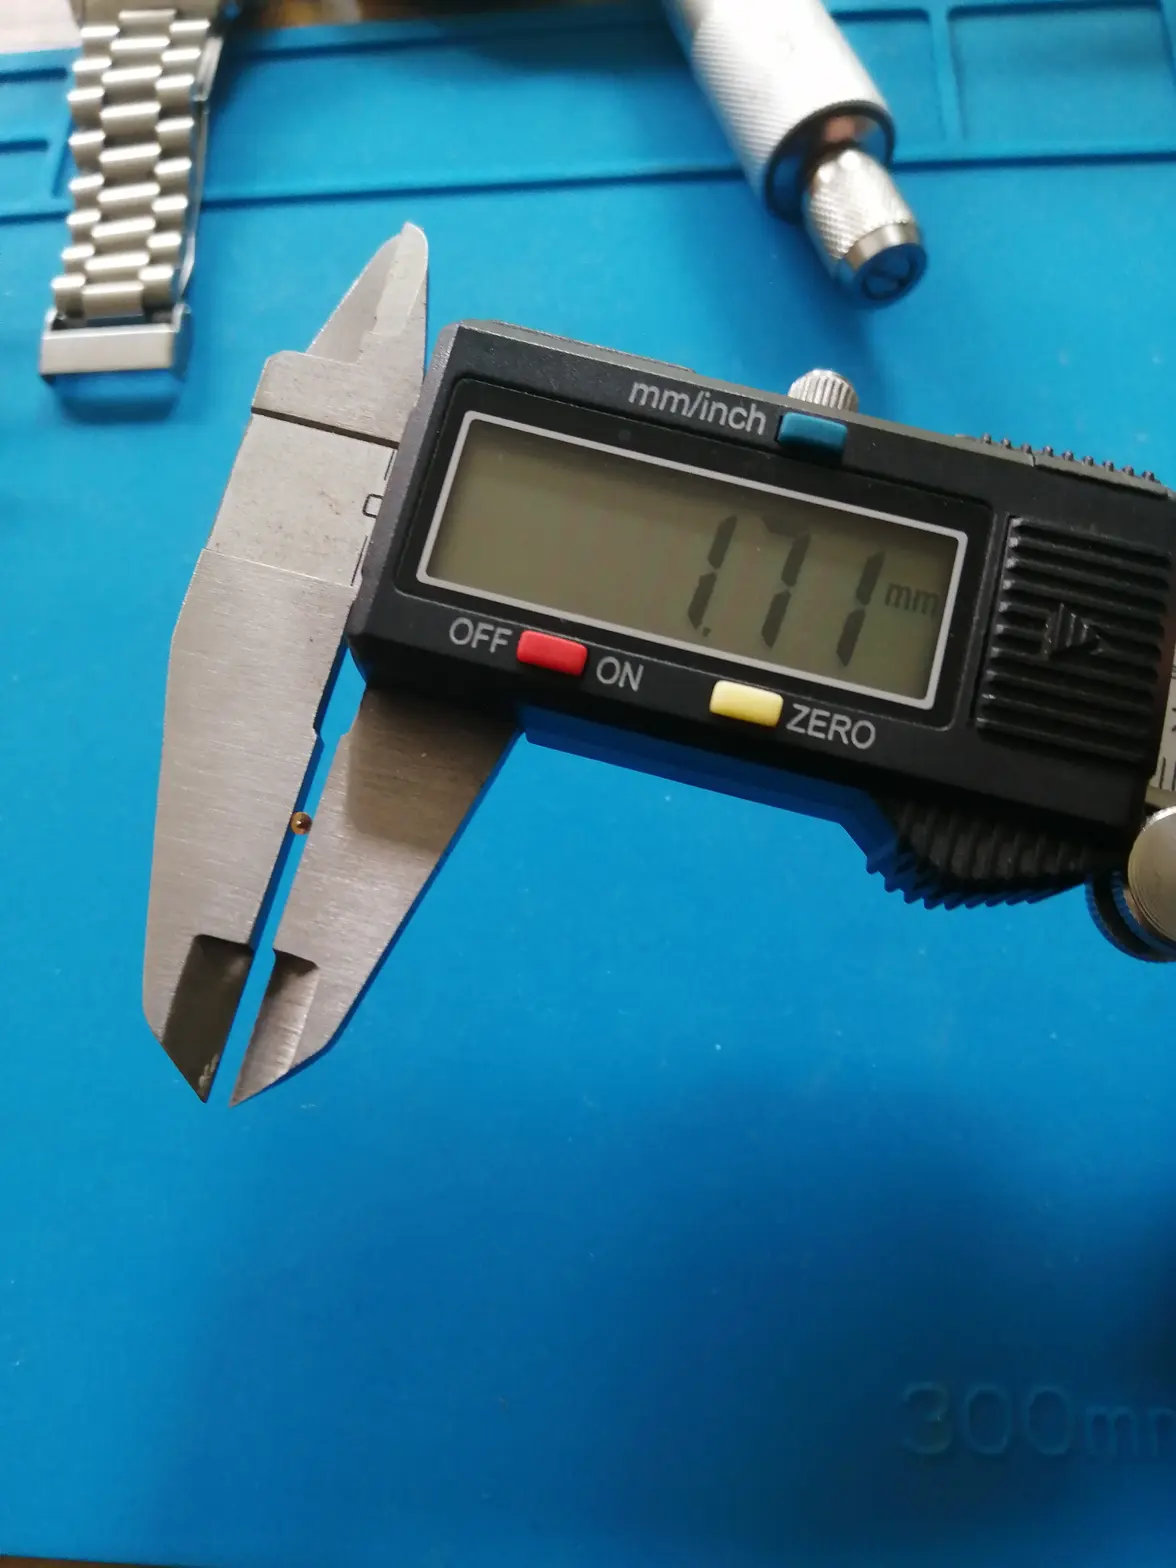
First off, the rotor is a permanent magnet and it is tiny. Here is the scrap one from the original movement measured for fun !
Sometimes replacing the rotor is described as the most difficult part of quartz watch repair, that is probably correct but it's not THAT bad really.
First off,you need to remove and replace with non magnetic tweezers.
The rotor has a tiny pinion at both ends, the non geared end sits in a pivot hole in the centre of the stator. The difficulty is that because it's a permanent magnet it will try and stick itself to the walls of the stator as you replace it. Usually though it's not too bad to get it located and it will stay in its pivot hole although it will tend to lean a bit towards the stator with the magnetism,thats fine though.
Sometimes it can be very hard to get the rotor to stay put, a little trick in those circumstances is to put a piece of ferrous metal underneath on the other side of the plate.The rotor will pull itself towards the ferrous metal and stay put.
Ok,back on track..
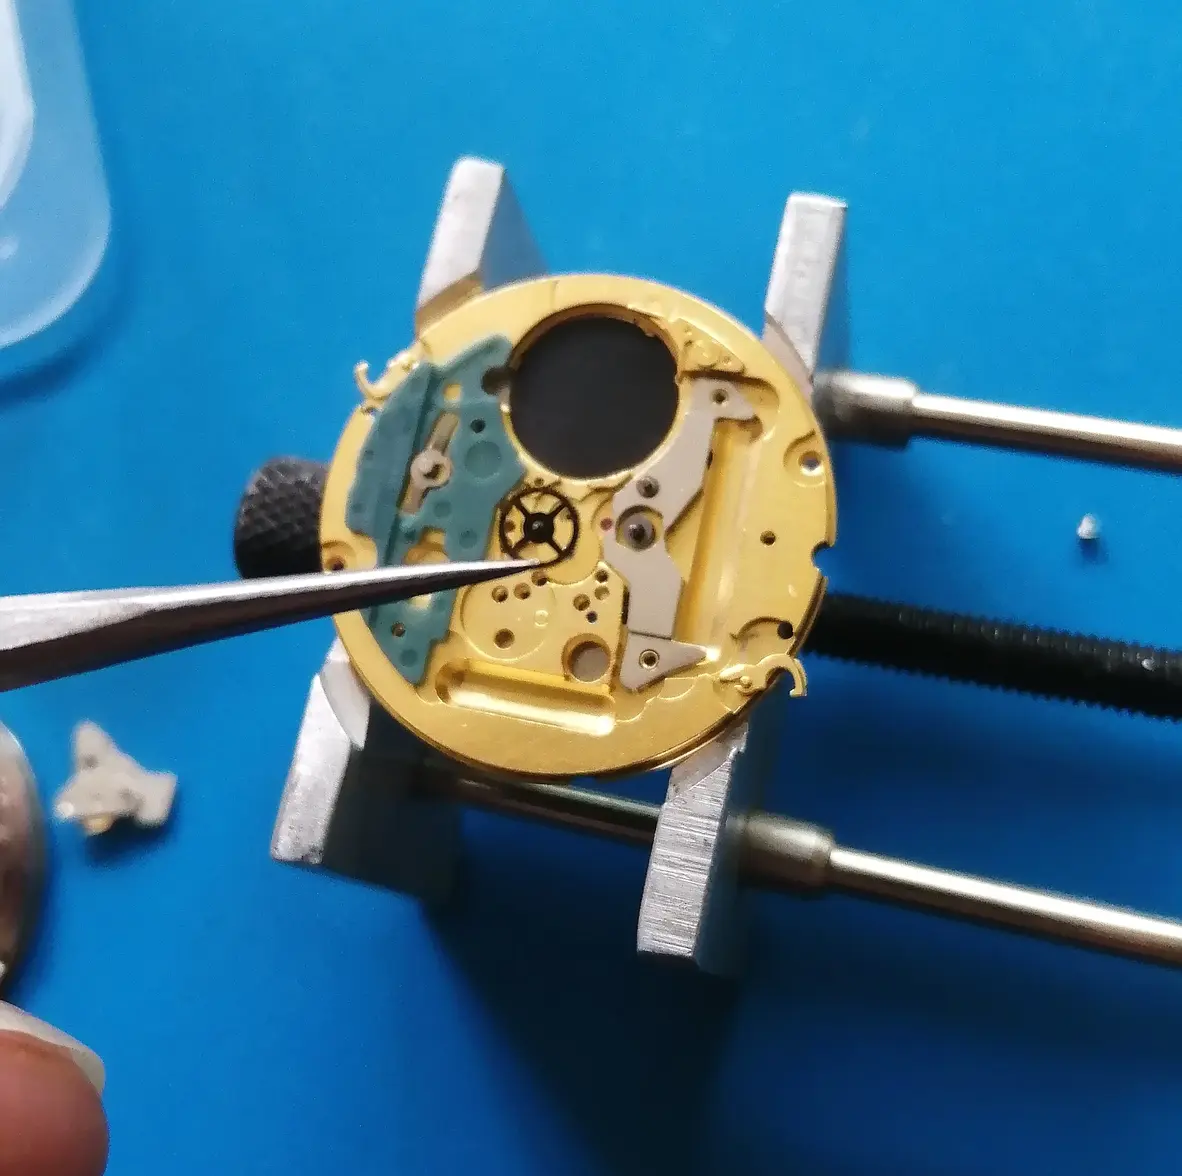
Intermediate wheel removed and now pulling the 2nd wheel with the long second hand post.
Now I simply slide in the standard 955.112 2nd wheel,replace the intermediate wheel in it's jewelled hole and put the bridge plate back on after making sure all pivots are fully located and turning freely.
Now it's just a case of putting the original circuit and coil guard on and we are done.
Pleased to say this runs very nicely, and it incorporates quite a few parts from the original movement which is kind of nice.
It has a higher jewel count than the original so is an upgrade.
Hopefully that wasn't too boring !
Getting inside these movements happens less and less,you can easily see why they are just swapped. Far cheaper to replace than go in deep. It's a shame though as these movements are high quality,built to be repaired and serviced and are very well engineered.
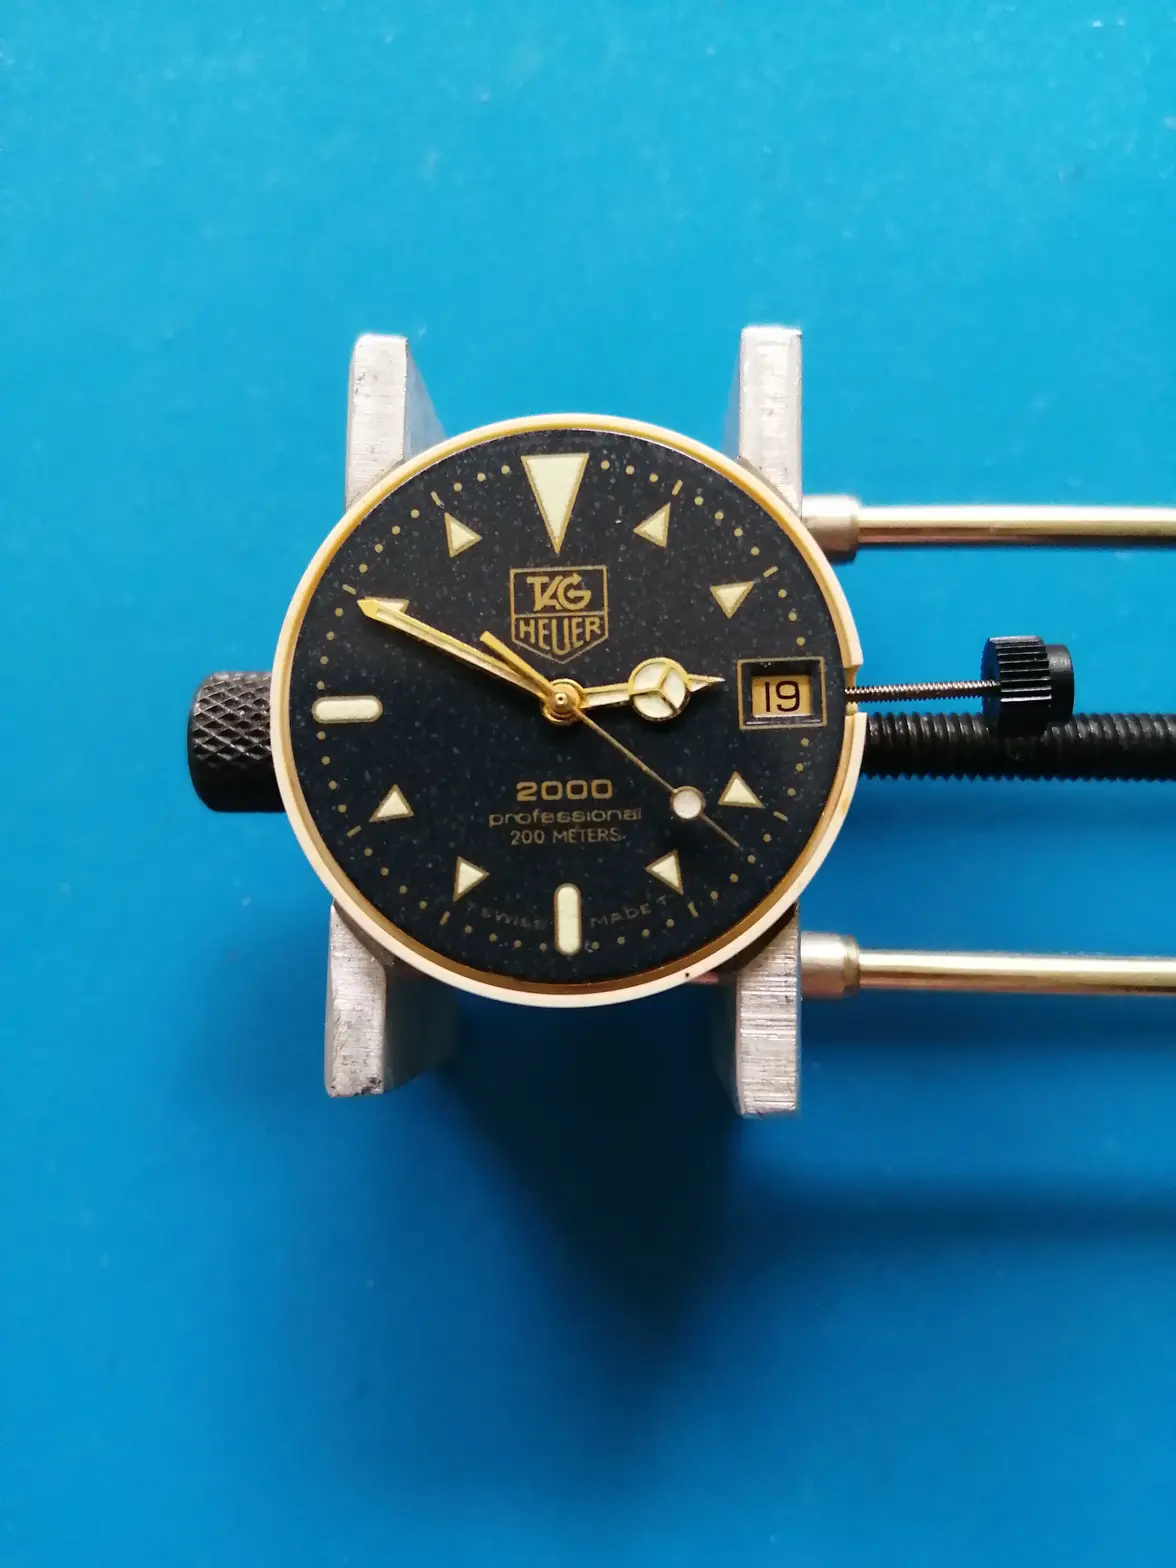
Last job for this initial part of the story was reluming the hands to match the dial as closely as I could manage.
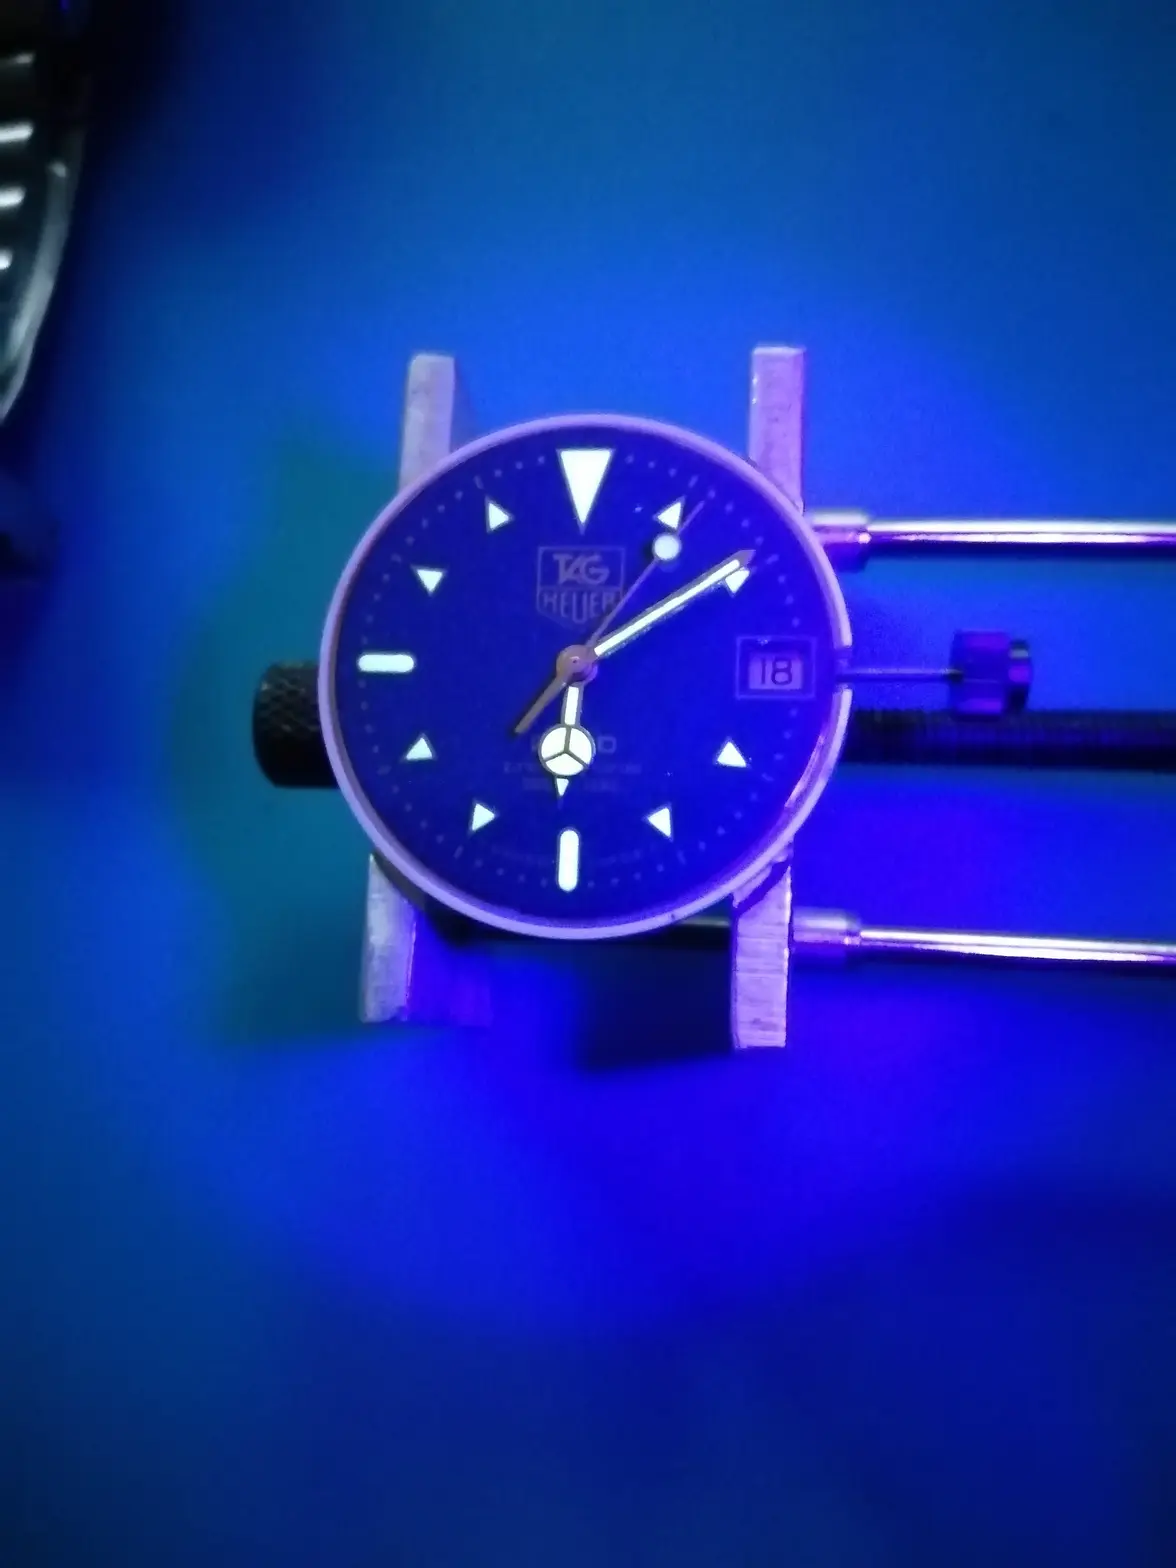
I mixed a little yellow lume in with some white to replicate the creamy tritium dial lume, took me three attempts before I was happy.
It's pretty close, dials and hands rarely age in exactly the same way so perfectly acceptable.
And under UV light also pretty close.
Next update will hopefully show another sows ear turned into something approaching a silk purse !
I'm waiting on a crystal and a couple of other parts then I can start to build up the watch again.
👍
Edited:
