JimInOz
··Melbourne Australia..........Balance Tacks.
After the balance assembly is removed from the movement, it must be put somewhere to protect the delicate components.
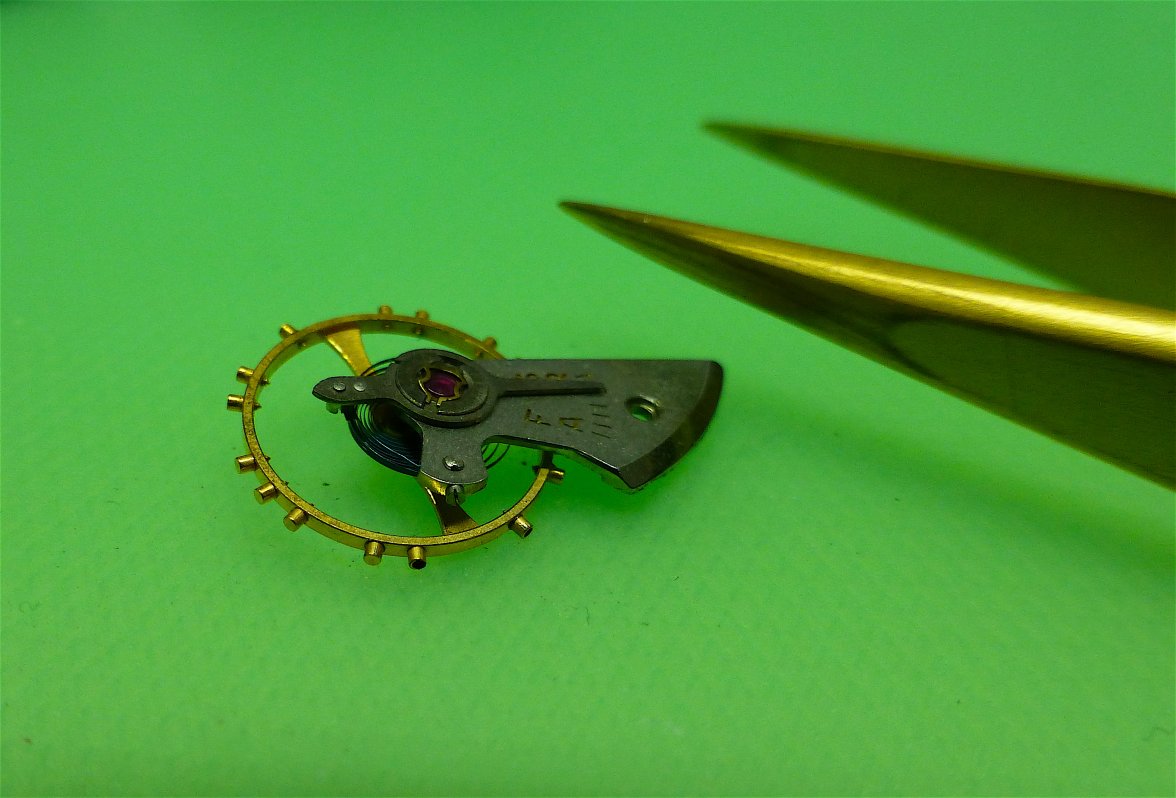
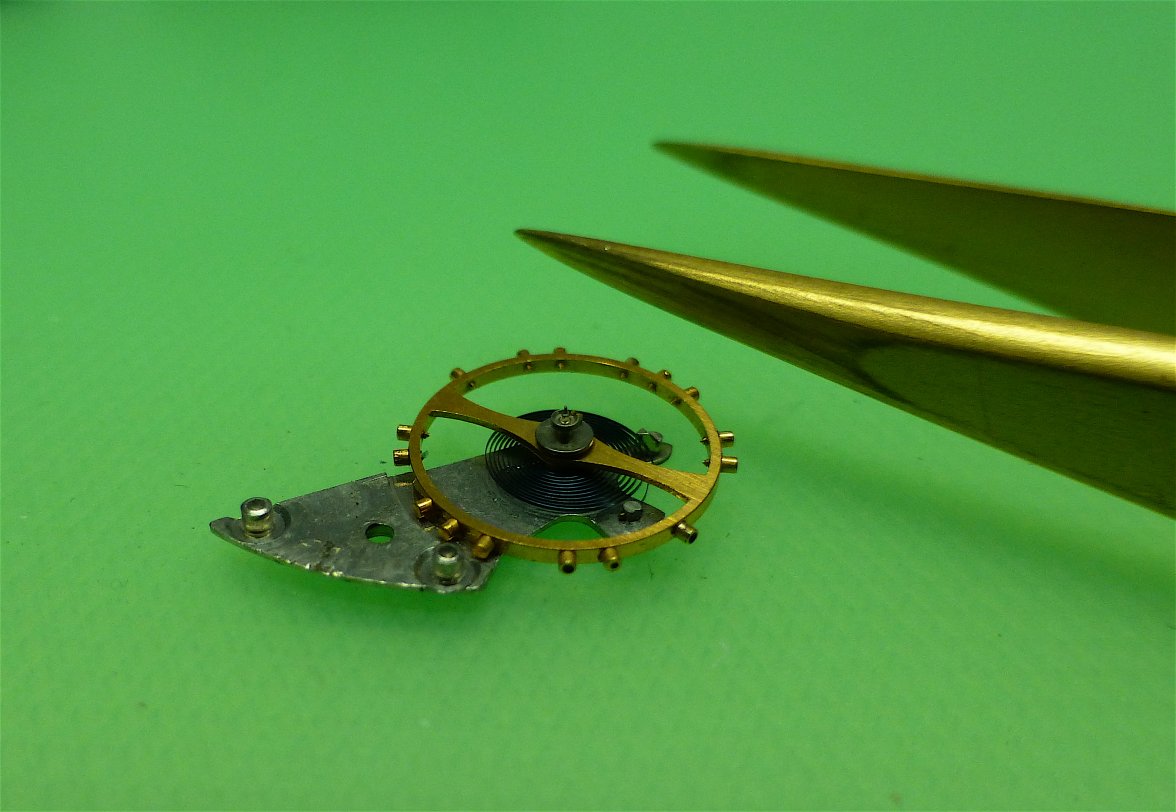
I've seen some stored like this (avert your eyes if you're squeamish, I can just see Al and the other pro's wincing).
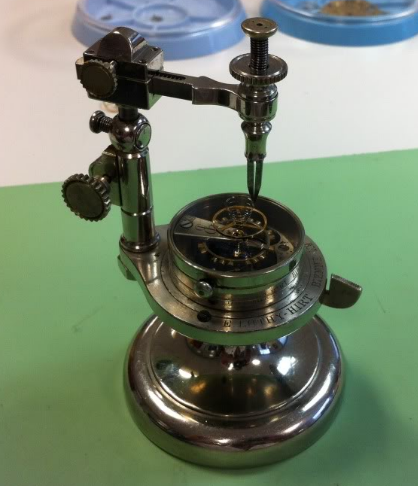
A slightly better option is to do this, but it still entails flipping the balance and risking the hairspring getting deformed.
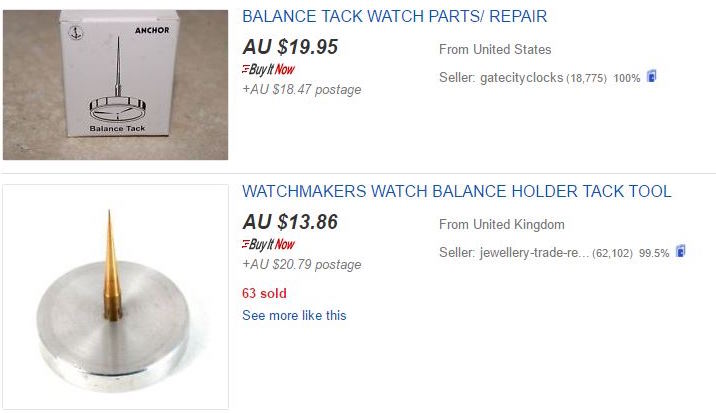
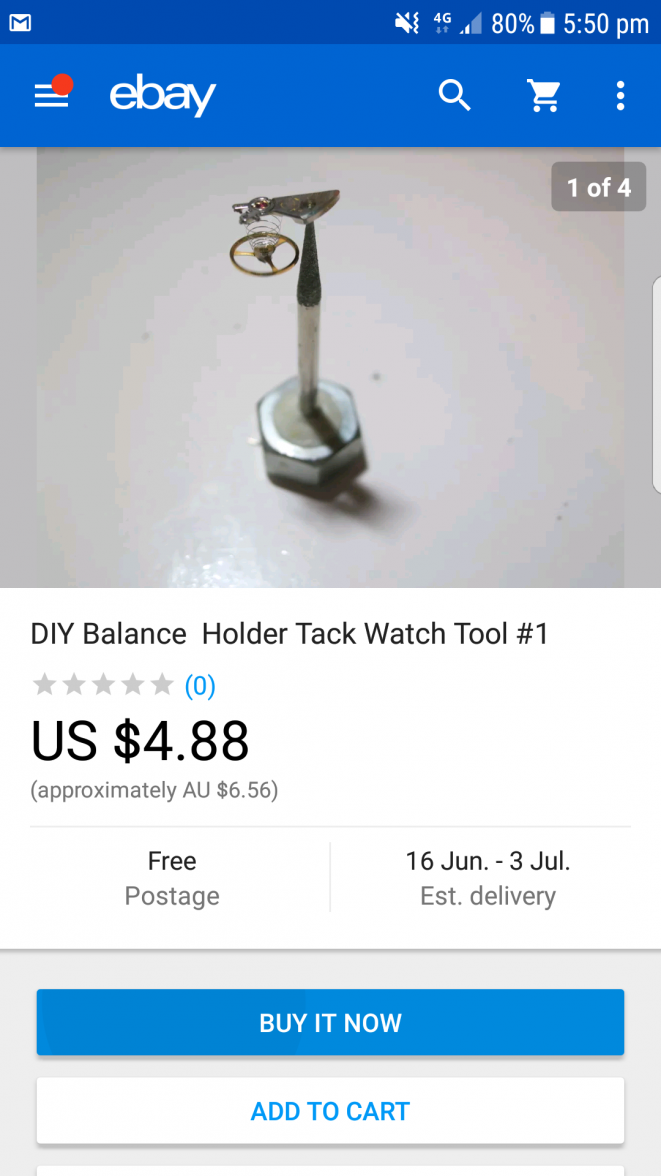
Many people prefer to hang the balance on a "tack". This eliminates the flipping issue and the hairspring is free of risk. However, they're hard to find in this part of the world and as you can see below, the cost plus shipping is almost as much as a slab of VB (one military form of bartering currency).
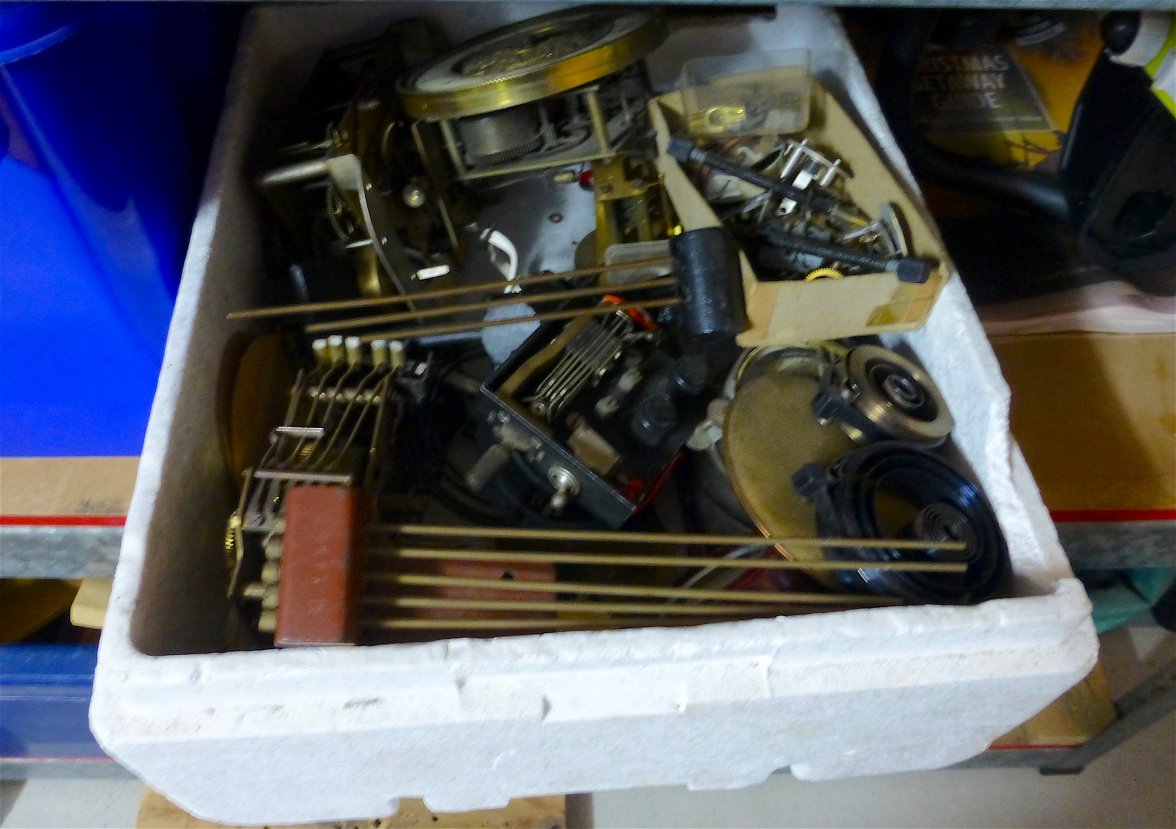
So rather than bitch about it, I decided to make my own. First step to find some suitable non-ferrous rod for the tack. Off to one of my junk boxes.
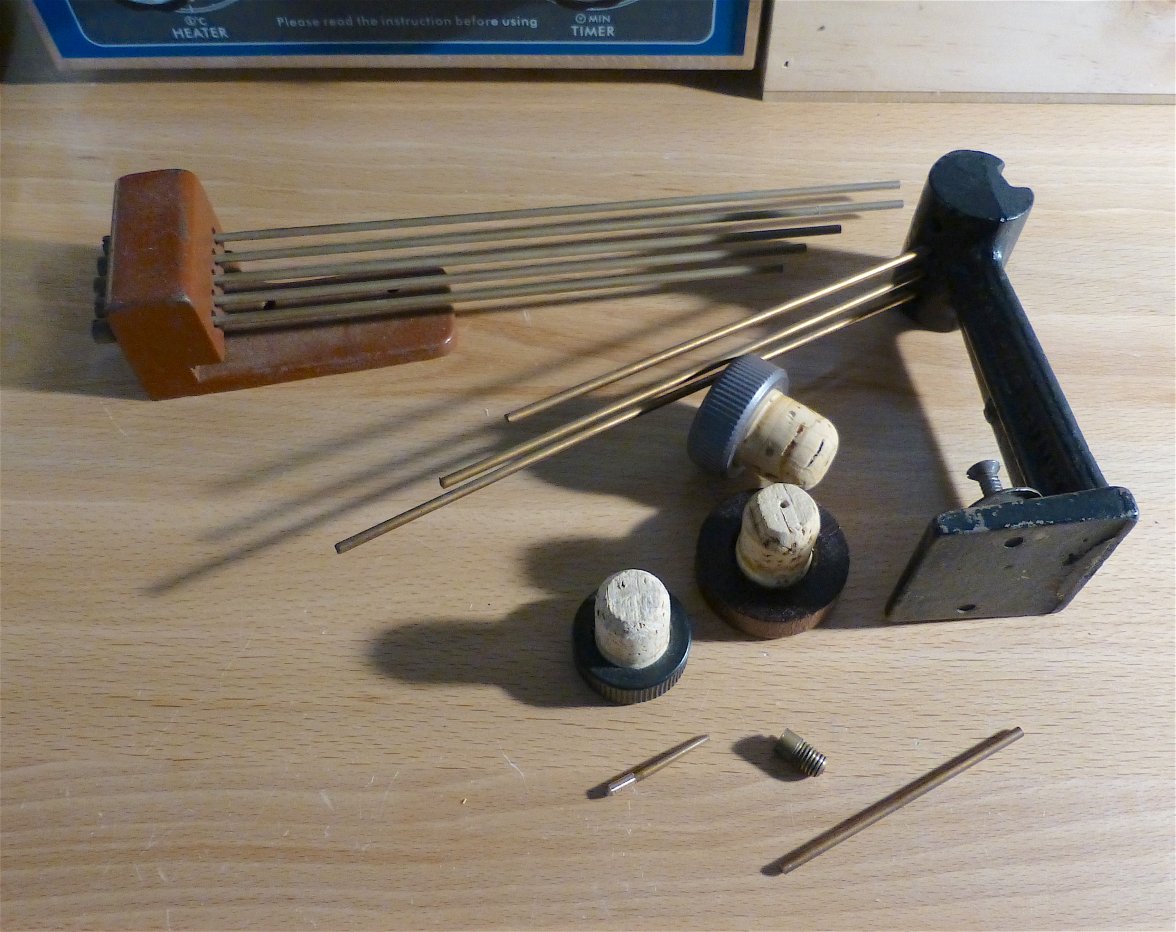
I had some old clock gongs that have nice bronze rods, At 2.8mm they should do just fine. I decided to use a cork for the base and manage to find a couple of nice wooden corks that would suit. I keep a few corks as they come in very handy. A cork and a toothpick and you have an excellent holder for re-luming watch hands. Anyway, I now had the parts for the job, on with it.
First thing is to remove the cork from the head.
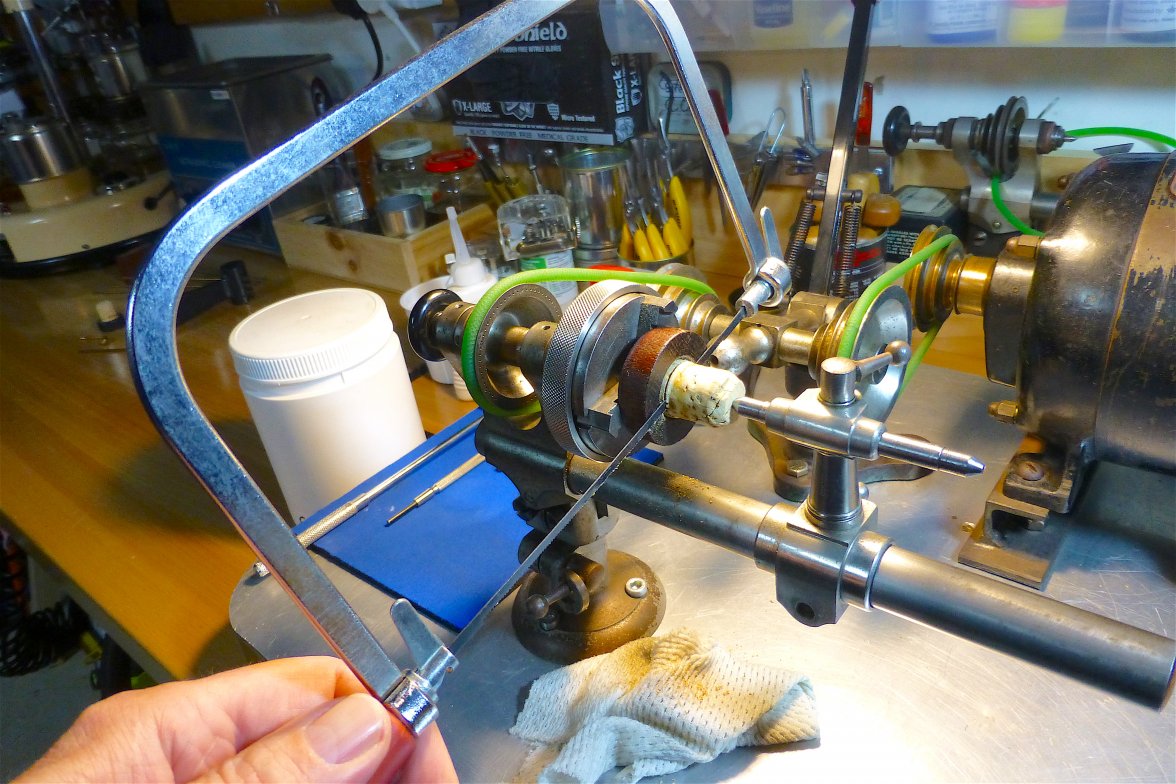
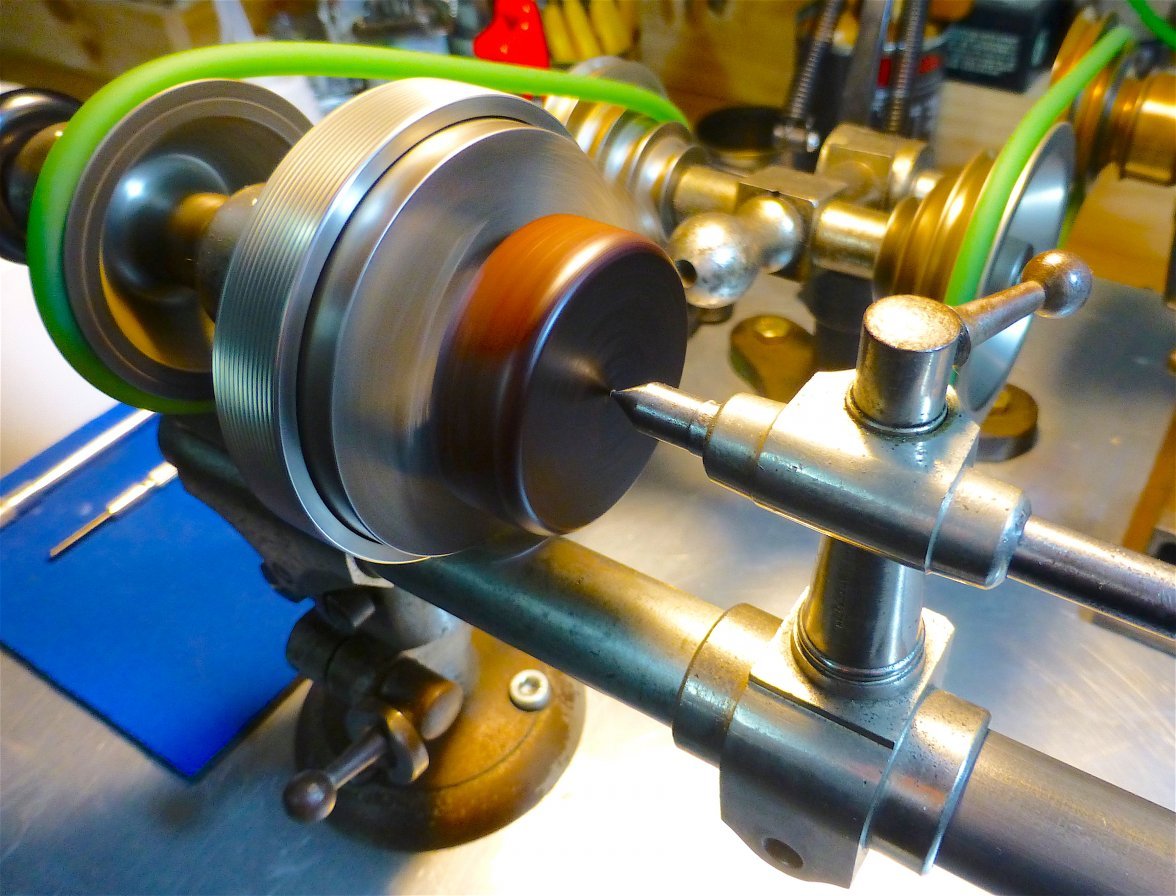
Then turn it around in the chuck to find the centre.
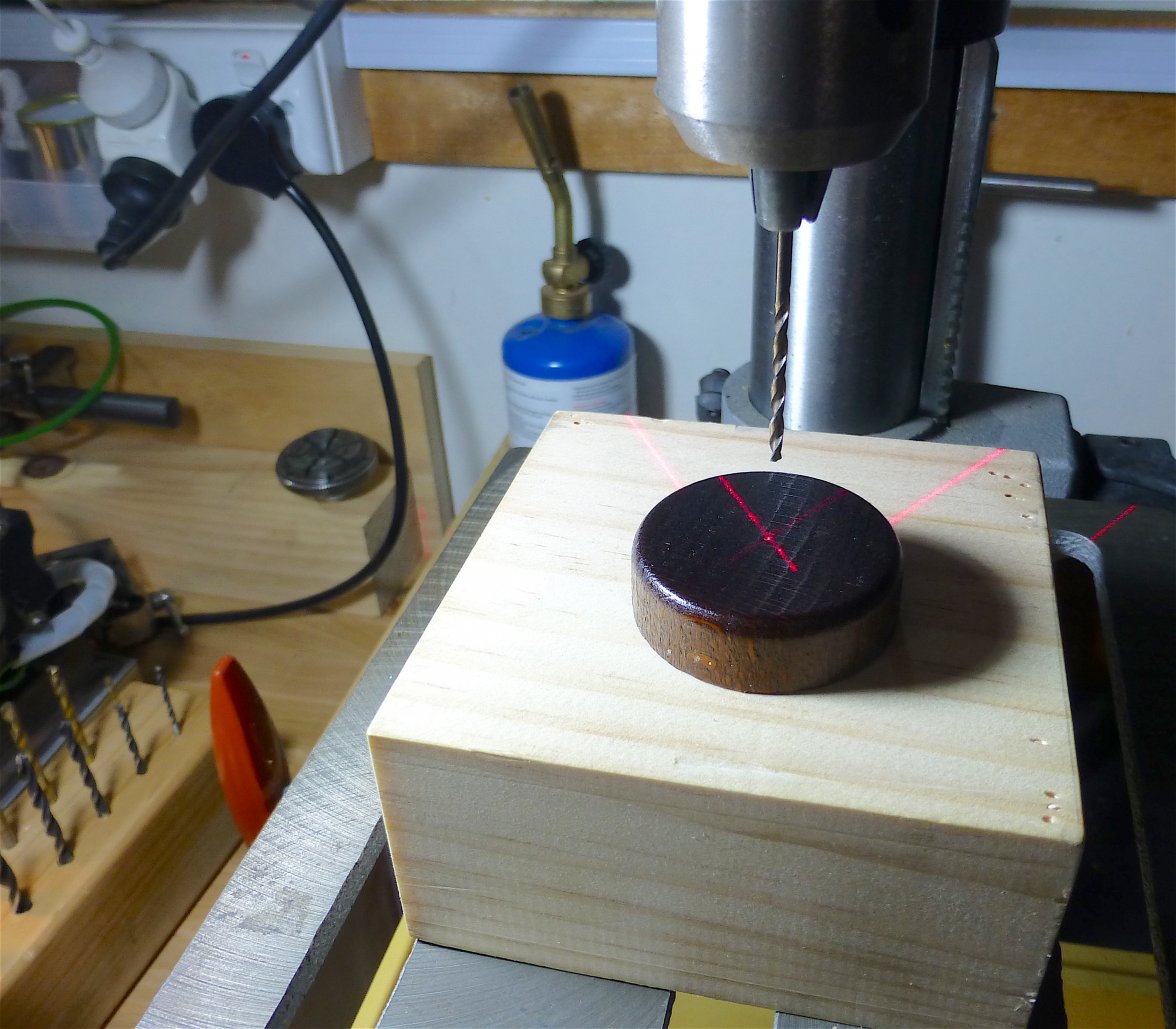
And then drill a 1.5mm pilot hole all the way through, and a 2.8mm hole just through the wood and not into the cork.
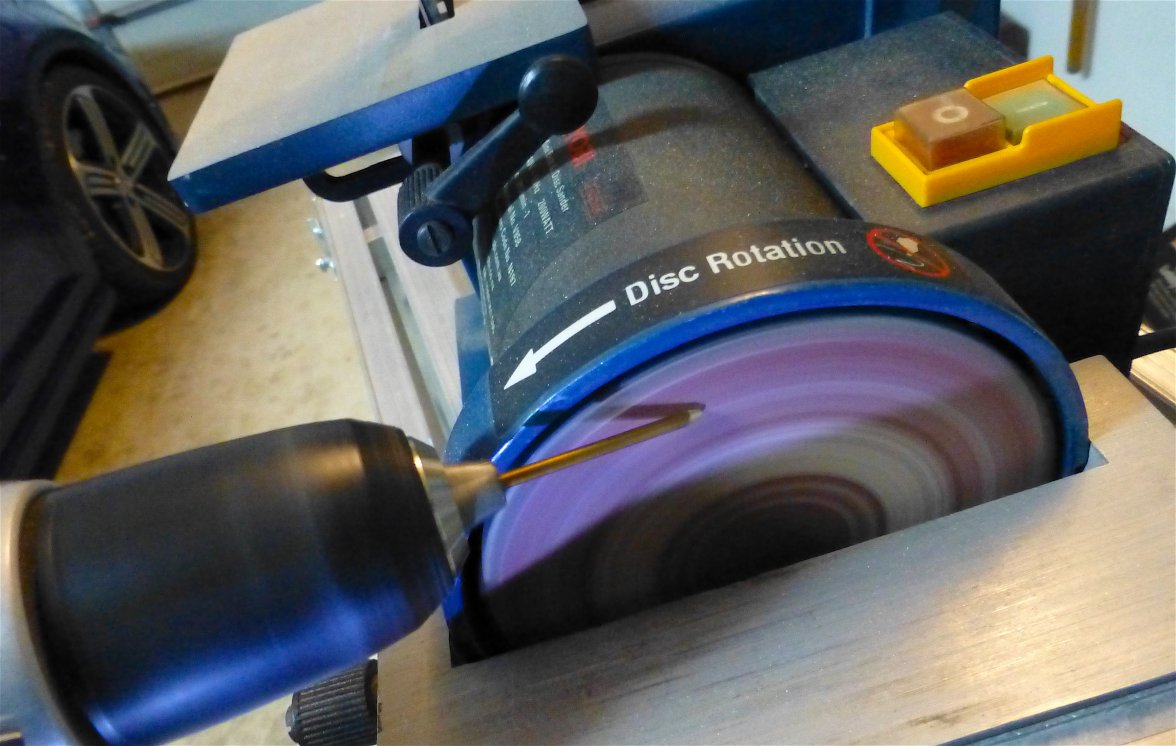
Next step is to put a taper on the rod. I find bronze difficult to work on the lathe so the rod was chucked in my power drill and the taper ground to shape on a disc sander.
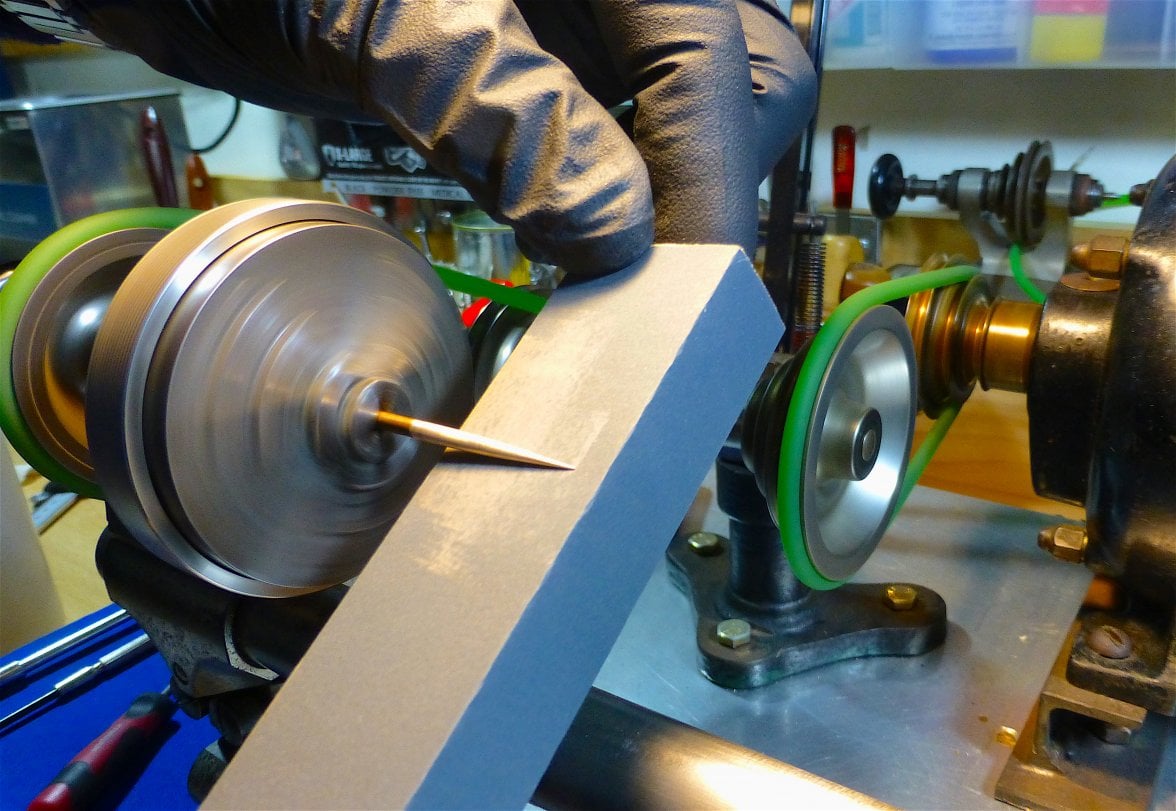
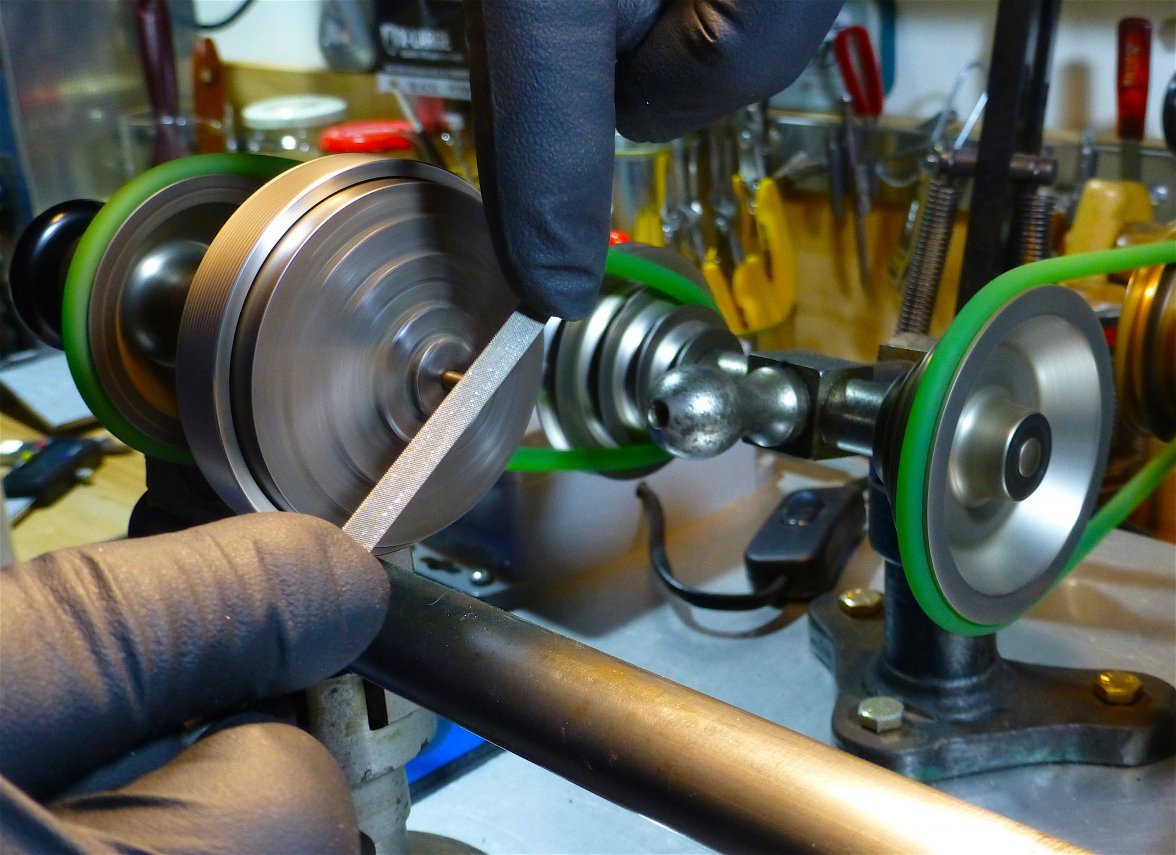
Back to the lathe to finish the taper with a file and a polishing block with 1200 and 2000 emery paper.
Then the rod was reversed, cut to length and the end cleaned up with a file.
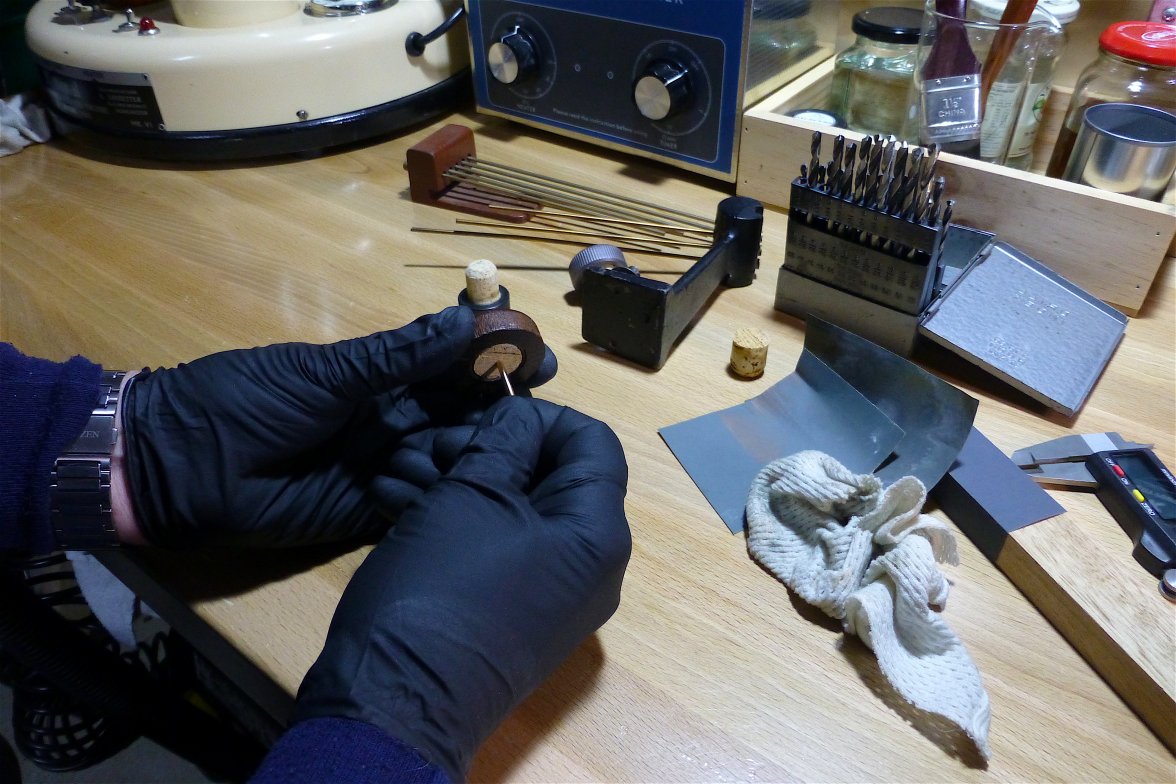
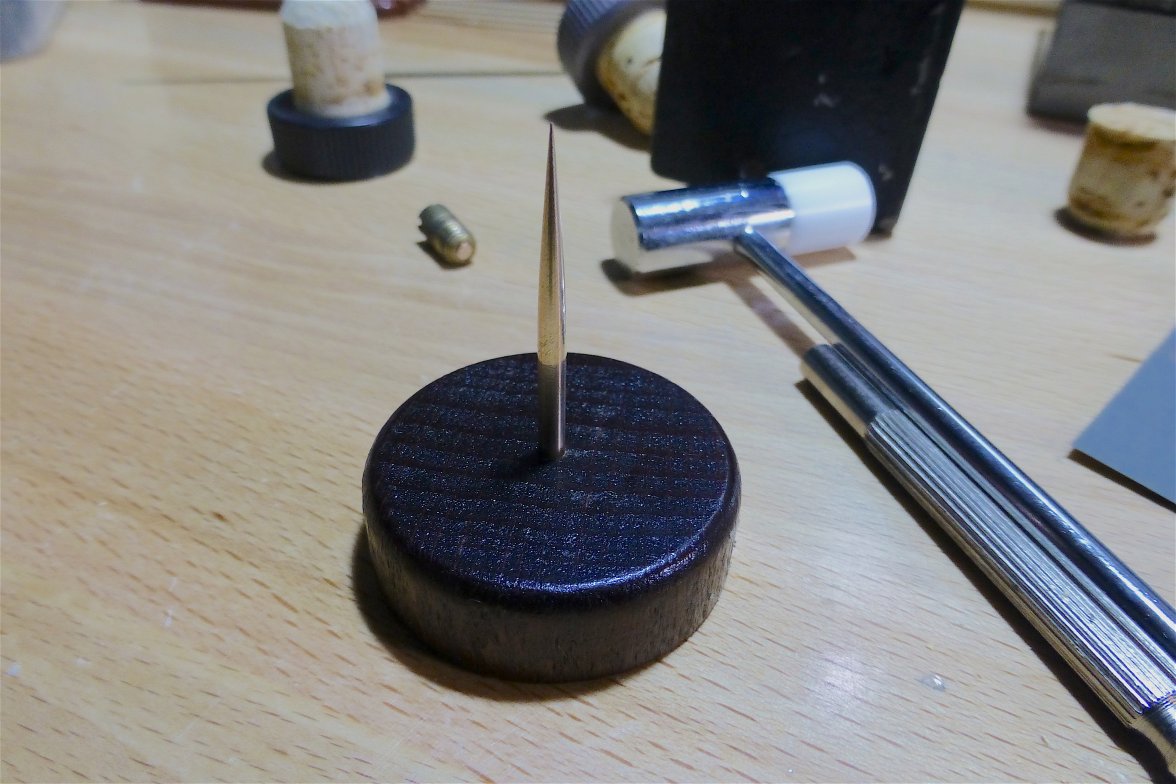
All that needs to be done now is push the tack through the hole in the cork and use a drift to seat it just below the surface.
And job done. A most enjoyable hour or so on the tools and I have two new balance tacks that cost me nothing.
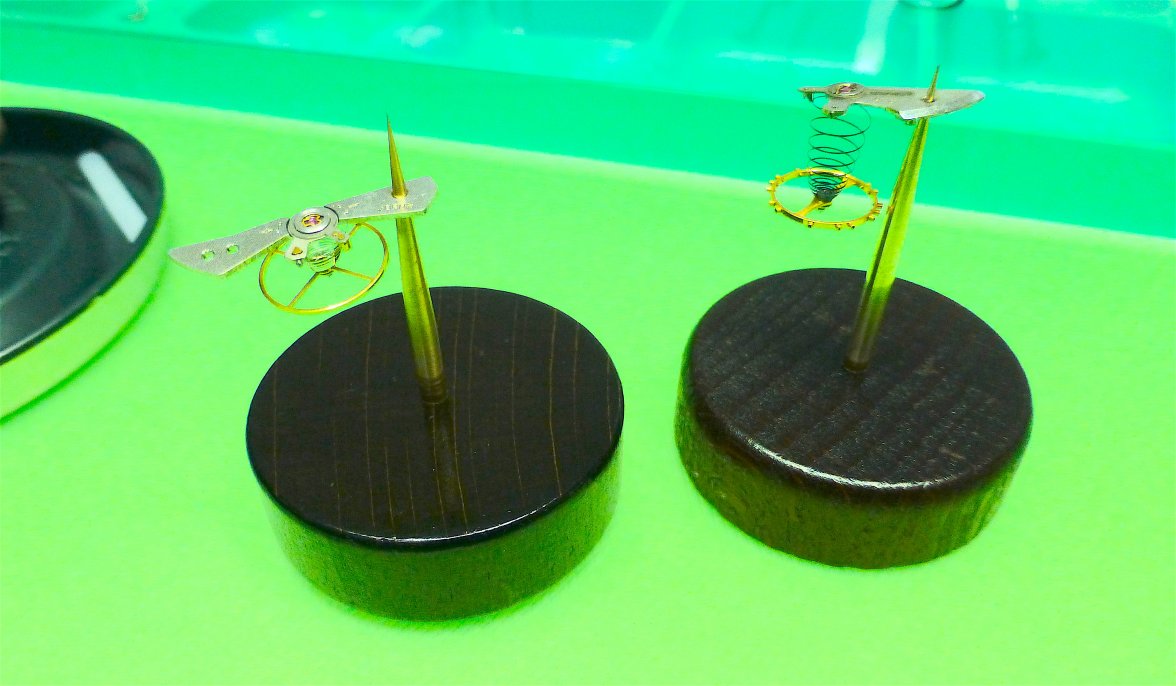
And here they are in their natural environment.
You may notice how wickedly sharp the point is. That's the reason for the length of plastic tube you can see in the tray top left. When not being used I just slip the tube over the tack so I don't risk stabbing myself.
I would take orders from members but I don't have any more suitable wide wooden corks.
Maybe I'll have to get a couple of bottles of Nant just in case the requests start rolling in.
😁
