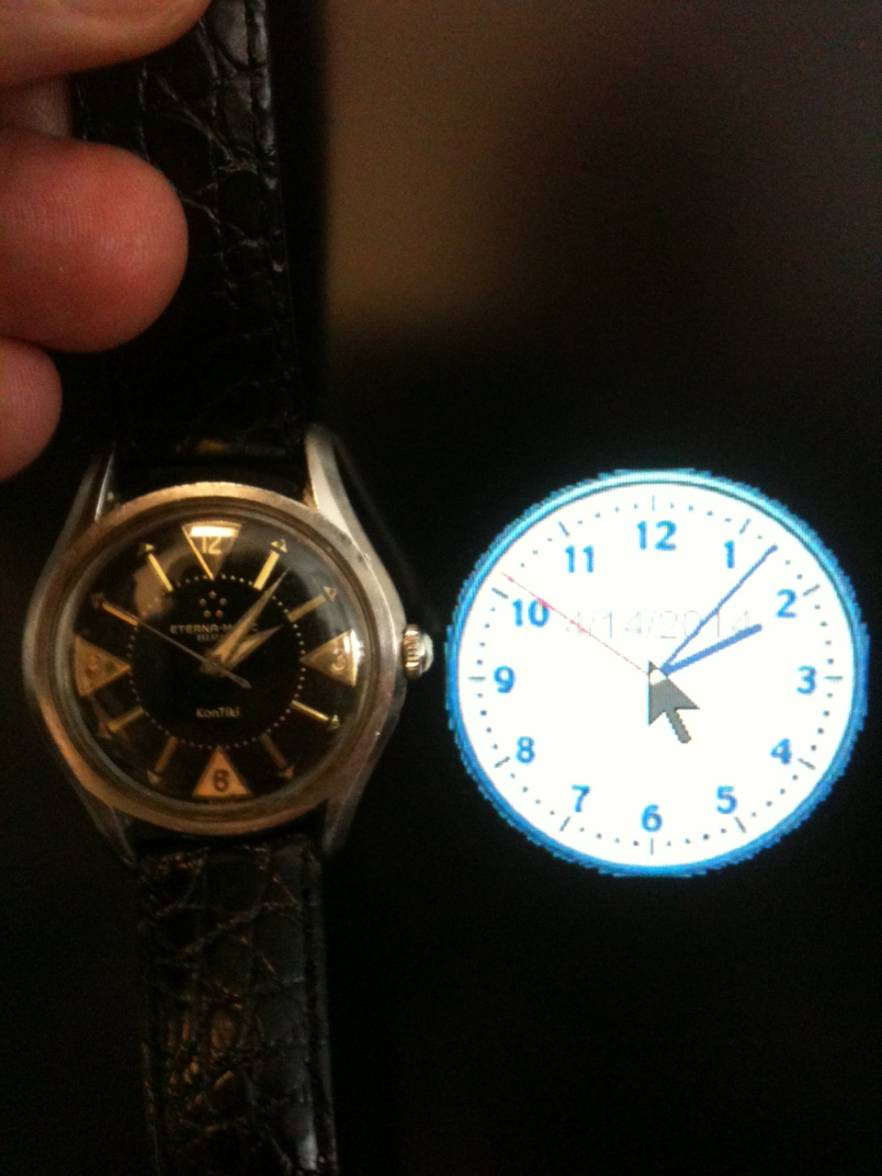
Eterna Regulation
Fritz
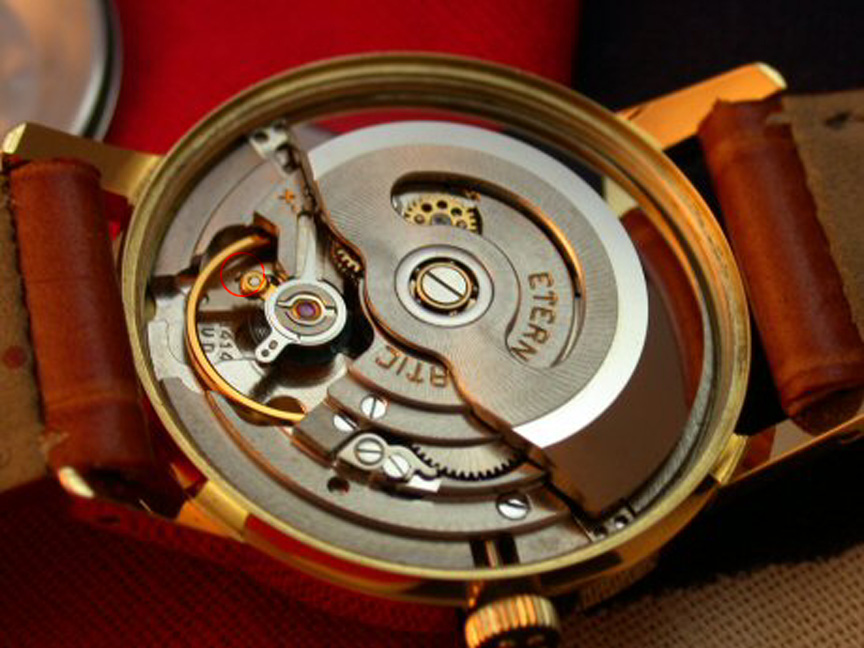
·that looks like the anchor for the hair spring, I wouldn't touch it until I was sure!
I would have expected a screw in the side of the balance bridge. running across the regulator arm about halfway down its length.
could you post a photo with the weight rotated so the area beyond the end of the regulator is fully uncovered? there may be a screw between the "+" and "=" marks. Not to be mistaken with the screw which holds the bridge in place.
if there's no adjuster screw in either of those positions it could be as simple as moving the tip of the adjuster lever....
or taking it to a watchmaker
pitpro
·woodwkr2
·You're thinking too hard. No need to go looking for screws here. All that needs to be done is a very, very slight adjustment to the regulator lever. Typically the balance cock is denoted with either F and S or + and -
Moving the regulator towards the + sign will speed things up, and vice versa.
Properly regulating a movement is an art, and will likely be an exercise in futility unless two conditions are met: 1) the movement is in good shape (ie, recently COA'd) and 2) you have a time grapher to monitor the effect of minute adjustments to the regulator.
As with everything in the movement, think of the relative hardness scale to avoid scratching things up. My brass tweezers are my go-to tweezers, and I use a polystyrene stick or sharpened piece of pegwood for regulating, if movement specific tools are not required.
All actions involved in regulation are so subtle that magnification is generally a requirement, lest you end up with the timepiece keeping worse time than before you started. It also helps you avoid tragic mistakes, which are always possible when you go poking around the delicate hairspring.
pitpro
·You're thinking too hard. No need to go looking for screws here. All that needs to be done is a very, very slight adjustment to the regulator lever. Typically the balance cock is denoted with either F and S or + and -
Moving the regulator towards the + sign will speed things up, and vice versa.
Properly regulating a movement is an art, and will likely be an exercise in futility unless two conditions are met: 1) the movement is in good shape (ie, recently COA'd) and 2) you have a time grapher to monitor the effect of minute adjustments to the regulator.
As with everything in the movement, think of the relative hardness scale to avoid scratching things up. My brass tweezers are my go-to tweezers, and I use a polystyrene stick or sharpened piece of pegwood for regulating, if movement specific tools are not required.
within 4 secs fast per day. The Omega have the swan neck
and I found instructions on the internet. These I had no clue so I'm glad
I asked first.
Thanks for the replies.
woodwkr2
·I've found Jendritzki's books, particularly "Watch Adjustment", indispensable if you decide you want to learn more.
I've gotten to where I personally regulate every one of my pieces, even when they're freshly back from my very, very competent watchmaker. No one has more to gain than the owner of the piece, so I'm likely willing to spend far more time in regulating my pieces than would be practical or economically viable for most watchmakers.
You've only just scratched the surface. There's issues of temperature, position, and isochronism to consider. And with vintage pieces, add in the challenge of movement parts with varying degrees of wear.
It's really satisfying if you're the nit picky type with your watches.
Privateday7
·I've found Jendritzki's books, particularly "Watch Adjustment", indispensable if you decide you want to learn more.
I've gotten to where I personally regulate every one of my pieces, even when they're freshly back from my very, very competent watchmaker. No one has more to gain than the owner of the piece, so I'm likely willing to spend far more time in regulating my pieces than would be practical or economically viable for most watchmakers.
You've only just scratched the surface. There's issues of temperature, position, and isochronism to consider. And with vintage pieces, add in the challenge of movement parts with varying degrees of wear.
It's really satisfying if you're the nit picky type with your watches.
I've just regulated my watch together with my watchmaker last week. I understand what you mean by challenges of vintage or pre owned watch with varying degree of wear. In one position the watch could be + 10/s in other position it could be -8/s and in another position it could be oscillating up and down. We decided several key factors of my usage and storage behavior and set up from there. It is now running at -3s to +5s per day using actual atomic internet time as reference in the past 5 days. Not too bad for a 20 years old non chronometer Cal 861 watch.
woodwkr2
·For those who have the capability--or want to develop the capability-- to do this at home, the best part is being able to finely regulate your watch on day one. Then give it some real wrist time in your daily routine, noting the precise deviations on YOUR wrist, before undertaking regulation number two. It's how all watches should be regulated, and if you read enough old watchmaking books, it's how things used to be done.
Even with vintage watches and difficult movements, etc., it is possible to get some remarkably precise results with a little knowledge and "work."
Cheers!
Even with vintage watches and difficult movements, etc., it is possible to get some remarkably precise results with a little knowledge and "work."
Cheers!
woodwkr2
·In one position the watch could be + 10/s in other position it could be -8/s and in another position it could be oscillating up and down. We decided several key factors of my usage and storage behavior and set up from there.
This level of knowledge does make it tricky at times...
Post a watch in the FS thread, and you'll likely field perfectly reasonable questions about how many seconds +/- per day the watch is running. Now, do you meticulously describe its performance in all 6 positions under varying levels of amplitude (due to how much potential energy is stored in the mainspring at any point in time)? Or do you just report that it's keeping good time within a few seconds per day?
They don't even realize what a can of worms they're opening 😉
Privateday7
·This level of knowledge does make it tricky at times...
Post a watch in the FS thread, and you'll likely field perfectly reasonable questions about how many seconds +/- per day the watch is running. Now, do you meticulously describe its performance in all 6 positions under varying levels of amplitude (due to how much potential energy is stored in the mainspring at any point in time)? Or do you just report that it's keeping good time within a few seconds per day?
They don't even realize what a can of worms they're opening 😉
Exactly....... for accuracy freak, I discourage them to buy vintage watch. I believe the attitude for vintage watch you shouldn't have a problem having - or + 1 minutes per day movement. Then you go from there in improving your watch accuracy. It is already great to have - + 15 secs per day IMO. In fact I NEVER check my Deluxes accuracy.... that's what smartphone for.
Fritz
·You're thinking too hard. No need to go looking for screws here. All that needs to be done is a very, very slight adjustment to the regulator lever. Typically the balance cock is denoted with either F and S or + and -
Moving the regulator towards the + sign will speed things up, and vice versa.
I love the simple stuff, I just wanted a look under that weight to make sure there were no hidden adjusters. I had an old Hamilton with an adjuster screw running under the bridge, operated by a star wheel on the side of the foot of the bridge.... So now I look everywhere before I touch!
Besides, some of the adjusters are so clever they're worth a study on their own!
I have to agree with Mr. Beaver (sorry, couldn't resist!)...... Getting an old watch to run inside a few seconds a day is a good trick, a study in patience and a proper joy when you can pull it off.
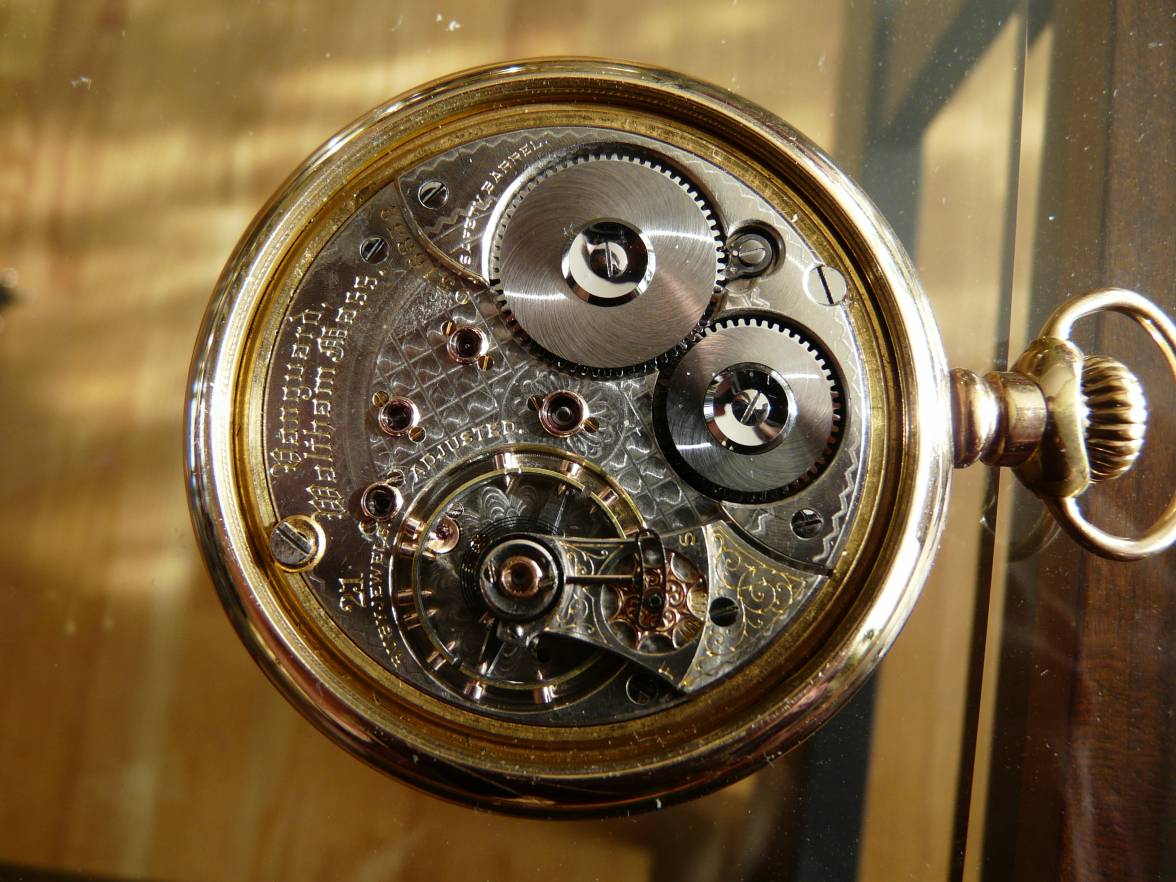
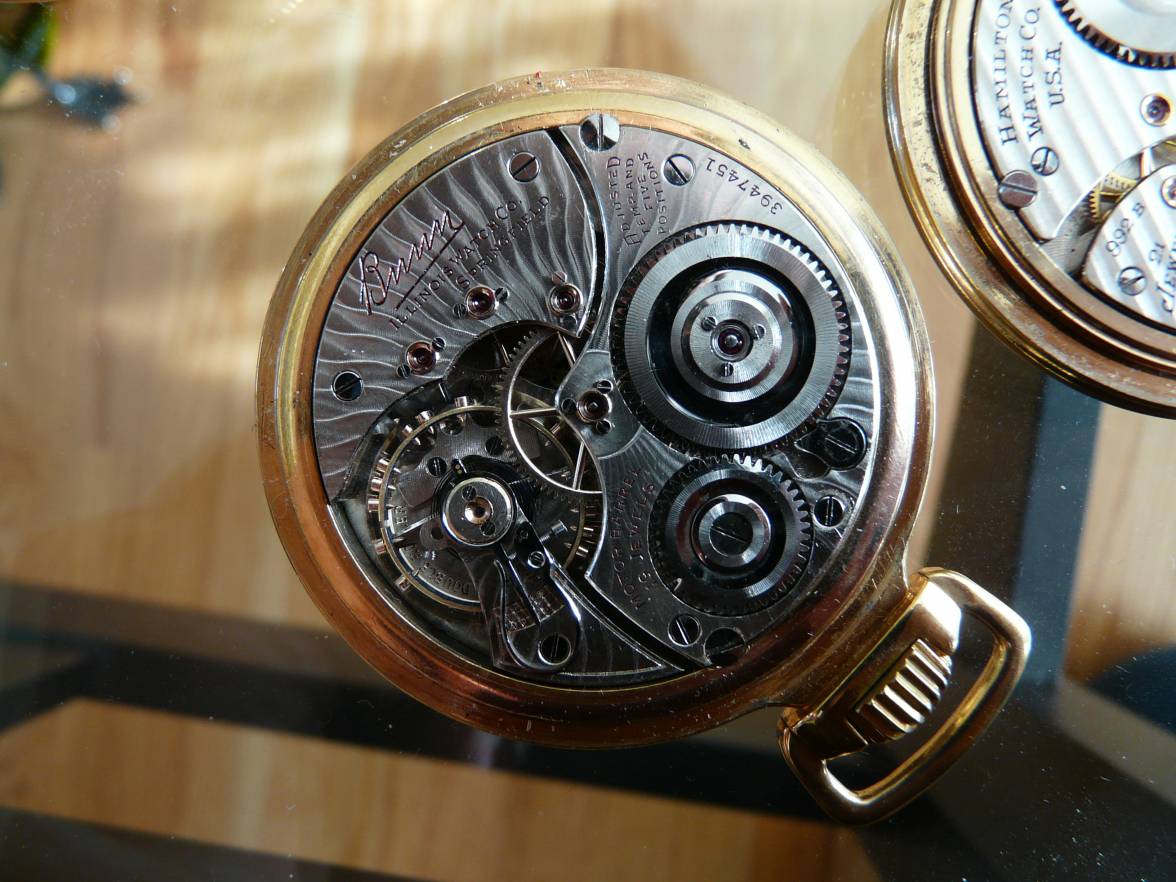
check out this old lump of a Waltham, a 114 year old railway watch that still runs within the 30 sec/week it was built for.... I love it. that star wheel regulator, yeah its solid gold, has a pinion on its hub which turns a tiny rack inside the curved opening on the end of the regulator arm....... a sick bit of engineering!
woodwkr2
·Gorgeous. They sure knew how to decorate a movement!
Fritz
·it was machined using a little automated pantograph that could follow a pattern, moving a spinning an ivory peg which polished the pattern into the metal plates. On some 3/4 plate watches the patterns move from plate to plate flawlessly, even if they're on different levels.
I showed this to the guy at work who thinks CNC is a new idea and left him scratching his head wondering how such work was mass produced over a hundred years ago. The computers we use may be new but using cams to control a mill or lathe to machine complex parts is an old process.
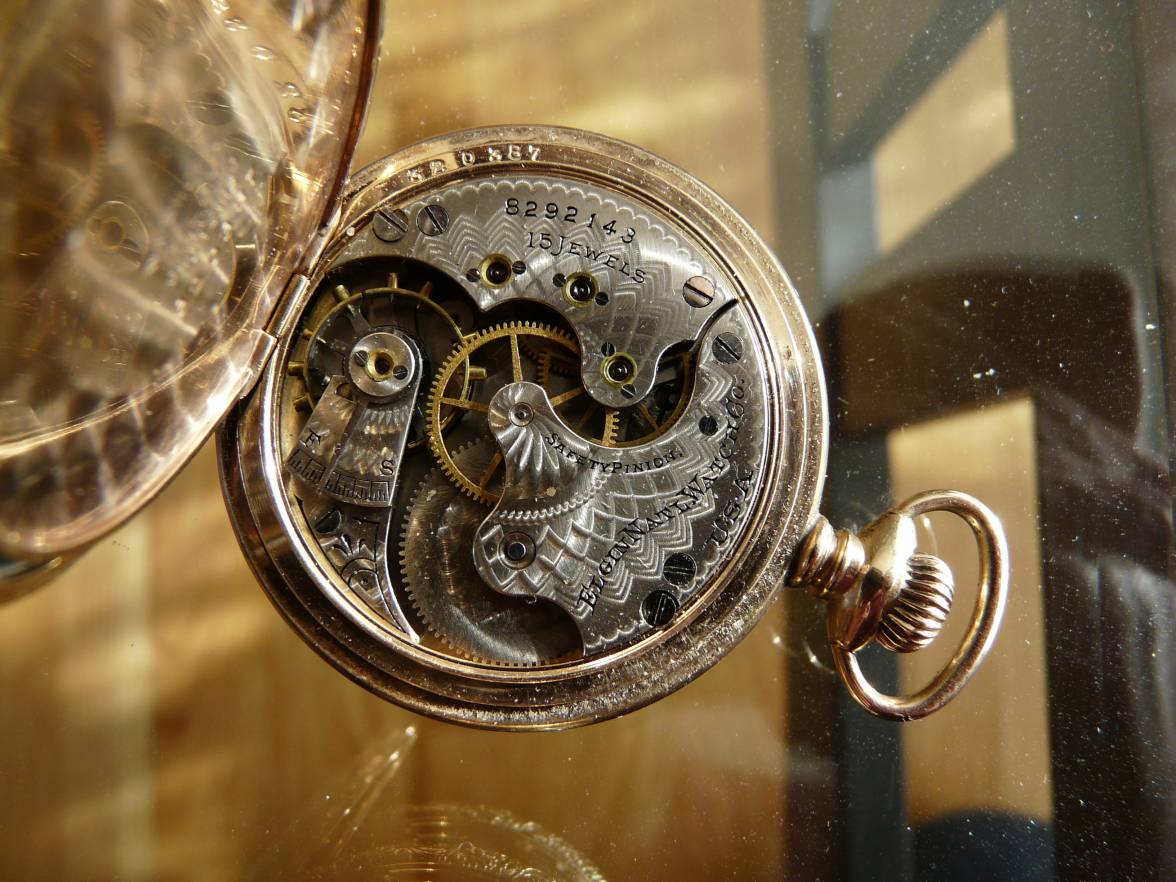
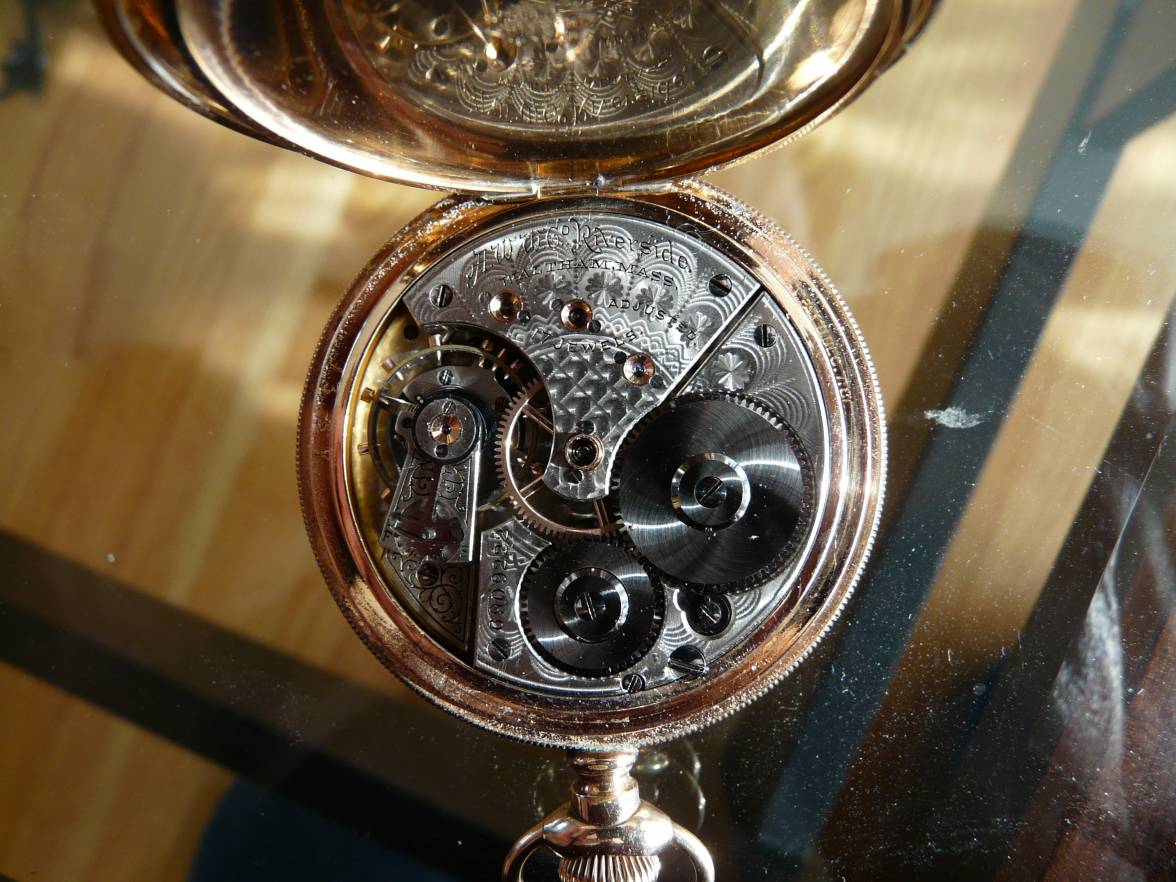
check these: 1893 Elgin, 1894 Waltham, 1923 Illinois..... more scary stuff or pure porn..... I'm not sure which.
pitpro
·Moved it a bit. Wore 24hrs
Still too fast. Now 20 secs per 24 hrs.
Adjusted again. Wore half day. Now slow.
Dialin'(pun intended) it in.
Still too fast. Now 20 secs per 24 hrs.
Adjusted again. Wore half day. Now slow.
Dialin'(pun intended) it in.
woodwkr2
·Moved it a bit. Wore 24hrs
Still too fast. Now 20 secs per 24 hrs.
Adjusted again. Wore half day. Now slow.
Dialin'(pun intended) it in.
You have an iPhone? Check out the Kello app. It is pointedly not a substitute for a real time grapher, but for $8.99 it may speed up your process. I have it. If you position the mic perfectly and are in a silent room, it's reasonable.
pitpro
·You have an iPhone? Check out the Kello app. It is pointedly not a substitute for a real time grapher, but for $8.99 it may speed up your process. I have it. If you position the mic perfectly and are in a silent room, it's reasonable.
but never got around to it. The manual method is sort of
fun.
Archer
··Omega Qualified WatchmakerI've found Jendritzki's books, particularly "Watch Adjustment", indispensable if you decide you want to learn more.
I've gotten to where I personally regulate every one of my pieces, even when they're freshly back from my very, very competent watchmaker. No one has more to gain than the owner of the piece, so I'm likely willing to spend far more time in regulating my pieces than would be practical or economically viable for most watchmakers.
You've only just scratched the surface. There's issues of temperature, position, and isochronism to consider. And with vintage pieces, add in the challenge of movement parts with varying degrees of wear.
It's really satisfying if you're the nit picky type with your watches.
Just to introduce some consistent language to the discussion, "regulating" is the simple and typically very quick act of moving the average rate of the watch. If it takes you a lot of time to do this as a professional watchmaker (referring to your comment about the time needed) then you should look for a different profession. 😉
"Adjusting" on the other hand is a whole different thing, and this is what takes the time. This is a portion of a post I made on another forum a while back, and it explains the difference between adjusting and regulating, and how some very basic adjustments are done.
Adjustment is more involved than regulation, and often people use the terms to mean the same thing. These are two different things, and one must be done before the other, so I'll try to show some basics here that will hopefully explain the difference between adjusting and regulating.
Movements are checked in several positions, and some positions will run faster or slower than others. The difference between the fastest and slowest position is called the Delta, and getting that number to be as small as possible is what adjusting is mostly about.
So to explain graphically what I mean between adjusting and regulating, I have made this little chart that shows three different conditions for the rates of a watch:

So the X axis is seconds per day that the watch runs fast or slow, with the black vertical tick being "zero" so no gain or loss. The red ticks on each line represent the rate the watch runs in the fastest and slowest positions, so the spread of the Delta figure.
So the top example is pretty good, with the spread being small, and more or less centered on the zero point. The next one is still quite good, with the spread being quite small, but the regulation is off, so the spread is shifted to the slow side. The last one is the worst case I show, where the spread is centered, but quite large. Of course the spread can be large, and not centered as well.
So in this scenario, the centering of the spread is regulation, and the width of the spread is adjustment. For now I am going to confine this discussion to a watch equipped with a flat balance spring and a regulator. Introducing an overcoil complicates the scenario, as does a free sprung balance, so for now we'll keep it simple.
Regulation typically consists of turning a screw, or moving a lever to adjust the centering of the spread on my charts above. It is a very simple thing to do, and anyone with a small bit of dexterity can be taught this pretty quickly.
Adjusting is another matter, and it involves some things that every watchmaker should be able to do, but hobbyists may find a bit daunting. I am going to use an example that is super easy to work on, an ETA 6497-2 from a Panerai 112 I serviced:

This example has a flat balance spring, regulating pins, and has the great system that ETA uses called ETACHRON, which quite frankly makes adjusting very easy for anyone with even basic formal training to accomplish. I have added two labels to the photo above, and the "A" is on the adjustable stud carrier, and the "B" is on the regulator. The stud carrier is where the outer end of the balance spring is anchored, and as the name suggests, it is adjustable radially, centered on the balance staff, to dial in the beat error. The regulator at B is also adjustable radially to adjust the average rate faster or slower. The regulator adjusts the effective length of the balance spring to make the oscillations faster or slower.
The other thing you might notice about these two points is that there are silver and brass (respectively) coloured parts that are shaped like a rounded rectangle. This is part of the ETACHRON system, and these make adjustments very easy compared to watches that are not equipped with this. So I do all my adjustments using a 10X loupe, and also with the two tools shown below:

On the left is a pair of #5 tweezers with fine tips, and on the right is the ETACHRON tool. Here is a close view of the tool:

As you can see this tool has a recess that fits over the rounded rectangles at the regulator and stud carrier. I can fit this over both the stud and the regulating pins, and use it to turn each of them. Turning the stud will change the centering of the balance spring, and turning the regulating pins will open or close the pins on the balance spring.
I do all my adjustments with the watch as seen above, so the movement has been cleaned, the balance jewels lubricated, and only the balance installed on the main plate. This allows easy access to see all around the balance wheel so I can get a very good look at the spring from all angles. The first step is to turn the regulating pins to their most open point, and in this case the balance spring is free from any interference from the regulating pins. I then look at the spring from the side to determine if the spring is level and flat:

So here I use my eye to check the spring and compare it to the balance wheel. The spring should be parallel to the balance wheel - it's more difficult to see in a photo than it is in real life. If the spring is parallel to the wheel, that's good, but sometimes you will find that the spring is a straight line but angles up or down from the wheel, and you use your tweezers to push up or down on the spring where it meets the stud to correct this.
I also check to make sure it's flat. You will often see that the spring is a half dish shape, where say on the left it's flat, but on the right it's dished up from the middle of the spring out. This means a coil of the spring is twisted, so using the #5 tweezers I bend the coil to make the spring flat again. I used an Asian 6497 clone that I had in my junk drawer (replaced one with a Swiss movement for a client) to illustrate this. Here I have intentionally tweaked the balance spring to show the half dish:

So once the spring is flat and level, then I move on to centering. I need to make sure that the coils of the spring are concentric around the balance staff at the center of the balance wheel. I do this by looking from above, and comparing the spacing of the coils at 180 degrees from each other. In this example (back to the Panerai) the watch arrived to my shop with the spring not centered properly:

As you can see, the coils on the left side are quite a bit closer together than they are on the right side. I adjust this by using the ETACHRON tool and turning the stud - the adjustments needed are very small to move the centering a lot, so this requires a delicate touch to get it right. Once I have the coils concentric, I then look at how the outer coil is centered between the regulating pins. Note, the angles are difficult to get just right in photos, so again much easier to see correctly in person. Again here you see this one is not good, as the spring is nearly touching the left pin:

So I again use the ETACHRON tool to adjust the stud to make the coil centered between the two pins:

But when I do this, the concentricity of the spring goes out again, so I correct that by manipulating the outer coil of the balance spring with my #5 tweezers, either pushing or pulling on that coil to open or close the coils on one side. It can become a bit of a cat and mouse game, and you need to go back and forth between the looking at the coils from the top and looking at the coil in the regulating pins - when the coils are concentric and the coil is dead center between the two pins, that part is done.
The last step is closing the regulating pins back up with the ETACHRON tool. This was next to impossible to photograph, so I'll simply explain that as you rotate the regulating pins with the tool, the space on either side of the coil grows smaller and smaller. Again using a 10X loupe and now with the balance wheel oscillating (you can simply flick the movement holder and it starts to oscillate back and forth) you slowly close the pins until there is a very small gap on each side of the coil as it moves back and forth. A rule of thumb is that you want the total gap on both sides to equal about the thickness of the coil of the spring, so this is a small gap.
I then carry on with the service, and once the movement is running, I put it on the timing machine and check it in 6 positions. I then use the data I get from that test to decide if anything needs to be tweaked. The most common adjustment I make at this point is how tight those regulating pins are to the coil in the last step above. Certain patterns in the positional checks can indicate that the pins need to be closer together, or perhaps further apart to make the spread between the fastest and slowest position as small as possible.
So this is the very basics involved in adjusting a watch movement. The procedure above will influence the watch's performance in many ways, and hopefully is enough to dial in the Delta so that it's easy to regulate the watch to a stable rate over normal wearing conditions. I follow this procedure (or something similar depending on the design of the movement) on every movement I service.
In some other cases there are further adjustments that can be made through procedures like static and dynamic poising, but they are a bit difficult and lengthy to explain, so I'll leave it as this for now.
I hope this gives you some insight into what adjusting is all about, at least on a basic level.
Cheers, Al
